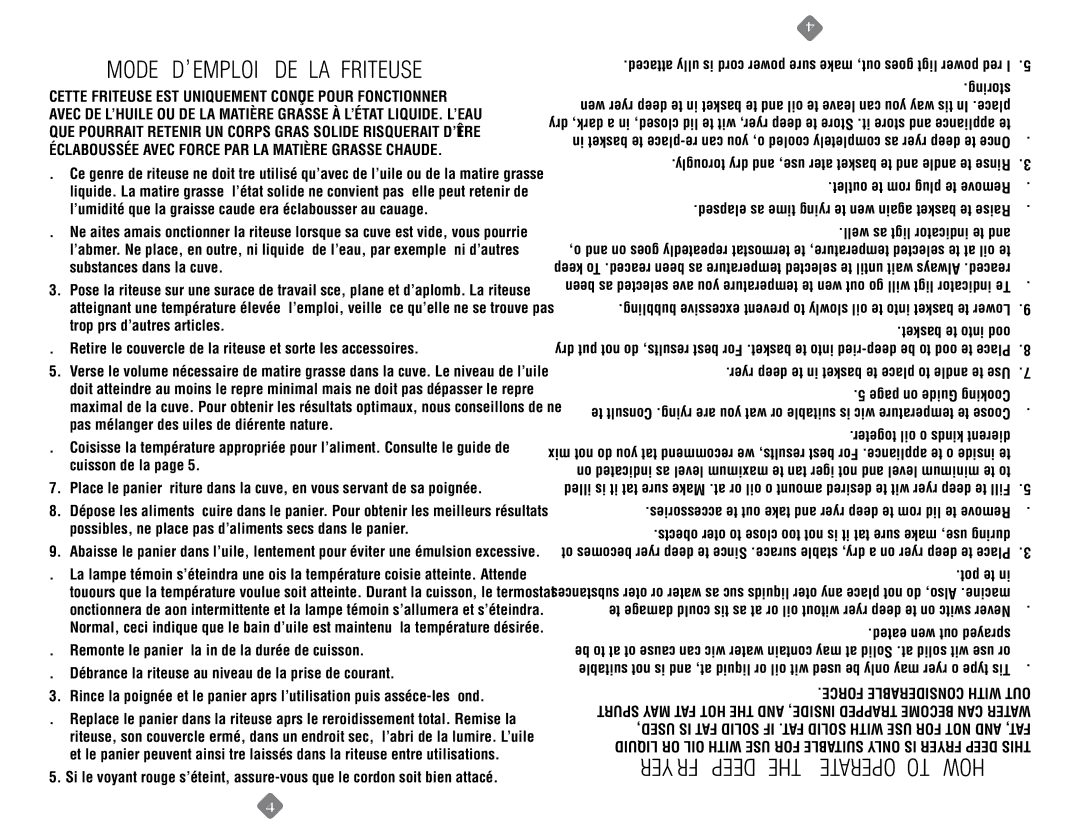
mode demploi de la friteuse

CETTE FRITEUSE EST UNIQUEMENT CONÇUE POUR FONCTIONNER AVEC DE L’HUILE OU DE LA MATIÈRE GRASSE À L’ÉTAT LIQUIDE. L’EAU QUE POURRAIT RETENIR UN CORPS GRAS SOLIDE RISQUERAIT D’ÊTRE ÉCLABOUSSÉE AVEC FORCE PAR LA MATIÈRE GRASSE CHAUDE.

1.Ce genre de friteuse ne doit être utilisé qu’avec de l’huile ou de la matière grasse liquide. La matière grasse à l’état solide ne convient pas – elle peut retenir de l’humidité que la graisse chaude fera éclabousser au chauffage.

2.Ne faites jamais fonctionner la friteuse lorsque sa cuve est vide, vous pourriez l’abîmer. Ne placez, en outre, ni liquide – de l’eau, par exemple – ni d’autres substances dans la cuve.

3.Posez la friteuse sur une surface de travail sèche, plane et d’aplomb. La friteuse atteignant une température élevée à l’emploi, veillez à ce qu’elle ne se trouve pas trop près d’autres articles.

4.Retirez le couvercle de la friteuse et sortez les accessoires.

5.Versez le volume nécessaire de matière grasse dans la cuve. Le niveau de l’huile doit atteindre au moins le repère minimal mais ne doit pas dépasser le repère maximal de la cuve. Pour obtenir les résultats optimaux, nous conseillons de ne pas mélanger des huiles de différente nature.

6.Choisissez la température appropriée pour l’aliment. Consultez le guide de cuisson de la page 5.

7.Placez le panier à friture dans la cuve, en vous servant de sa poignée.

8.Déposez les aliments à cuire dans le panier. Pour obtenir les meilleurs résultats possibles, ne placez pas d’aliments secs dans le panier.

9.Abaissez le panier dans l’huile, lentement pour éviter une émulsion excessive.

10.La lampe témoin s’éteindra une fois la température choisie atteinte. Attendez toujours que la température voulue soit atteinte. Durant la cuisson, le thermostat fonctionnera de façon intermittente et la lampe témoin s’allumera et s’éteindra. Normal, ceci indique que le bain d’huile est maintenu à la température désirée.

11.Remontez le panier à la fin de la durée de cuisson.

12.Débranchez la friteuse au niveau de la prise de courant.

13.Rincez la poignée et le panier après l’utilisation puis asséchez-les à fond.

14.Replacez le panier dans la friteuse après le refroidissement total. Remisez la friteuse, son couvercle fermé, dans un endroit sec, à l’abri de la lumière. L’huile et le panier peuvent ainsi être laissés dans la friteuse entre utilisations.

15.Si le voyant rouge s’éteint, assurez-vous que le cordon soit bien attaché.

4


.attached fully is cord power sure make out, goes light power red If .15

.storing


when fryer deep the in basket the and oil the leave can you way this In .place


dry dark, a in closed, lid the with fryer, deep the Store .it store and appliance the


in basket the place-re can you off, cooled completely has fryer deep the Once .14

.thoroughly dry and use, after basket the and handle the Rinse .13

.outlet the from plug the Remove .12

.elapsed has time frying the when again basket the Raise .11

.well as light indicator the and


off, and on goes repeatedly thermostat the temperature, selected the at oil the


keep To .reached been has temperature selected the until wait Always .reached


been has selected have you temperature the when out go will light indicator The .10

.bubbling excessive prevent to slowly oil the into basket the Lower

.9

.basket the into food


dry put not do results, best For .basket the into fried-deep be to food the Place

.8

.fryer deep the in basket the place to handle the Use

.7

.5 page on Guide Cooking


the Consult .frying are you what for suitable is which temperature the Choose

.6

.together oil of kinds different


mix not do you that recommend we results, best For .appliance the of inside the


on indicated as level maximum the than higher not and level minimum the to


filled is it that sure Make .fat or oil of amount desired the with fryer deep the Fill

.5

.accessories the out take and fryer deep the from lid the Remove

.4

.objects other to close too not is it that sure make use, during


hot becomes fryer deep the Since .surface stable dry, a on fryer deep the Place

.3

.pot the in


substances other or water as such liquids other any place not do Also, .machine


the damage could this as fat or oil without fryer deep the on switch Never

.2

.heated when out sprayed


be to fat hot cause can which water contain may fat Solid .fat solid with use for


suitable not is and fat, liquid or oil with used be only may fryer of type This

.1

.FORCE CONSIDERABLE WITH OUT

SPURT MAY FAT HOT THE AND INSIDE, TRAPPED BECOME CAN WATER

USED, IS FAT SOLID IF .FAT SOLID WITH USE FOR NOT AND FAT,

LIQUID OR OIL WITH USE FOR SUITABLE ONLY IS FRYER DEEP THIS

fryer deep the operate to how


4

Page 4
Image 4
Sunbeam 6107-33 user manual Mode d’emploi de la friteuse, Fryer deep the operate to how, Storing, Pot

6107-33 specifications

The Sunbeam 6107-33 is an innovative and versatile kitchen appliance designed to enhance the food preparation process for home chefs. This model exemplifies efficiency, precision, and ease of use, making it a popular choice among cooking enthusiasts.

One of the standout features of the Sunbeam 6107-33 is its robust mixing capabilities. It boasts a powerful motor that ensures consistent and thorough mixing, whether you are whipping cream or kneading bread dough. The appliance comes with several speed settings, allowing users to select the optimal speed for their specific task, thus minimizing the risk of overmixing or under-mixing.

The Sunbeam 6107-33 is equipped with advanced mixing technology that includes a unique planetary mixing motion. This mechanism allows the mixing attachment to move in one direction while orbiting around the bowl in another, ensuring that all ingredients are evenly combined. This feature is particularly beneficial for baking enthusiasts who value precision in their measurements and mixing techniques.

In terms of design, the Sunbeam 6107-33 showcases a sleek and modern aesthetic, with a compact footprint that saves valuable counter space. The bowl is crafted from stainless steel, providing durability and a professional feel while also being easy to clean. Its 4-quart capacity is ideal for small to medium-sized batches, accommodating a variety of recipes without the hassle of frequent refills.

The appliance is also designed with user convenience in mind. A tilt-head feature allows easy access to the bowl and attachments, making it simple to add ingredients or remove the bowl after mixing. Furthermore, the Sunbeam 6107-33 includes a variety of attachments, such as a whisk, dough hook, and flat beater, which cater to diverse culinary needs.

Safety is another priority in the design of this mixer. The Sunbeam 6107-33 includes a built-in safety lock mechanism, ensuring stability during operation. Additionally, the non-slip feet prevent the mixer from moving around on the countertop, promoting a secure mixing environment.

Overall, the Sunbeam 6107-33 combines powerful performance with user-friendly features, making it an essential tool for both novice cooks and seasoned chefs. Its innovative technologies, combined with a modern design and array of attachments, solidify its place as a reliable kitchen companion for a variety of culinary endeavors. Whether you are baking, mixing, or whipping, the Sunbeam 6107-33 enhances the efficiency and enjoyment of creating delicious meals and treats at home.