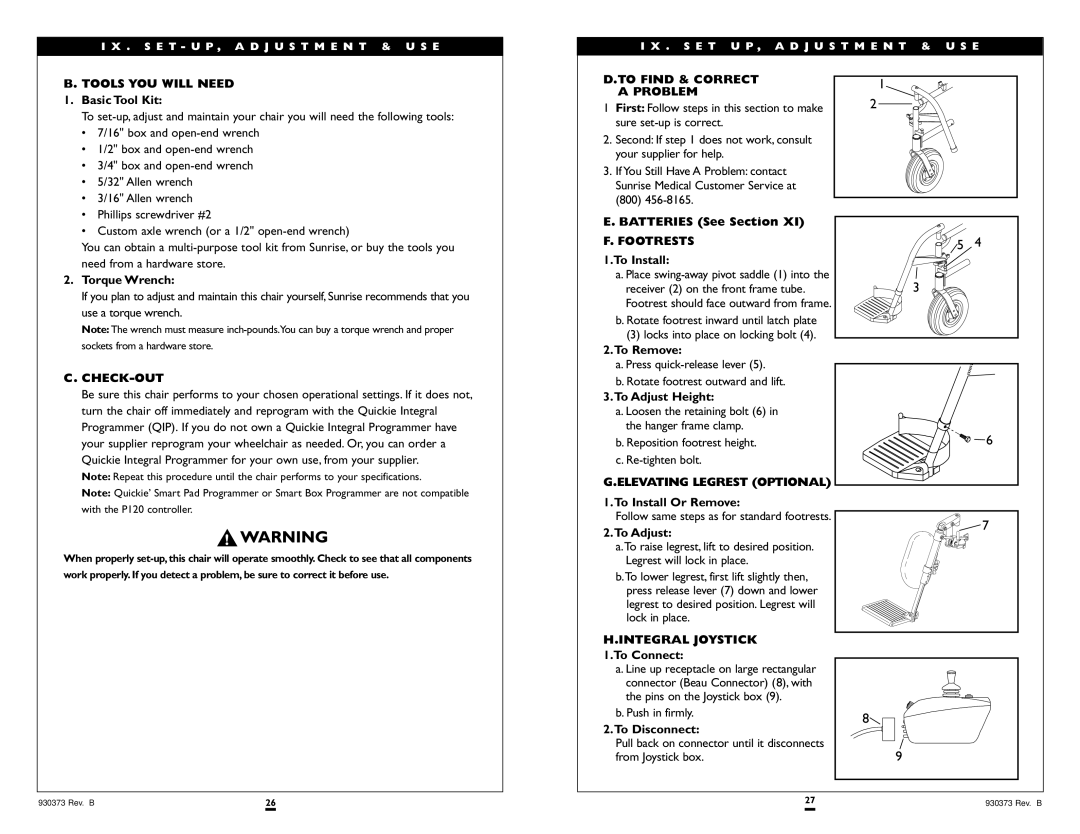
I X . S E T - U P , A D J U S T M E N T & U S E
I X . S E T U P , A D J U S T M E N T & U S E
B. TOOLS YOU WILL NEED
1.Basic Tool Kit:
To
•7/16" box and
•1/2" box and
•3/4" box and
•5/32" Allen wrench
•3/16" Allen wrench
•Phillips screwdriver #2
•Custom axle wrench (or a 1/2"
You can obtain a
2.Torque Wrench:
If you plan to adjust and maintain this chair yourself, Sunrise recommends that you use a torque wrench.
Note: The wrench must measure
C.CHECK-OUT
Be sure this chair performs to your chosen operational settings. If it does not, turn the chair off immediately and reprogram with the Quickie Integral Programmer (QIP). If you do not own a Quickie Integral Programmer have your supplier reprogram your wheelchair as needed. Or, you can order a Quickie Integral Programmer for your own use, from your supplier.
Note: Repeat this procedure until the chair performs to your specifications.
Note: Quickie’ Smart Pad Programmer or Smart Box Programmer are not compatible with the P120 controller.
When properly
D.TO FIND & CORRECT
APROBLEM
1First: Follow steps in this section to make sure
2.Second: If step 1 does not work, consult your supplier for help.
3.If You Still Have A Problem: contact Sunrise Medical Customer Service at (800)
E. BATTERIES (See Section XI)
F. FOOTRESTS
1.To Install:
a. Place
b. Rotate footrest inward until latch plate
(3)locks into place on locking bolt (4).
2.To Remove:
a.Press
b.Rotate footrest outward and lift.
3.To Adjust Height:
a.Loosen the retaining bolt (6) in the hanger frame clamp.
b.Reposition footrest height.
c.
G.ELEVATING LEGREST (OPTIONAL)
1.To Install Or Remove:
Follow same steps as for standard footrests.
2.To Adjust:
a.To raise legrest, lift to desired position. Legrest will lock in place.
b.To lower legrest, first lift slightly then, press release lever (7) down and lower legrest to desired position. Legrest will lock in place.
H.INTEGRAL JOYSTICK
1.To Connect:
a. Line up receptacle on large rectangular connector (Beau Connector) (8), with the pins on the Joystick box (9).
b. Push in firmly.
2.To Disconnect:
Pull back on connector until it disconnects from Joystick box.
1
2
![]() 5 4
5 4
3
6
7
8
9
930373 Rev. B | 26 | 27 | 930373 Rev. B |
