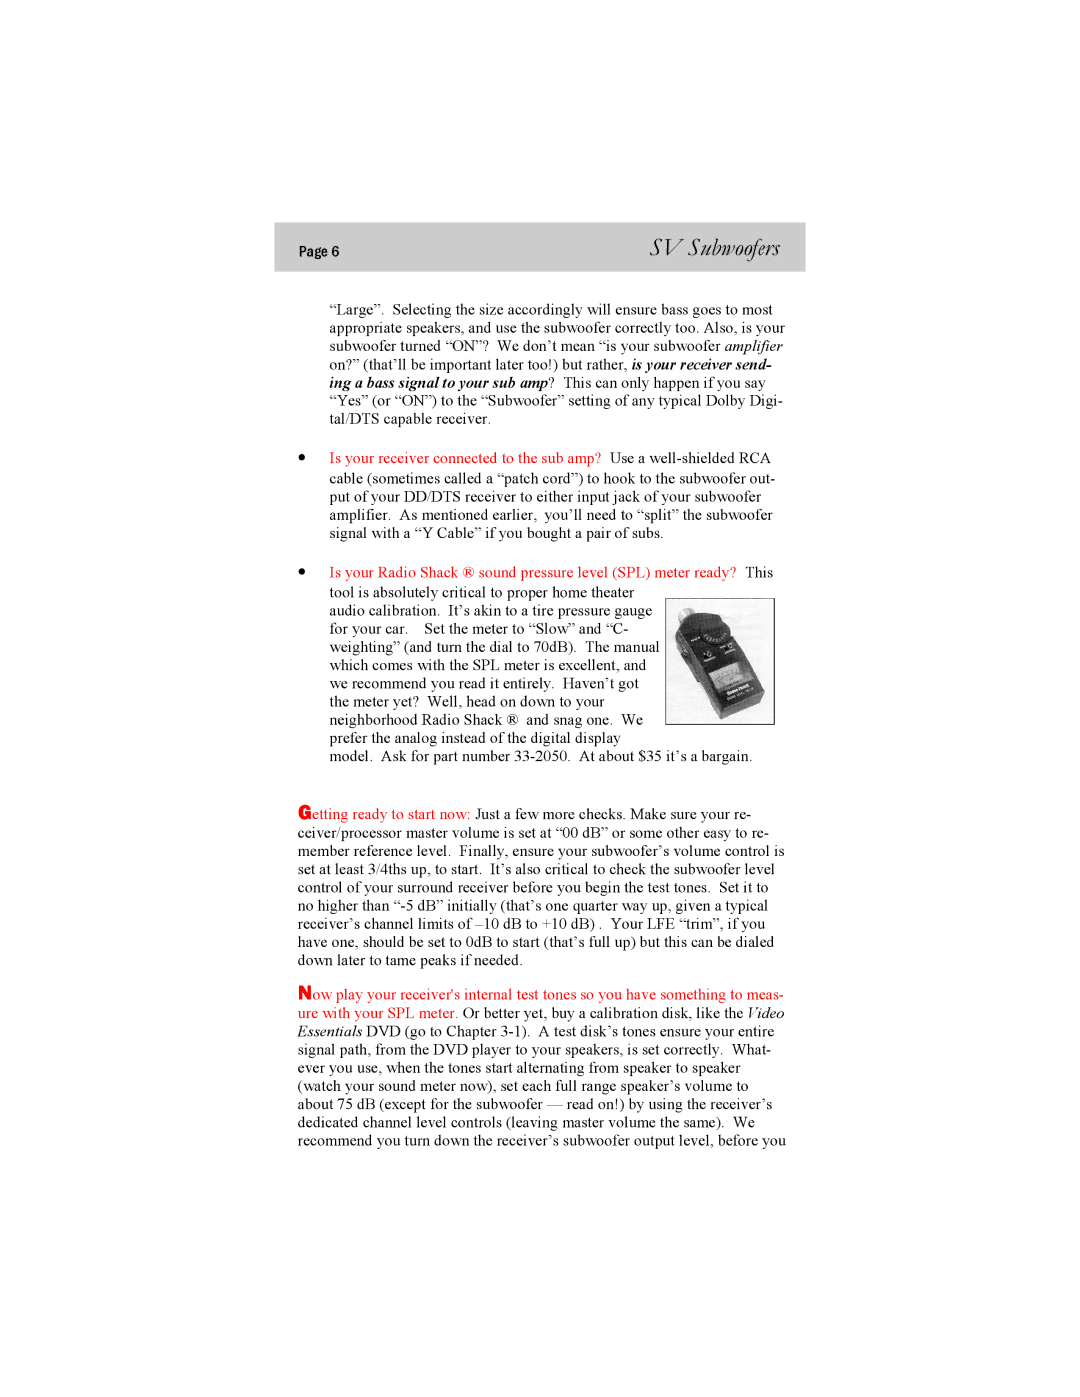
16-46PC, 20-39PC specifications
SV Sound, a renowned manufacturer of high-quality audio products, has established a strong reputation for delivering exhilarating sound performance in home theater and music systems. Among their acclaimed subwoofers, the SV Sound 16-46PC and 20-39PC stand out for their impressive specifications and innovative technologies, catering to both audiophiles and casual listeners.The SV Sound 16-46PC features a 16-inch front-firing driver, designed to produce deep bass with remarkable accuracy and power. Its unique design allows it to reach frequencies as low as 16 Hz, making it perfect for replicating the rumble of cinematic explosions and the deep notes in music. The subwoofer is equipped with a sophisticated 500-watt RMS amplifier, providing substantial power to drive the driver effectively, while allowing for dynamic range in sound reproduction.
On the other hand, the 20-39PC houses a larger 20-inch driver, enhancing its capability to deliver even deeper bass and higher output levels. This model is also engineered for low-frequency extension, reaching frequencies down to 20 Hz, making it an excellent choice for enthusiasts who demand nothing short of an immersive audio experience. The 20-39PC features a robust 600-watt RMS amplifier, ensuring that it can handle demanding audio tracks without distortion.
Both models incorporate SV Sound’s advanced technologies, including a custom digital signal processing (DSP) circuit, which optimizes performance and minimizes distortion. The cabinet design for both subwoofers is built with high-quality MDF (medium-density fiberboard), ensuring durability while allowing for increased resonance and decreased vibrations that can muddy the sound.
Additionally, each subwoofer comes equipped with a phase switch and a low-pass filter, giving users the flexibility to tailor the sound to their personal preferences and room acoustics. The versatile connectivity options, including line-level and speaker-level inputs, ensure compatibility with a wide range of receivers and audio systems.
In conclusion, the SV Sound 16-46PC and 20-39PC subwoofers exemplify the brand's commitment to high-performance audio. With their powerful drivers, robust amplifiers, and cutting-edge technology, these subwoofers deliver exceptional sound quality that can elevate any audio setup, be it for movie watching or music listening. Whether you're a discerning audiophile or a casual listener, these models are sure to provide a thrilling auditory experience.