Page 6

SV Subwoofers

setting ALL speakers to “Small” works best. Also, is your subwoofer turned “ON”? We don’t mean “is your subwoofer amplifier on?” (that’ll be impor- tant later too!) but rather, is your receiver sending a bass signal to your sub amp? This can only happen if you say “Yes” (or “ON”) in the “Subwoofer” selection during the all-important setup menu of any typical Dolby Digital/ DTS capable receiver.

Is your receiver connected to the sub amp? Use a well-shielded RCA cable (sometimes called a “patch cord”) to hook to the subwoofer output of your DD/DTS receiver to either input jack of your subwoofer’s dedicated amplifier. As mentioned earlier, you’ll need to “split” the bass signal with a “Y Cable” if you bought a pair of subs. You only need feed one of the two inputs (either Right or Left) of any single Powered Box SVS however.

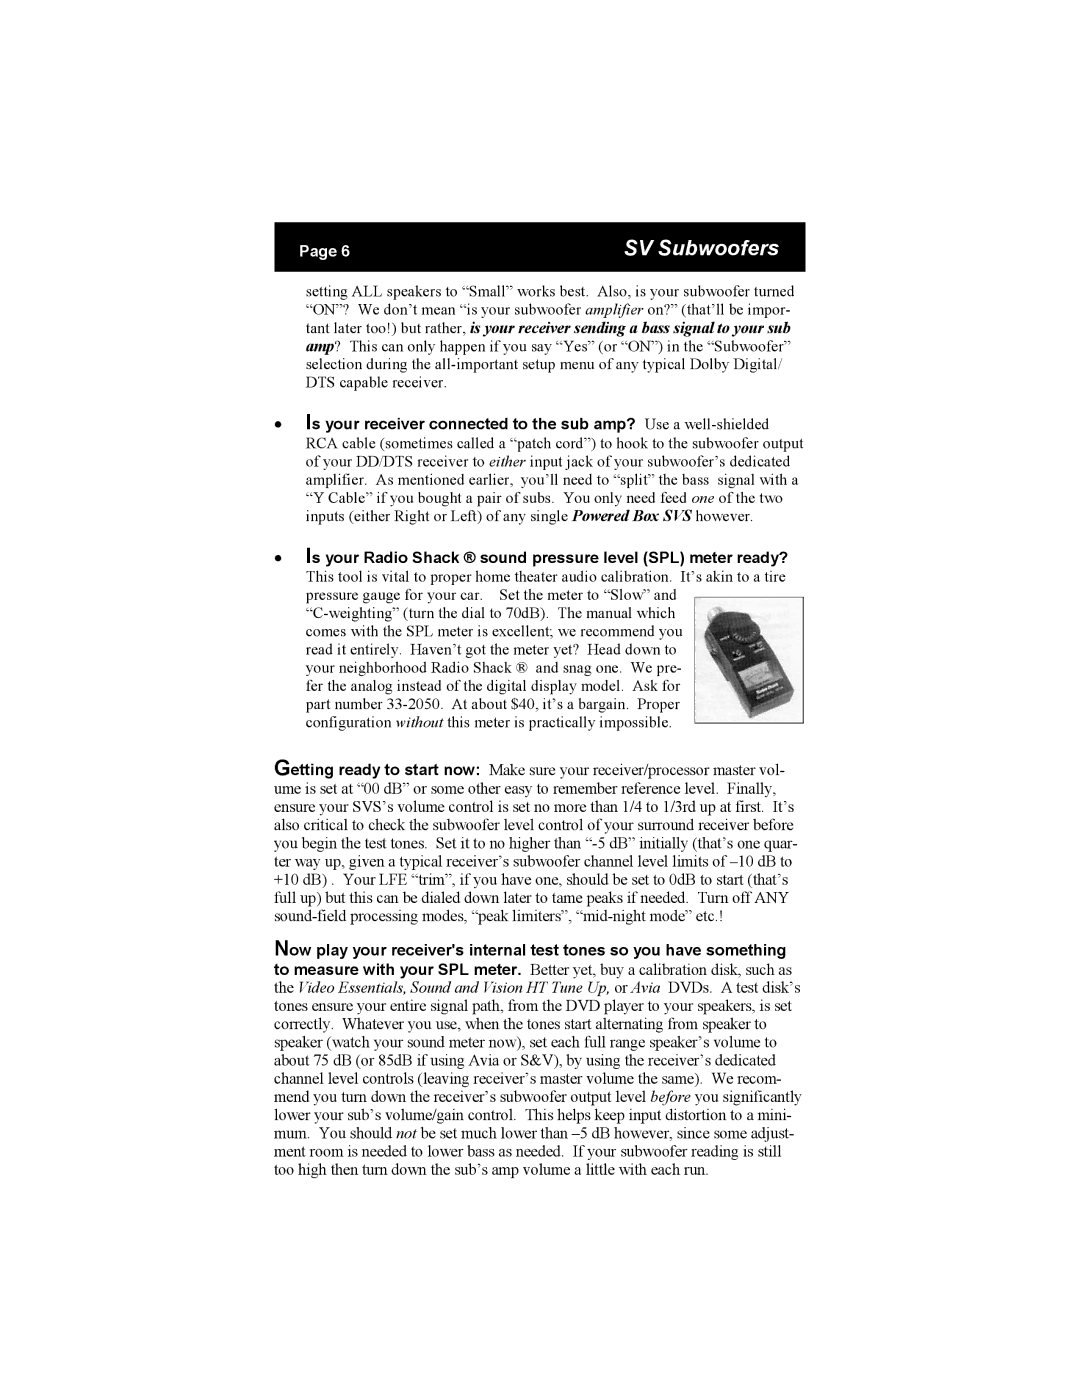
Is your Radio Shack ® sound pressure level (SPL) meter ready?

This tool is vital to proper home theater audio calibration. It’s akin to a tire pressure gauge for your car. Set the meter to “Slow” and “C-weighting” (turn the dial to 70dB). The manual which

comes with the SPL meter is excellent; we recommend you read it entirely. Haven’t got the meter yet? Head down to your neighborhood Radio Shack ® and snag one. We pre- fer the analog instead of the digital display model. Ask for part number 33-2050. At about $40, it’s a bargain. Proper configuration without this meter is practically impossible.

Getting ready to start now: Make sure your receiver/processor master vol- ume is set at “00 dB” or some other easy to remember reference level. Finally, ensure your SVS’s volume control is set no more than 1/4 to 1/3rd up at first. It’s also critical to check the subwoofer level control of your surround receiver before you begin the test tones. Set it to no higher than “-5 dB” initially (that’s one quar- ter way up, given a typical receiver’s subwoofer channel level limits of –10 dB to +10 dB) . Your LFE “trim”, if you have one, should be set to 0dB to start (that’s full up) but this can be dialed down later to tame peaks if needed. Turn off ANY sound-field processing modes, “peak limiters”, “mid-night mode” etc.!

Now play your receiver's internal test tones so you have something to measure with your SPL meter. Better yet, buy a calibration disk, such as the Video Essentials, Sound and Vision HT Tune Up, or Avia DVDs. A test disk’s tones ensure your entire signal path, from the DVD player to your speakers, is set correctly. Whatever you use, when the tones start alternating from speaker to speaker (watch your sound meter now), set each full range speaker’s volume to about 75 dB (or 85dB if using Avia or S&V), by using the receiver’s dedicated channel level controls (leaving receiver’s master volume the same). We recom- mend you turn down the receiver’s subwoofer output level before you significantly lower your sub’s volume/gain control. This helps keep input distortion to a mini- mum. You should not be set much lower than –5 dB however, since some adjust- ment room is needed to lower bass as needed. If your subwoofer reading is still too high then turn down the sub’s amp volume a little with each run.

Page 6
Image 6
SV Sound warranty SV Subwoofers

Subwoofers specifications

SV Sound is a renowned brand that has established itself in the world of audio equipment, particularly in the realm of subwoofers. Committed to delivering superior sound quality, SV Sound subwoofers have garnered a loyal following among audiophiles and home theater enthusiasts alike.

One of the standout features of SV Sound subwoofers is their exceptional low-frequency performance. Designed to reproduce deep bass frequencies with clarity and power, these subwoofers provide an immersive audio experience that enhances movies, music, and gaming. With models that can reach down to 20 Hz or lower, they deliver thunderous bass that you can feel as well as hear, making them ideal for home theater applications.

SV Sound employs advanced technologies in their subwoofer designs to ensure high-quality sound reproduction. Many of their models feature proprietary Sledge amplifier technology, which combines high efficiency with powerful output. These amplifiers are designed to deliver clean, distortion-free power, allowing the subwoofers to handle dynamic audio tracks without compromising performance. Additionally, some SV Sound subwoofers include DSP (Digital Signal Processing) for optimized performance in various listening environments, enabling users to fine-tune their audio experience.

Build quality is another hallmark of SV Sound subwoofers. Constructed with dense MDF cabinetry to reduce unwanted vibrations and resonance, these subwoofers are designed to last. Features such as reinforced bracing and durable finishes ensure that the cabinets minimize sound distortion while maintaining aesthetic appeal. Furthermore, several models offer adjustable ports, allowing users to customize the bass response according to their room's acoustics.

Control and connectivity options are also noteworthy. Many SV Sound subwoofers come equipped with multiple input options, including high-level and low-level inputs, making it easy to integrate with various audio systems. Remote control functionality further enhances the user experience, providing convenient access to volume adjustment and DSP settings.

In summary, SV Sound subwoofers exemplify a perfect blend of performance, technology, and craftsmanship. They are engineered to deliver breathtaking bass response while offering features that cater to audiophile standards. With their robust build, advanced amplification technologies, and user-friendly controls, SV Sound subwoofers are an excellent choice for those seeking to enhance their audio experience. Whether for home theater use or music listening, these subwoofers stand out as a top-tier option in the competitive audio market.