Manuals
/
Sylvania
/
Home Audio
/
Stereo System
Sylvania
instruction manual
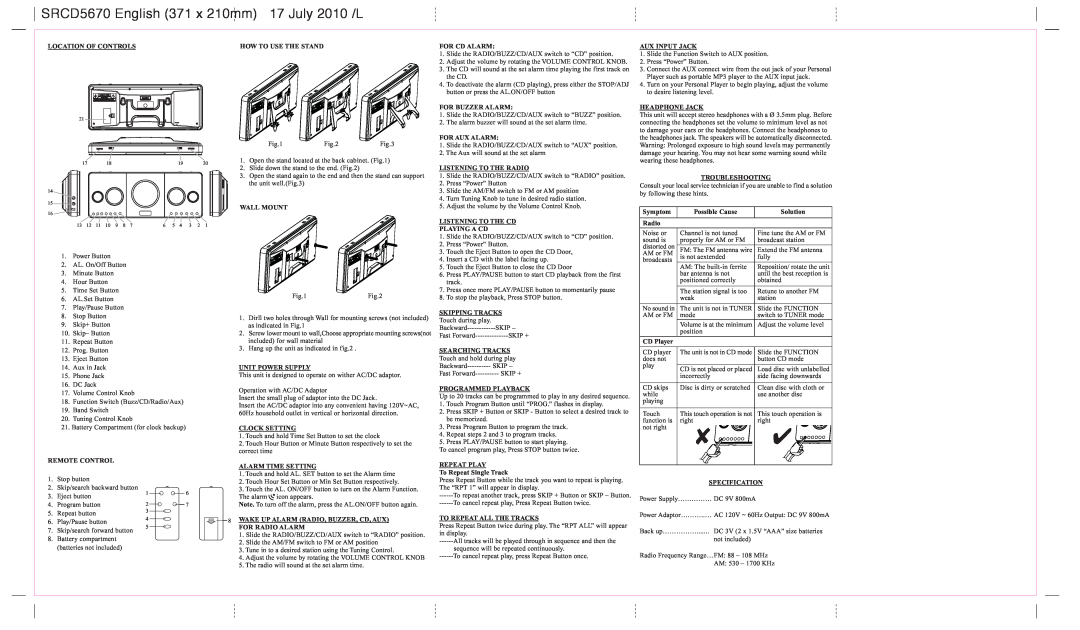
SRCD5670 English 371 x 210mm 17 July 2010 /L, Location Of Controls
Models:
SRCD5670
1
2
2
Download
2 pages
19.26 Kb
1
2
Page 2
Image 2
Page 1
Page 2
Page 2
Image 2
Page 1
Page 2
Contents
Micro System CD Player with Clock Radio
SRCD5670 English 371 x 210mm 17 July 2010 /L
SAFETY INSTRUCTION
MODEL SRCD5670
SRCD5670 English 371 x 210mm 17 July 2010 /L
LOCATION OF CONTROLS
Top
Page
Image
Contents