
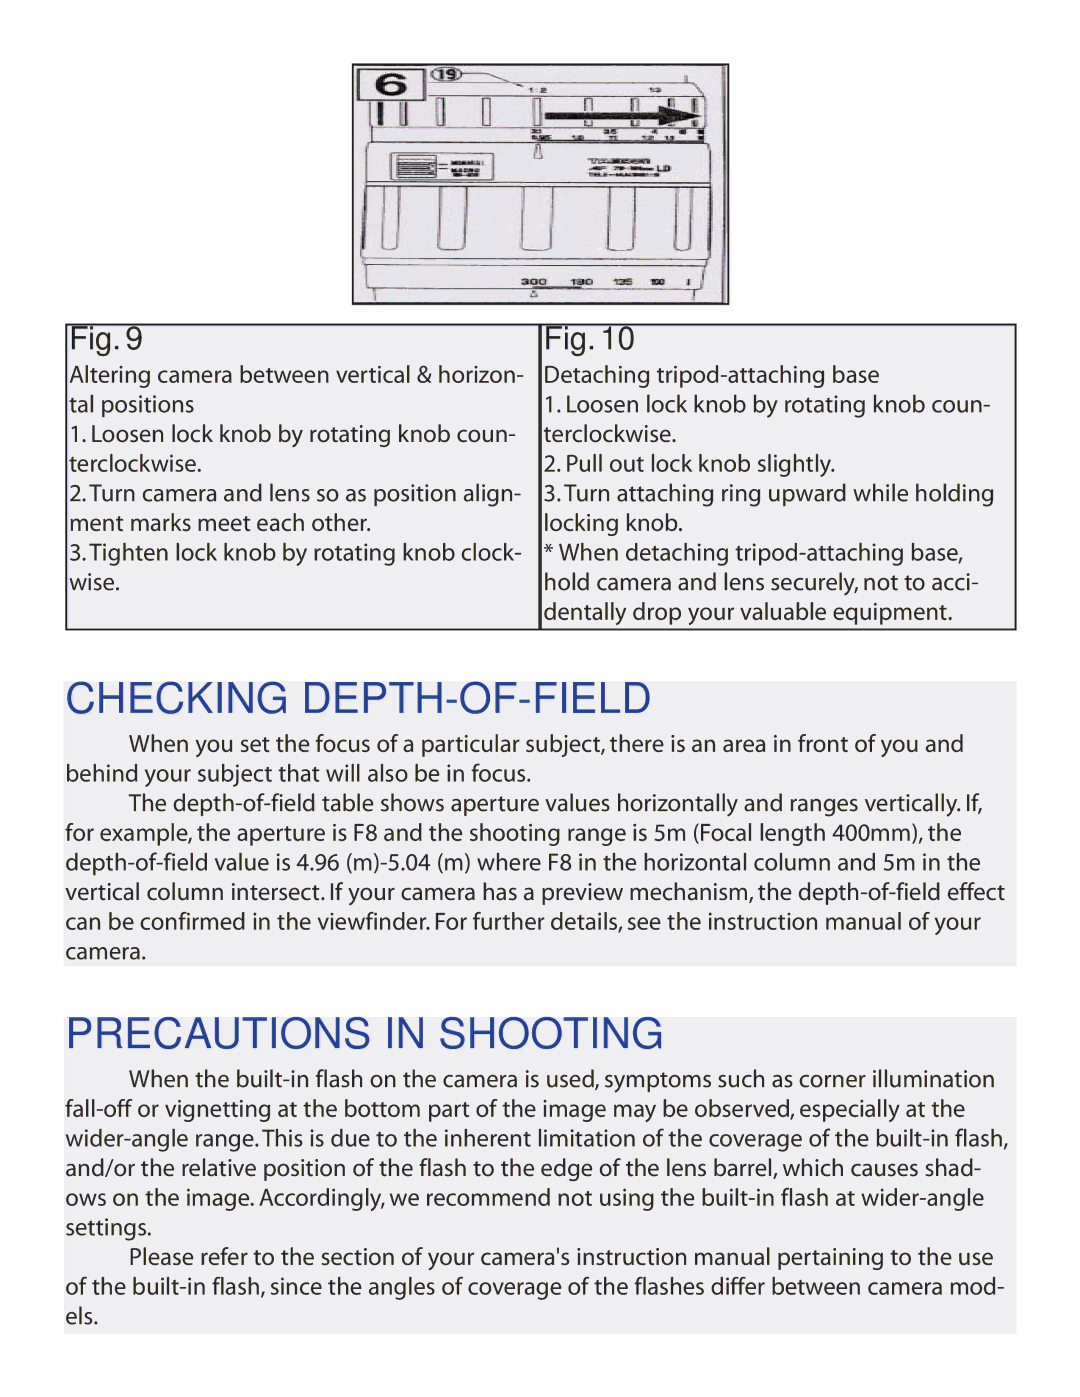
672D specifications
The Tamron 672D is a highly regarded lens known for its versatility and excellent optical performance. Designed for use with various camera systems, it caters to both amateur and professional photographers who seek quality and reliability in their image-capturing tools. One of the standout features of the Tamron 672D is its focal length range, which allows photographers to tackle a diverse range of subjects. Its zoom capabilities, which typically extend from wide-angle to telephoto, make it an ideal choice for everything from landscapes to portraits and close-up shots.One of the most notable technologies employed in the 672D is the use of advanced optical design. This lens utilizes multiple glass elements, including low dispersion (LD) and aspherical elements, to minimize chromatic aberration and distortion. The result is exceptional sharpness and clarity throughout the zoom range, ensuring that images are rendered with precision and detail. Furthermore, the lens features a fluorine coating that repels water and oil, reducing the potential for smudges and streaks on the front element, which is particularly useful when shooting in challenging weather conditions.
The Tamron 672D also incorporates a powerful autofocus system that ensures quick and accurate focusing, which is vital for capturing fleeting moments. The autofocus motor operates quietly, making it suitable for both still photography and videography. Additionally, the lens includes a manual focus option, granting photographers the ability to fine-tune their focus for critical shots.
Build quality is another strength of the Tamron 672D. The lens is designed with a robust yet lightweight structure, making it easy to handle during extended shooting sessions. It often comes with a zoom lock mechanism to prevent accidental zoom movement during transport, adding to its practicality. The ergonomic design ensures a comfortable grip, allowing for stability even in challenging shooting environments.
In summary, the Tamron 672D is a well-rounded lens that combines advanced optical technologies with user-friendly features. Its versatility, optical performance, and robust build quality make it an excellent choice for photographers looking to enhance their creative capabilities. Whether shooting portraits, wildlife, or expansive landscapes, the 672D is a reliable companion that delivers stunning results across a wide variety of photographic scenarios.