316000181 specifications
The Tappan 316000181 is a powerful and efficient electric range that has been designed to meet the demands of modern kitchens. Featuring a sleek and elegant design, this range combines aesthetic appeal with functionality. Its stainless-steel finish not only enhances its durability but also adds a contemporary touch, making it a perfect fit for various kitchen styles.One of the standout features of the Tappan 316000181 is its spacious oven, which offers a generous cooking capacity. This allows users to prepare multiple dishes simultaneously, making it ideal for families or individuals who enjoy entertaining guests. The range is equipped with a conventional baking option, ensuring even heat distribution for perfectly baked goods.
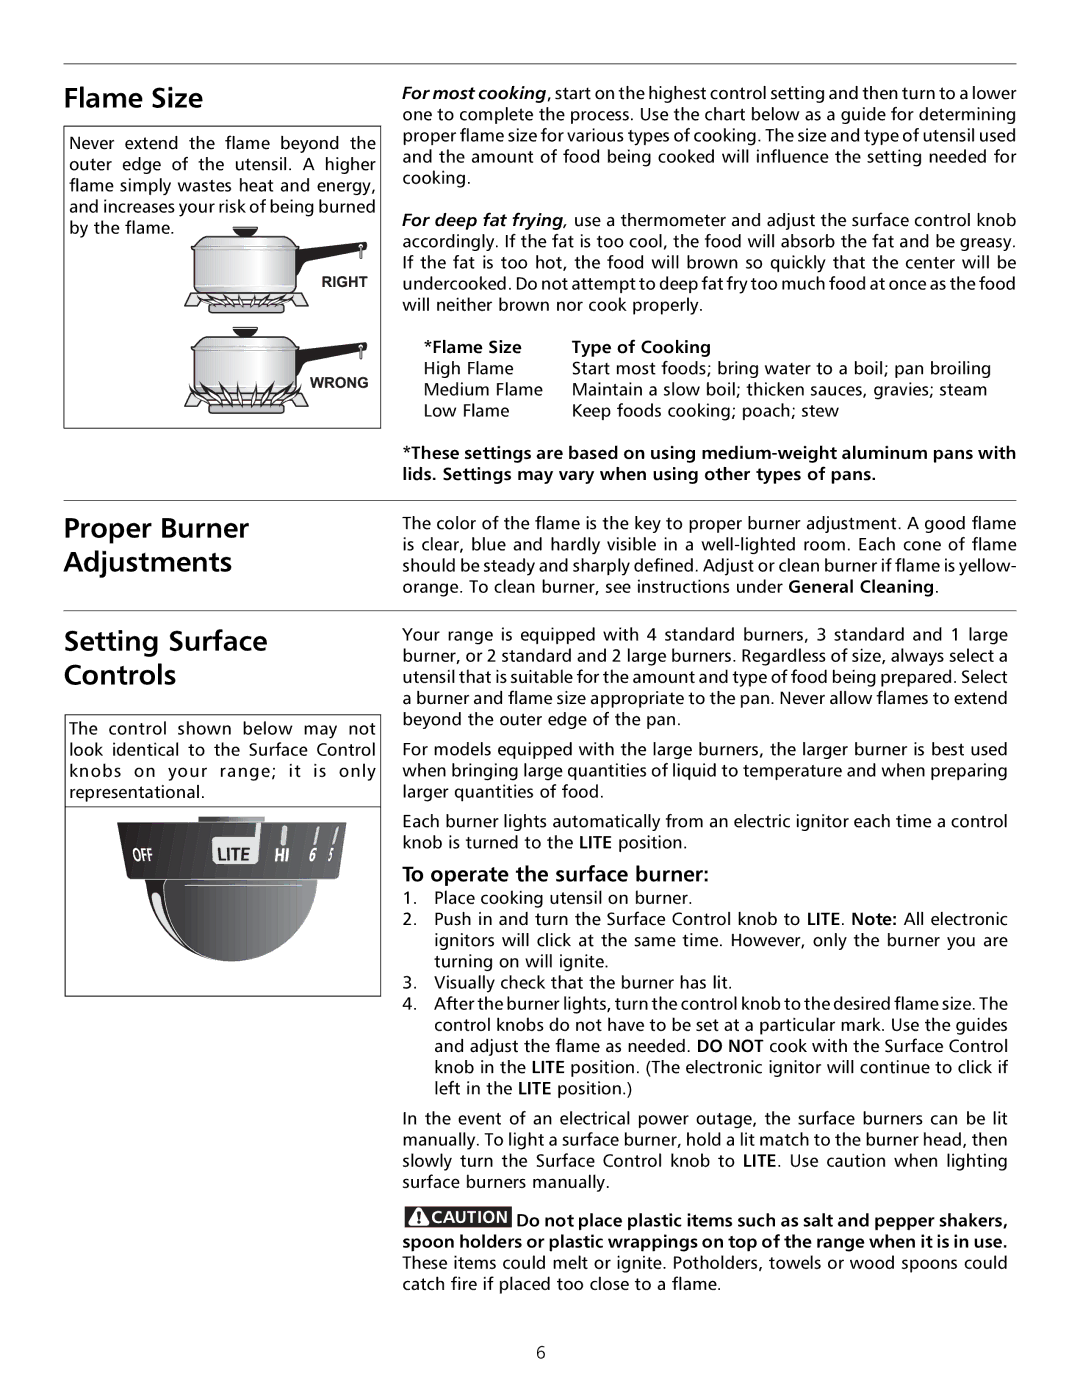
The range includes a smooth-top cooktop that features multiple burners, providing versatility for cooking various types of dishes. The burners come in different sizes, accommodating pots and pans of various dimensions. Furthermore, the cooktop is designed for quick heating and efficient energy use, resulting in faster cooking times and reduced energy consumption.
For added convenience, the Tappan 316000181 comes with a self-cleaning option, allowing users to maintain their appliance with minimal effort. This feature utilizes high temperatures to burn away food residues, eliminating the need for harsh chemicals and extensive scrubbing. Additionally, the range incorporates a digital control panel, which simplifies cooking by providing precise temperature settings and a user-friendly interface.
Safety is also a priority with the Tappan 316000181. It includes features such as a child lock function and an indicator light to signal when the cooktop is hot, ensuring peace of mind while cooking.
In terms of technologies, the Tappan 316000181 is designed with energy efficiency in mind, earning it positive ratings for sustainability. This electric range not only provides high performance but also contributes to energy conservation, making it an eco-friendly choice for environmentally conscious consumers.
Overall, the Tappan 316000181 electric range combines style, functionality, and technological advancements to provide an exceptional cooking experience. Whether you're an amateur cook or a seasoned chef, this range is designed to meet and exceed your culinary expectations.