Setting the Clock and Minute Timer
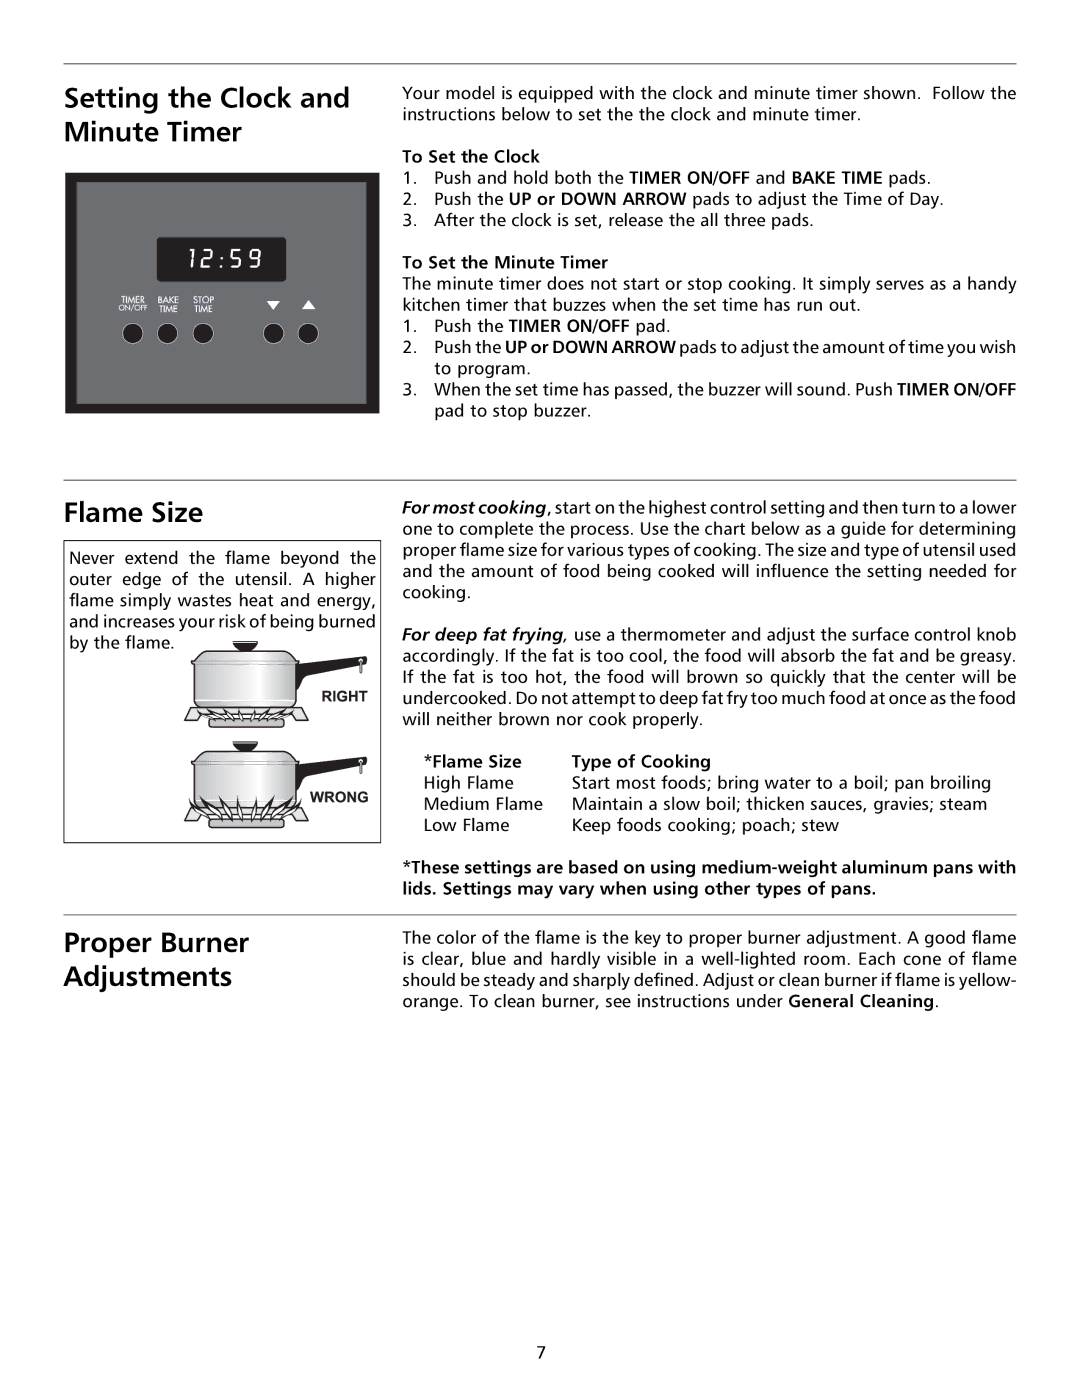
Your model is equipped with the clock and minute timer shown. Follow the instructions below to set the the clock and minute timer.
To Set the Clock
1.Push and hold both the TIMER ON/OFF and BAKE TIME pads.
2.Push the UP or DOWN ARROW pads to adjust the Time of Day.
3.After the clock is set, release the all three pads.
To Set the Minute Timer
The minute timer does not start or stop cooking. It simply serves as a handy kitchen timer that buzzes when the set time has run out.
1.Push the TIMER ON/OFF pad.
2.Push the UP or DOWN ARROW pads to adjust the amount of time you wish to program.
3.When the set time has passed, the buzzer will sound. Push TIMER ON/OFF pad to stop buzzer.
Flame Size
Never extend the flame beyond the outer edge of the utensil. A higher flame simply wastes heat and energy, and increases your risk of being burned by the flame. ![]()
For most cooking, start on the highest control setting and then turn to a lower one to complete the process. Use the chart below as a guide for determining proper flame size for various types of cooking. The size and type of utensil used and the amount of food being cooked will influence the setting needed for cooking.
For deep fat frying, use a thermometer and adjust the surface control knob accordingly. If the fat is too cool, the food will absorb the fat and be greasy. If the fat is too hot, the food will brown so quickly that the center will be undercooked. Do not attempt to deep fat fry too much food at once as the food will neither brown nor cook properly.
*Flame Size | Type of Cooking |
High Flame | Start most foods; bring water to a boil; pan broiling |
Medium Flame | Maintain a slow boil; thicken sauces, gravies; steam |
Low Flame | Keep foods cooking; poach; stew |
*These settings are based on using
Proper Burner Adjustments
The color of the flame is the key to proper burner adjustment. A good flame is clear, blue and hardly visible in a
7
