Preset Management
TC's comprehensive file based preset architecture makes archiving presets a simple process. This allows you to organize your presets the way you find most comfortable for your workflow, and to exchange presets with other users, no matter the platform or application. Presets are saved as discrete files on your hard drive. Once a preset is saved into the default location, it will automatically appear in the 'File' menu every time you use the
NOTE: A folder will appear in the Preset File Menu if it contains at least one preset.
NEXT/PREVIOUS PRESETS
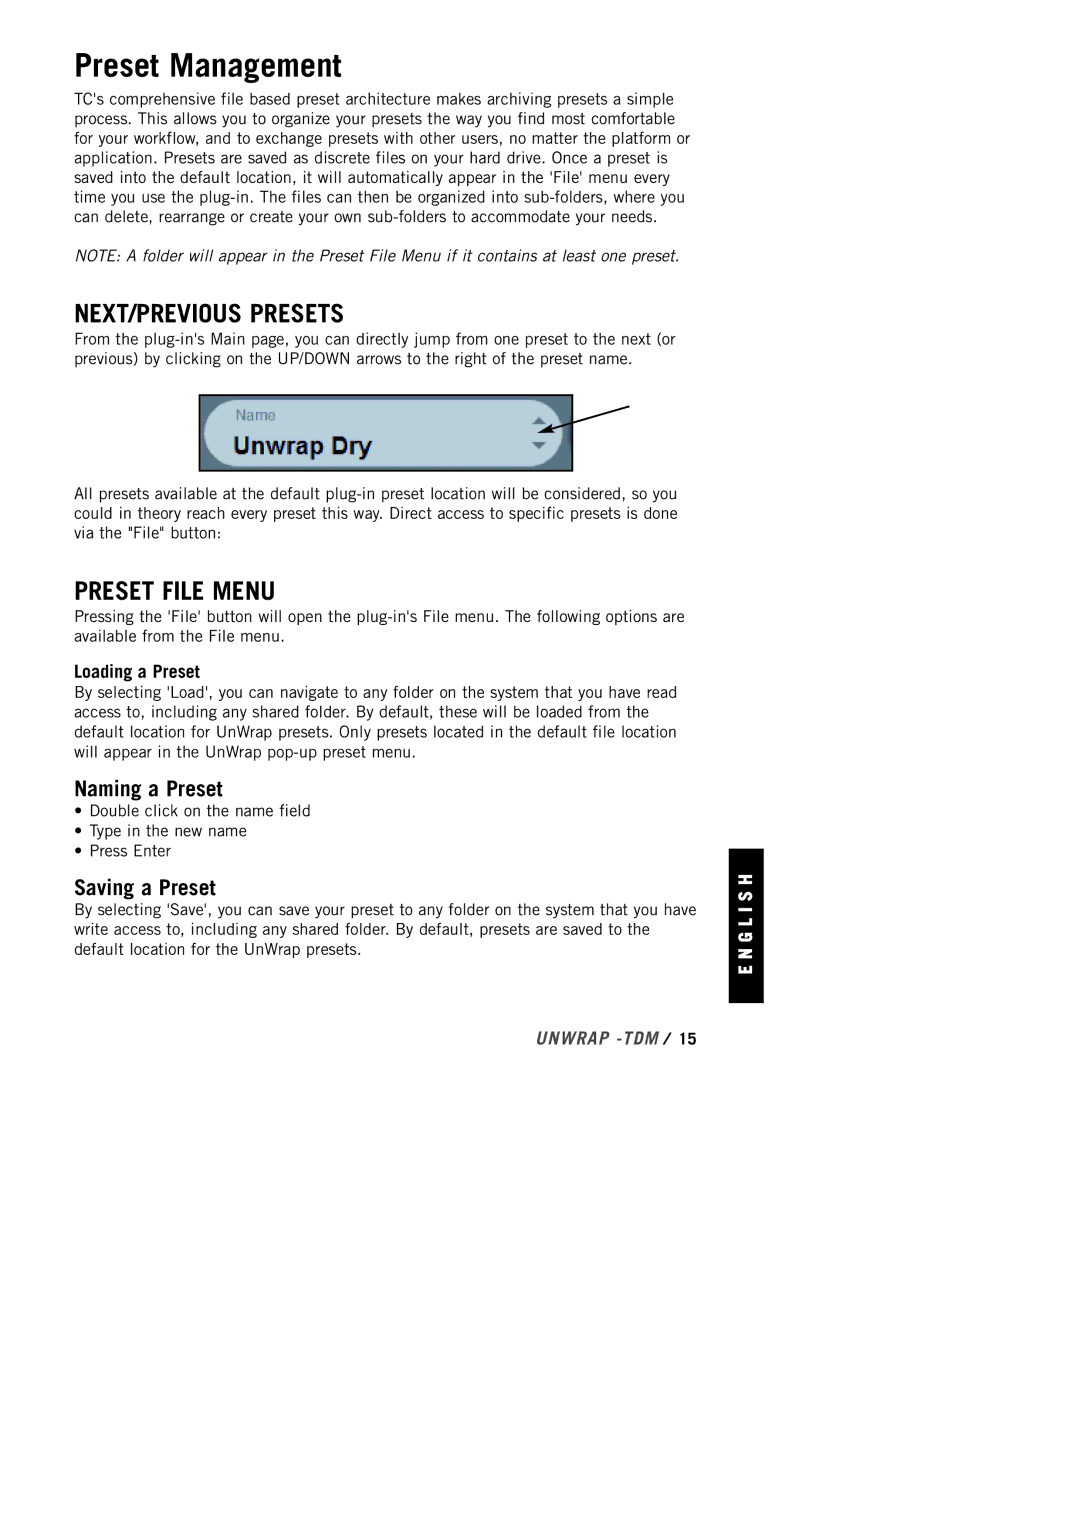
From the
All presets available at the default
PRESET FILE MENU
Pressing the 'File' button will open the
Loading a Preset
By selecting 'Load', you can navigate to any folder on the system that you have read access to, including any shared folder. By default, these will be loaded from the default location for UnWrap presets. Only presets located in the default file location will appear in the UnWrap
Naming a Preset
•Double click on the name field
•Type in the new name
•Press Enter
Saving a Preset
By selecting 'Save', you can save your preset to any folder on the system that you have write access to, including any shared folder. By default, presets are saved to the default location for the UnWrap presets.
E N G L I S H
UNWRAP
