MASTER YOUR MIX WITH MASTER X3

Master your miX with Master X3!

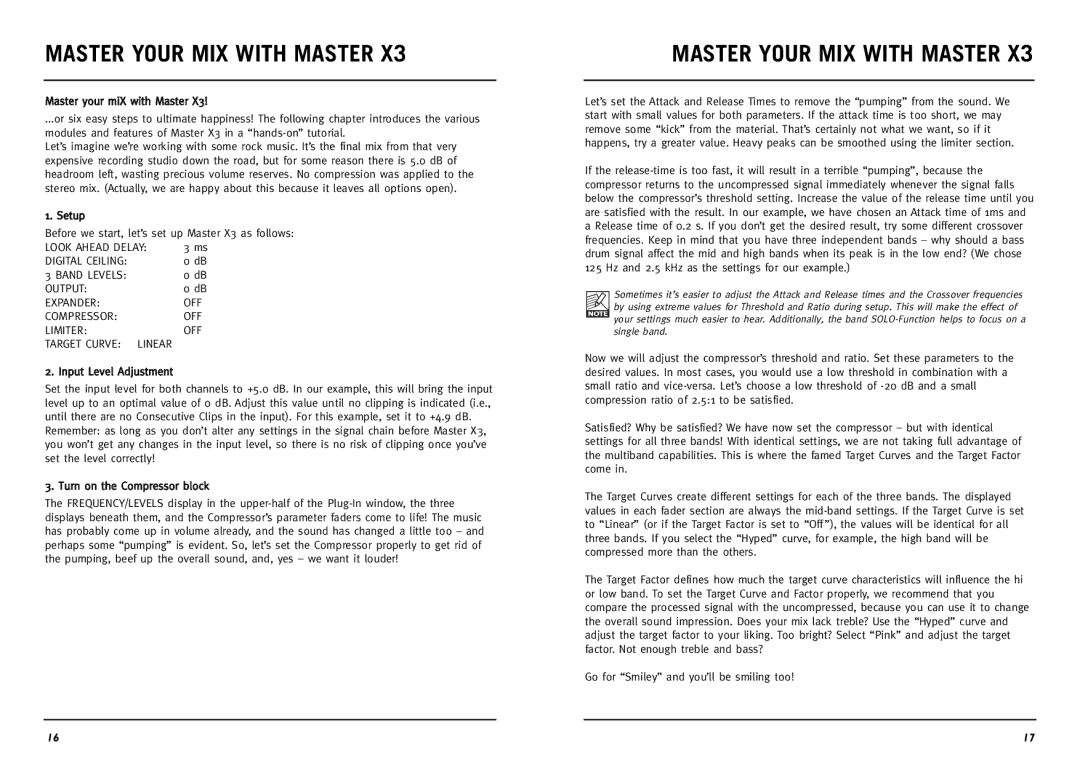
...or six easy steps to ultimate happiness! The following chapter introduces the various modules and features of Master X3 in a “hands-on” tutorial.

Let’s imagine we’re working with some rock music. It’s the final mix from that very expensive recording studio down the road, but for some reason there is 5.0 dB of headroom left, wasting precious volume reserves. No compression was applied to the stereo mix. (Actually, we are happy about this because it leaves all options open).

1. Setup

Before we start, let’s set up Master X3 as follows:

LOOK AHEAD DELAY:

3 ms

DIGITAL CEILING:

0 dB

3 BAND LEVELS:

0 dB

OUTPUT:

0 dB

EXPANDER:

OFF

COMPRESSOR:

OFF

LIMITER:

OFF

TARGET CURVE: LINEAR


2. Input Level Adjustment

Set the input level for both channels to +5.0 dB. In our example, this will bring the input level up to an optimal value of 0 dB. Adjust this value until no clipping is indicated (i.e., until there are no Consecutive Clips in the input). For this example, set it to +4.9 dB.

Remember: as long as you don’t alter any settings in the signal chain before Master X3, you won’t get any changes in the input level, so there is no risk of clipping once you’ve set the level correctly!

3. Turn on the Compressor block

The FREQUENCY/LEVELS display in the upper-half of the Plug-In window, the three displays beneath them, and the Compressor’s parameter faders come to life! The music has probably come up in volume already, and the sound has changed a little too – and perhaps some “pumping” is evident. So, let’s set the Compressor properly to get rid of the pumping, beef up the overall sound, and, yes – we want it louder!

MASTER YOUR MIX WITH MASTER X3

Let’s set the Attack and Release Times to remove the “pumping” from the sound. We start with small values for both parameters. If the attack time is too short, we may remove some “kick” from the material. That’s certainly not what we want, so if it happens, try a greater value. Heavy peaks can be smoothed using the limiter section.

If the release-time is too fast, it will result in a terrible “pumping”, because the compressor returns to the uncompressed signal immediately whenever the signal falls below the compressor’s threshold setting. Increase the value of the release time until you are satisfied with the result. In our example, we have chosen an Attack time of 1ms and a Release time of 0.2 s. If you don’t get the desired result, try some different crossover frequencies. Keep in mind that you have three independent bands – why should a bass drum signal affect the mid and high bands when its peak is in the low end? (We chose 125 Hz and 2.5 kHz as the settings for our example.)

Sometimes it’s easier to adjust the Attack and Release times and the Crossover frequencies by using extreme values for Threshold and Ratio during setup. This will make the effect of

your settings much easier to hear. Additionally, the band SOLO-Function helps to focus on a single band.

Now we will adjust the compressor’s threshold and ratio. Set these parameters to the desired values. In most cases, you would use a low threshold in combination with a small ratio and vice-versa. Let’s choose a low threshold of -20 dB and a small compression ratio of 2.5:1 to be satisfied.

Satisfied? Why be satisfied? We have now set the compressor – but with identical settings for all three bands! With identical settings, we are not taking full advantage of the multiband capabilities. This is where the famed Target Curves and the Target Factor come in.

The Target Curves create different settings for each of the three bands. The displayed values in each fader section are always the mid-band settings. If the Target Curve is set to “Linear” (or if the Target Factor is set to “Off ”), the values will be identical for all three bands. If you select the “Hyped” curve, for example, the high band will be compressed more than the others.

The Target Factor defines how much the target curve characteristics will influence the hi or low band. To set the Target Curve and Factor properly, we recommend that you compare the processed signal with the uncompressed, because you can use it to change the overall sound impression. Does your mix lack treble? Use the “Hyped” curve and adjust the target factor to your liking. Too bright? Select “Pink” and adjust the target factor. Not enough treble and bass?

Go for “Smiley” and you’ll be smiling too!

16

17

Page 9
Image 9
TC electronic SDN BHD Master X3 manual Master Your MIX with Master

Master X3 specifications

TC Electronic SDN BHD Master X3 is a cutting-edge digital audio processor designed for both professional and semi-professional audio setups. Renowned for its intuitive interface and versatile capabilities, the Master X3 stands out as an essential tool for sound engineers, musicians, and producers alike.

One of the primary features of the Master X3 is its comprehensive multi-band dynamics processing. This allows users to control the dynamics of audio signals with precision across different frequency bands. By splitting the audio spectrum into multiple bands, users can manage compression, expansion, and limiting with unparalleled accuracy, tailoring the sound to achieve the desired sonic character.

The Master X3 also incorporates advanced algorithmic technologies that maximize audio quality. Its high-quality DSP engines ensure that audio processing is executed with minimal latency, providing real-time feedback and responsiveness during live performances or studio sessions. This technological sophistication is paired with an easy-to-navigate user interface, featuring a clear visual display, intuitive controls, and an extensive library of presets that aid users in achieving professional results without an exhaustive learning curve.

Another hallmark of the Master X3 is its flexibility in routing and connectivity options. With various input and output configurations, the device can seamlessly integrate into diverse audio systems. This adaptability makes it suitable for numerous applications, from live sound reinforcement to studio mixing and mastering. The unit is designed to handle both analog and digital signals, ensuring compatibility with a wide range of devices.

Additionally, the Master X3 features robust metering options, providing real-time visual feedback of audio levels and dynamics. This monitoring capability is essential for ensuring optimal performance and preventing signal distortion, making it a reliable partner in any audio project.

For those seeking to elevate their audio production to new heights, the TC Electronic SDN BHD Master X3 delivers an impressive suite of features. Its combination of high-performance processing, user-friendly design, and versatile connectivity options make it a premier choice for anyone passionate about audio excellence. Whether on stage or in the studio, the Master X3 is engineered to deliver pristine sound quality and unmatched control.