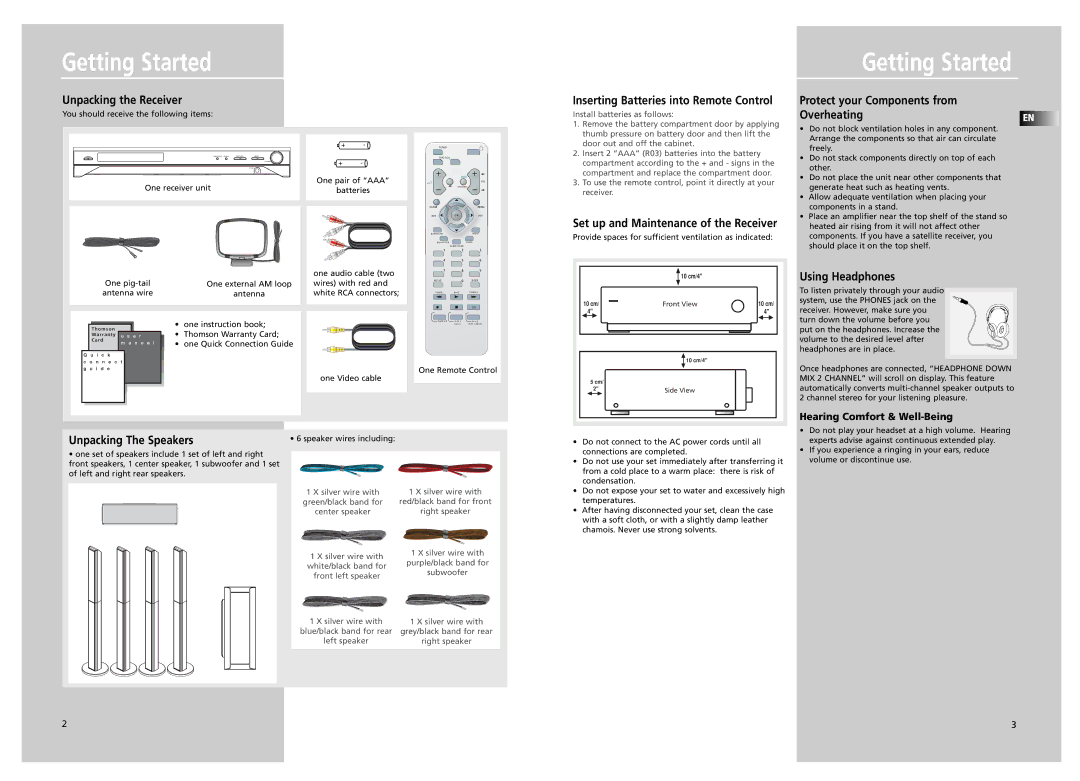
DPL5000 specifications
The Technicolor - Thomson DPL5000 represents a significant advancement in display technology, aimed at enhancing viewer experience through its innovative features and robust performance. This device is meticulously engineered to cater to the needs of audiovisual enthusiasts, providing high-quality image reproduction and versatility for various entertainment formats.One of the standout features of the DPL5000 is its DLP (Digital Light Processing) technology. This technology utilizes micro-mirrors to create sharp, vibrant images with exceptional color accuracy. The DLP system allows for fast response times, significantly reducing motion blur and delivering a smoother viewing experience, particularly important for fast-paced content such as sports and action films.
The DPL5000's resolution capabilities are another defining characteristic. It supports Full HD (1080p) resolution, ensuring that images are presented in rich detail with impressive clarity. This resolution is complemented by a high contrast ratio which enhances the depth of colors, making blacks appear deeper and whites brighter. The result is a stunning visual experience that captivates viewers.
Moreover, the DPL5000 is designed with versatility in mind. It features multiple connectivity options, including HDMI, USB, and VGA ports, allowing users to connect various devices like laptops, gaming consoles, and streaming devices seamlessly. This flexibility ensures that the projector can be utilized in numerous settings, from home theaters to business presentations.
Thermal management is another critical aspect of the DPL5000. The device incorporates advanced cooling technology, which prevents overheating and ensures consistent performance over longer viewing periods. The fan design minimizes noise, providing a distraction-free environment, whether for watching movies or giving presentations.
The DPL5000 supports multiple image modes, catering to different environments and content types. Users can easily switch between standard, cinema, and bright modes, tailoring the display characteristics to their specific needs.
In addition to its impressive technical specifications, the DPL5000 is designed for user convenience. It features an intuitive interface and remote control, making navigation and adjustments straightforward. The lightweight and compact design enhances portability, allowing users to transport the projector effortlessly.
In summary, the Technicolor - Thomson DPL5000 is a powerful, versatile projector that combines DLP technology with Full HD resolution and multiple connectivity options. Its ability to produce vibrant, detailed images, along with its thoughtful design features, makes it an excellent choice for both entertainment and professional applications.

