PEARL S
Guestroom Speakerphone Users Guide (Pan Euro)
PACKAGE CONTENTS
Check to be sure that you have all of the following components in your package (see figure below) :
• Telephone base unit | • Handset coil cord | • User guide |
• Handset | • Line cord |
|
INSTALLATION
1)Plug one end of the handset coiled cord into the handset. Plug the other end of the cord into the handset jack located on the left side of the phone base. (Refer to diagram on reverse.)
2)Place the handset in the handset cradle. Plug one end of the line cord into the LINE jack on the back of your phone.
3)Plug the other end of the modular cord into the wall jack.
WALL MOUNTING
The Pearl S telephone can easily be attached to a wall mount plate.
1)Remove the wall mount clip (located on the front of the telephone, above the speaker grill) by firmly pushing upward (toward the hook switch.)
2)Rotate the clip 180 degrees, so that the side with the protruding edge is towards the top of the telephone. This edge will help hold the handset on the cradle.
3)Place the handset in the handset cradle.
4)Connect the line cord into the LINE jack on the back of your phone. Route the line cord through channel on the bottom of the telephone. Connect the other end of the line cord to the jack on the wall mount plate.
5)Slip the phone onto the wall plate; slide the telephone down so it is firmly in place.
USING THE DATA PORT
The data port is located on the right hand side of the telephone. Use this jack to connect a computer or fax machine in parallel to the same phone line to which the telephone is connected.
ADJUSTING THE RINGER VOLUME
Your Pearl S telephone has two ringer volume levels: “Low” and “High.” To adjust the ringer volume, slide the ringer volume switch (located on the backside of the telephone) to the desired level.
HANDSET VOLUME CONTROL
There are three (3) volume levels for the handset volume. To increase or decrease the handset volume, slide the handset volume switch (located on the right hand side of the telephone) to the desired setting.
SPEAKER VOLUME CONTROL
To increase or decrease the speakerphone volume, move the speaker volume slider control (located on the right hand side of the telephone) until speaker volume is at a satisfactory level.
PLACING AND ANSWERING CALLS
To make a call, pick up the handset or press the SPEAKER key. When you hear the dial tone, dial the desired phone number. To answer an incoming call, pick up the handset or press the SPEAKER key. To end a call, place the handset back on the base, or press the SPEAKER key again.
SWITCHING BETWEEN HANDSET AND SPEAKERPHONE
To switch from the handset to the speakerphone during a call, press the SPEAKER key, and place the handset on the base. To switch from the speakerphone to the handset, lift the handset; the speakerphone will automatically turn off.
USING REDIAL
The redial function allows you to redial the last dialed number. Pick up the handset, or press the SPEAKER key, and press the REDIAL key. The number will be dialed automatically.
USING FLASH
Flash supports custom calling services, such as call waiting. For example, if you have subscribed to call waiting, press FLASH to answer an incoming call, without disconnecting the current call. Press FLASH again to return to the first call.
USING HOLD
To place a call on hold, press the HOLD key. The HOLD LED flashes. You may now hang up the handset without disconnecting the call. To resume the call, press the HOLD key again, or press the SPEAKER key. The call will once again be active.
USING MUTE
Pressing the MUTE key will silence the handset or speakerphone micro- phone. You will be able to hear the other party, but they will not be able to hear you. The MUTE LED will light. Press the MUTE key again to resume your conversation.
PROGRAMMING GUEST SERVICE KEYS
Follow these steps to program a number into one of the three memo- ry locations, for
1)Lift the handset, listen for dial tone, and press the STORE key (For key location, refer to diagram on reverse.)
2)Using the dial pad, enter the number you wish to store (up to 16 digits in length.)
3)Press the guest service key where you would like the number to be stored.
4)Press the STORE key again to complete. Repeat as necessary for subsequent guest service keys.
DIALING A STORED NUMBER
Pick up the handset or press the SPEAKER key, wait for a dial tone, then press the desired memory (guest service) key. The telephone will automatically dial the stored number.
PROGRAMMING FLASH TIMING
NOTE – The following procedure should only be attempted by a trained technician. If you are unsure of your ability to carry out this procedure, please refer the procedure to such a trained technician.)
The flash timing on the Pearl S phone can be set at 100ms, 300ms or 600ms, by using a jumper. This jumper is located under a hidden cover at the top of the telephone. To access this cover, remove the plastic overlay, undo the two screws, and remove the cover.
1)For 100ms flash, set the jumper at location J100/300.
2)For 300ms flash, set the jumper at location J100/300 and J300.
3)For 600ms flash, do not set any jumpers.
MESSAGE WAITING
The message waiting indicator flashes to indicate that there is a message waiting. Consult your system administrator or service provider for instructions on how to access these messages.
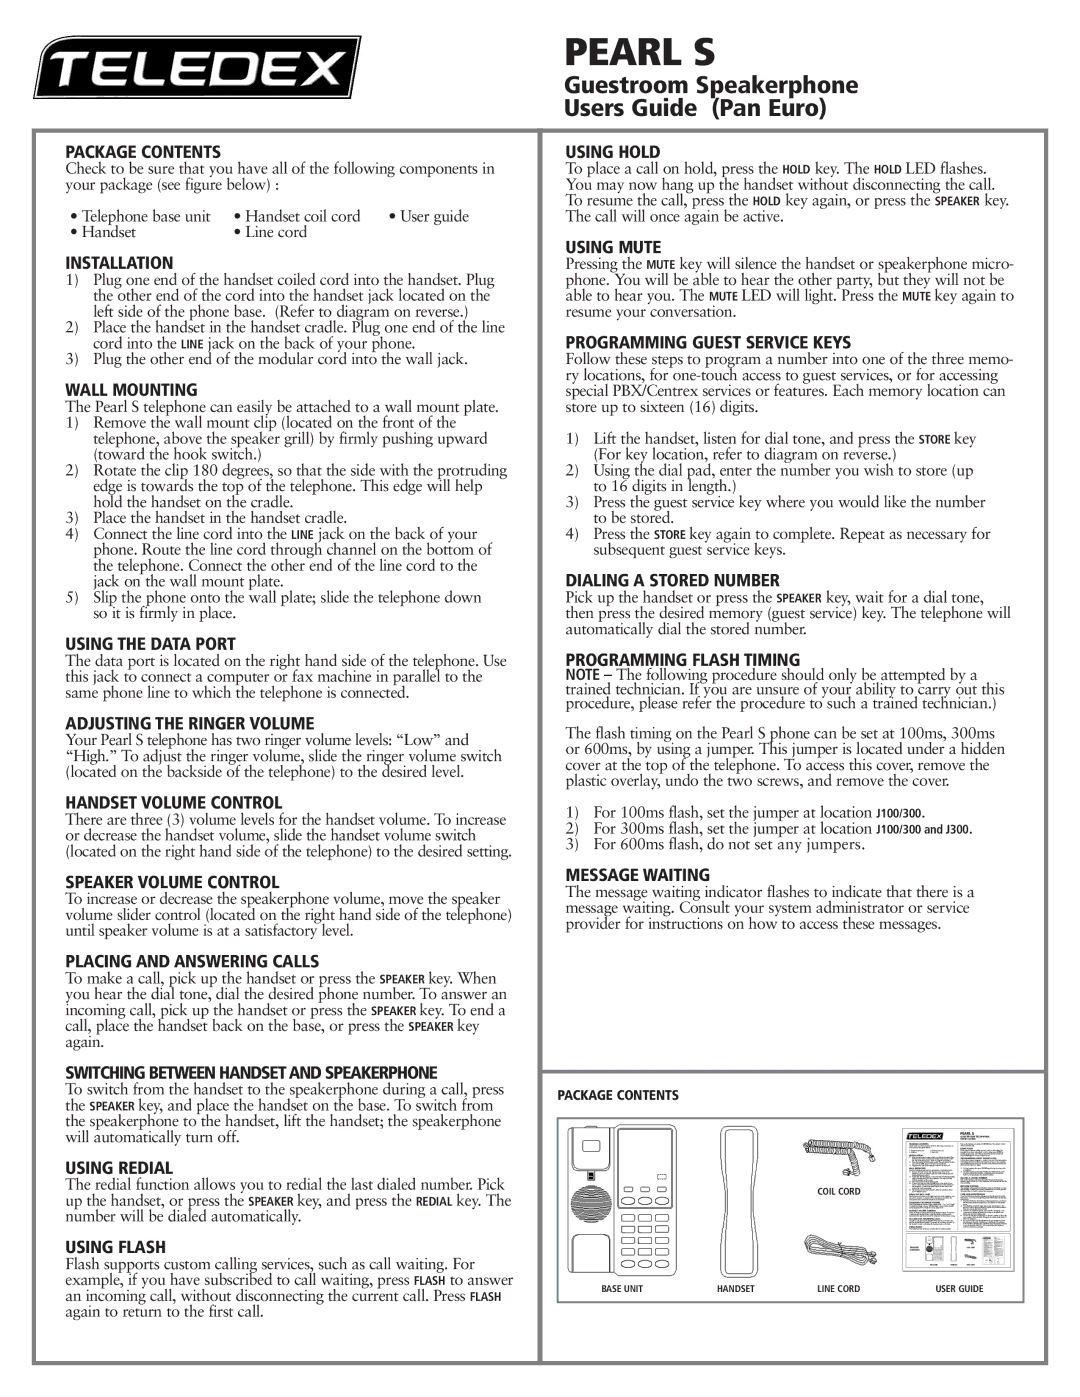
PACKAGE CONTENTS
COIL CORD
BASE UNIT |
| HANDSET |
| LINE CORD |
| USER GUIDE |