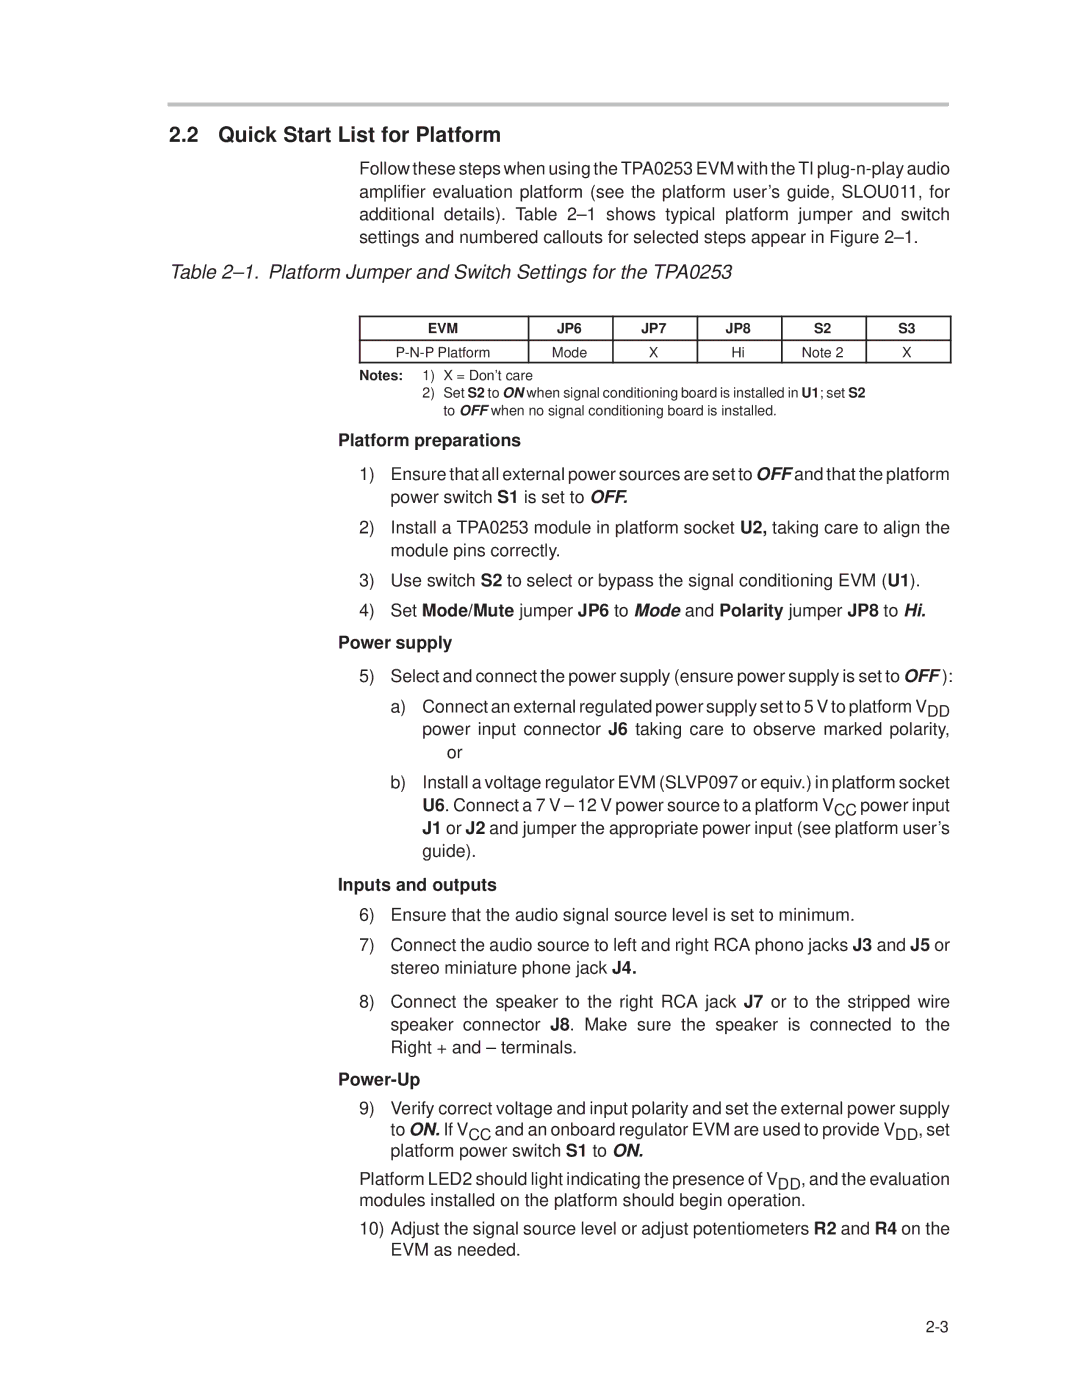
TPA0253 specifications
Texas Instruments TPA0253 is a cutting-edge audio amplifier designed for high-performance audio applications, particularly in compact devices like soundbars, televisions, and portable speakers. As part of Texas Instruments' extensive range of audio solutions, the TPA0253 stands out due to its unique blend of power efficiency, sound quality, and the ability to drive loudspeakers directly from low-voltage supply rails.One of the main features of the TPA0253 is its high efficiency, which can reach up to 92%. This is particularly important for battery-powered devices, as it helps extend battery life while delivering powerful audio performance. The device operates in class-D mode, which minimizes power loss through heat dissipation and allows for a more compact design without the need for bulky heat sinks.
The TPA0253 supports a wide range of power supply voltages, typically from 5V to 26V, making it versatile for different applications. With an output power rating of up to 2 x 15W at 4 ohms and the ability to drive up to 8 ohms loads, it can easily fill small to medium-sized spaces with high-quality sound.
In terms of technology, the TPA0253 features a fully differential architecture, enhancing the common-mode rejection ratio (CMRR) and improving noise performance. This allows for cleaner audio signals and enhances the overall sound quality, which is critical for achieving high-fidelity playback.
Additionally, the TPA0253 includes integrated protection features such as thermal shutdown and short-circuit protection, ensuring reliable operation and longevity in various environments. It also supports a variety of input configurations, compatible with different audio sources, making it a highly flexible solution for designers.
The device employs a PWM modulation scheme and includes a built-in phase-locked loop for clock generation, which contributes to its excellent performance at various frequencies. The low total harmonic distortion (THD) and high signal-to-noise ratio (SNR) further ensure that the TPA0253 delivers clear and dynamic audio playback.
To sum up, the Texas Instruments TPA0253 is an exceptional audio amplifier that combines efficiency, power, and sound quality in a small package. With its comprehensive set of features and robust protection mechanisms, it meets the demands of modern audio applications, making it a preferred choice for manufacturers in the competitive audio market.