Topcom Twintalker 9000
8 Getting started
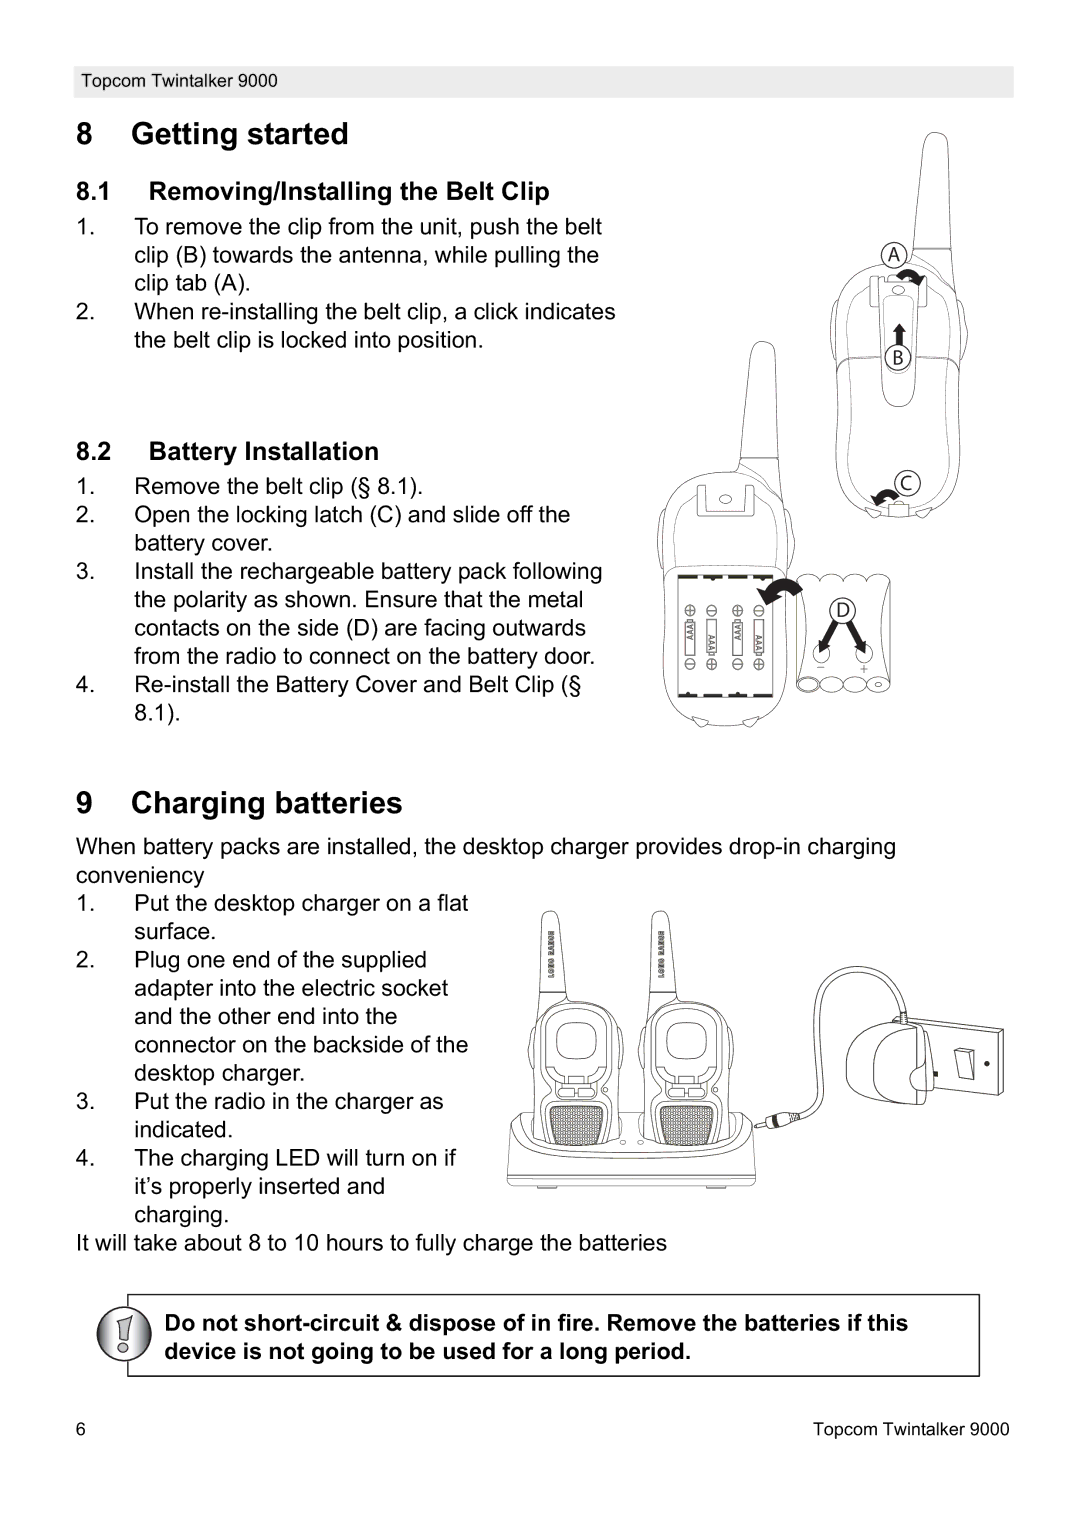
8.1Removing/Installing the Belt Clip
1.To remove the clip from the unit, push the belt clip (B) towards the antenna, while pulling the clip tab (A).
2.When
8.2Battery Installation
1.Remove the belt clip (§ 8.1).
2.Open the locking latch (C) and slide off the battery cover.
3.Install the rechargeable battery pack following the polarity as shown. Ensure that the metal contacts on the side (D) are facing outwards from the radio to connect on the battery door.
4.
A
B
C
D
9 Charging batteries
When battery packs are installed, the desktop charger provides
1.Put the desktop charger on a flat surface.
2.Plug one end of the supplied adapter into the electric socket
and the other end into the
connector on the backside of the desktop charger.
3. Put the radio in the charger as indicated.
4. The charging LED will turn on if it’s properly inserted and charging.
It will take about 8 to 10 hours to fully charge the batteries
Do not
6 | Topcom Twintalker 9000 |