Choosing a location for your LCD TV
To Display your LCD TV on the included Pedestal Stand:
Observe the following safety precautions:
1)Read and Follow the pedestal assembly instructions included with the pedestal.
CAUTION: Before beginning pedestal assembly, carefully lay the front of the LCD Panel face down on a flat, cushioned surface such as a quilt or blanket. Leave the bottom of the unit protruding over the edge of the surface and assemble the pedestal as indicated below.
Note: Extreme care should always be used when attaching the pedestal stand to avoid damage to the LCD panel.
2)Place the TV on a sturdy, level surface that can support the weight of the TV.
3)Be sure to secure the TV to a wall, pillar, surface, or other
immovable structure. To secure the TV in this manner, use the included strap located at the rear of pedestal stand.
To Display your LCD TV using a Wall Bracket:
If you decide to wall mount your LCD TV, always use a UL- listed wall bracket appropriate for the size and weight of the LCD TV (- page 2) :
1)CAUTION: Two people are required for installation.
2)Unplug and remove any cables and/or other component connectors from the rear of the TV.
3)Follow the instructions provided with your wall bracket. Before proceeding, make sure the appropriate bracket(s) are attached to the wall and the back of the TV as described in the instructions provided with the wall bracket.
4)After attaching the appropriate bracket(s) to the wall and the back of the TV, remove the pedestal stand from the TV as described below.
Removing the Pedestal Stand
1)Carefully lay the front of the unit face down on a flat, cushioned surface such as a quilt or blanket. Leave the stand protruding over the edge of the surface.
Note: Extreme care should always be used when removing the pedestal stand to avoid damage to the LCD panel.
2)Remove the jack pack cover on the back of the TV to expose the pedestal stand screws. The jack pack cover can be removed without tools.
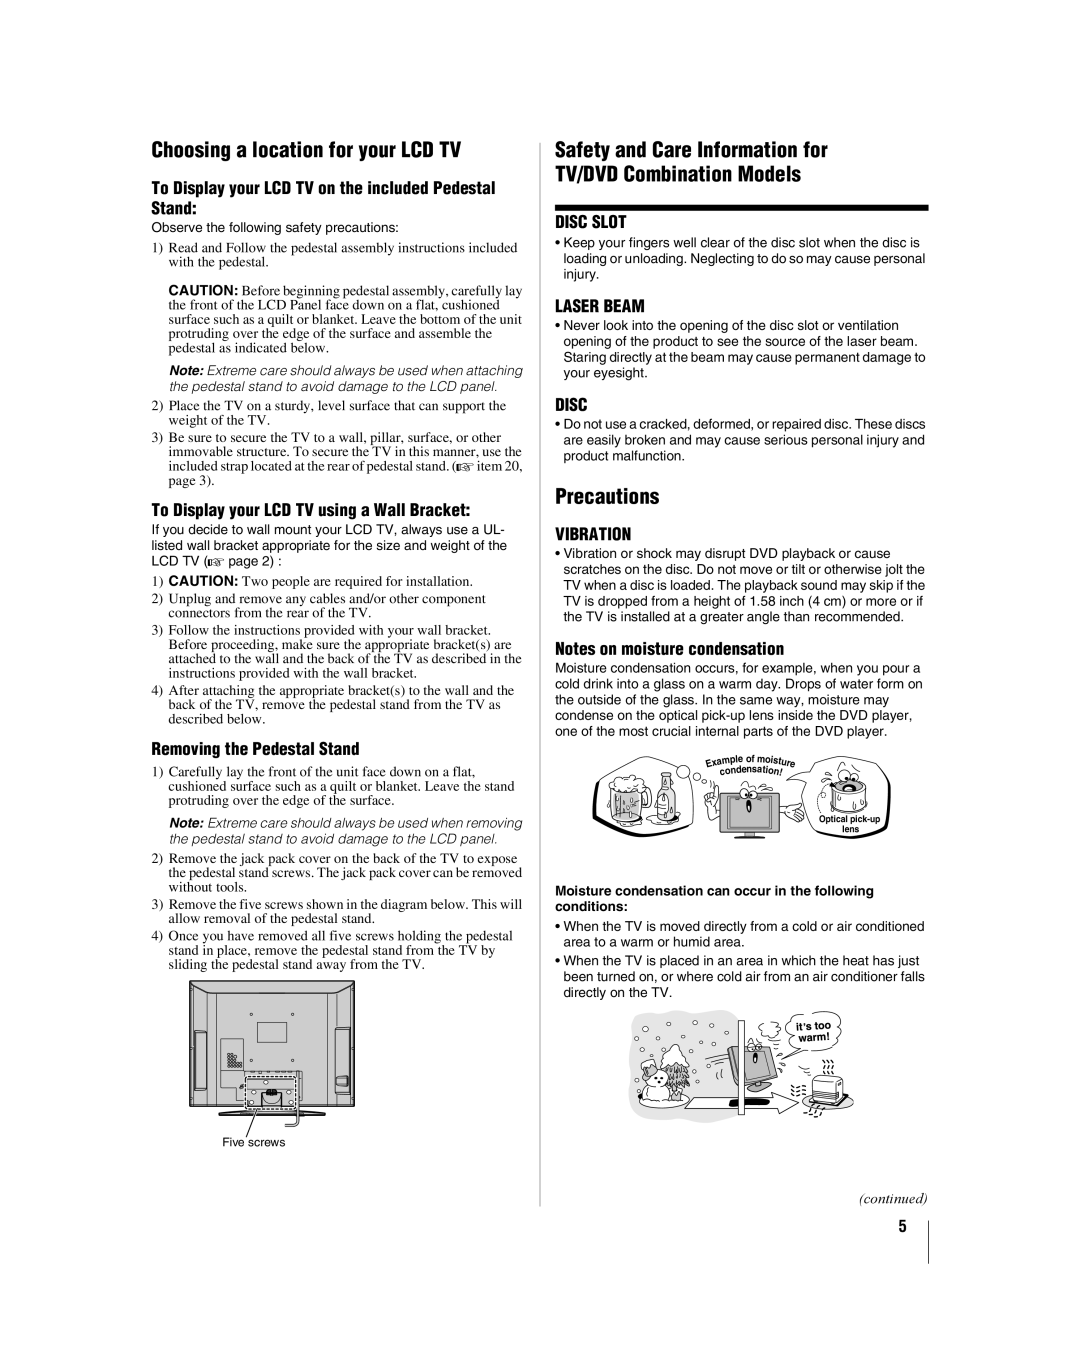
3)Remove the five screws shown in the diagram below. This will allow removal of the pedestal stand.
4)Once you have removed all five screws holding the pedestal stand in place, remove the pedestal stand from the TV by sliding the pedestal stand away from the TV.
Five screws
Safety and Care Information for
TV/DVD Combination Models
DISC SLOT
•Keep your fingers well clear of the disc slot when the disc is loading or unloading. Neglecting to do so may cause personal injury.
LASER BEAM
•Never look into the opening of the disc slot or ventilation opening of the product to see the source of the laser beam. Staring directly at the beam may cause permanent damage to your eyesight.
DISC
•Do not use a cracked, deformed, or repaired disc. These discs are easily broken and may cause serious personal injury and product malfunction.
Precautions
VIBRATION
•Vibration or shock may disrupt DVD playback or cause scratches on the disc. Do not move or tilt or otherwise jolt the TV when a disc is loaded. The playback sound may skip if the TV is dropped from a height of 1.58 inch (4 cm) or more or if the TV is installed at a greater angle than recommended.
Notes on moisture condensation
Moisture condensation occurs, for example, when you pour a cold drink into a glass on a warm day. Drops of water form on the outside of the glass. In the same way, moisture may condense on the optical
|
|
| le of m | ois |
|
| mp | tu | |||
a |
|
|
| ||
Ex |
|
| e |
| re |
|
| ond nsatio |
| ||
| c |
| n! | ||
Optical
Moisture condensation can occur in the following conditions:
•When the TV is moved directly from a cold or air conditioned area to a warm or humid area.
•When the TV is placed in an area in which the heat has just been turned on, or where cold air from an air conditioner falls directly on the TV.
(continued)
5