
51HX84, 57HX84 specifications
The Toshiba 57HX84 and 51HX84 are part of Toshiba's renowned line of high-definition rear-projection televisions that gained popularity in the early 2000s. These models were designed to deliver an immersive viewing experience, featuring cutting-edge technology and superior picture quality that appealed to consumers looking to enhance their home entertainment systems.One of the standout features of the 57HX84 and 51HX84 is their impressive screen sizes, measuring 57 inches and 51 inches respectively. This large screen area provides an engaging viewing experience that brings movies, sports, and video games to life. The rear-projection design, combined with Toshiba's advanced imaging technologies, ensured that these models could produce vibrant colors and sharp details, creating a cinematic feel at home.
Both models utilized Toshiba's Color Filter technology, which played a crucial role in enhancing color reproduction. This technology allowed for deeper blacks and more vivid colors, making it ideal for enjoying high-definition content. Additionally, the Dynamic Contrast feature further improved picture quality by automatically adjusting the contrast ratio based on the scene, ensuring that viewers always got the best possible image.
The Toshiba 57HX84 and 51HX84 also featured a built-in digital tuner, enabling them to receive over-the-air high-definition broadcasts without requiring an external set-top box. This was particularly advantageous at a time when digital television was becoming increasingly prevalent, allowing users to enjoy crystal-clear reception and access a broader range of programming.
Connectivity options were generous, with multiple inputs available, including HDMI, component video, and S-Video ports. This made it easy to connect various devices, such as DVD players, gaming consoles, and set-top boxes, ensuring versatility in usage.
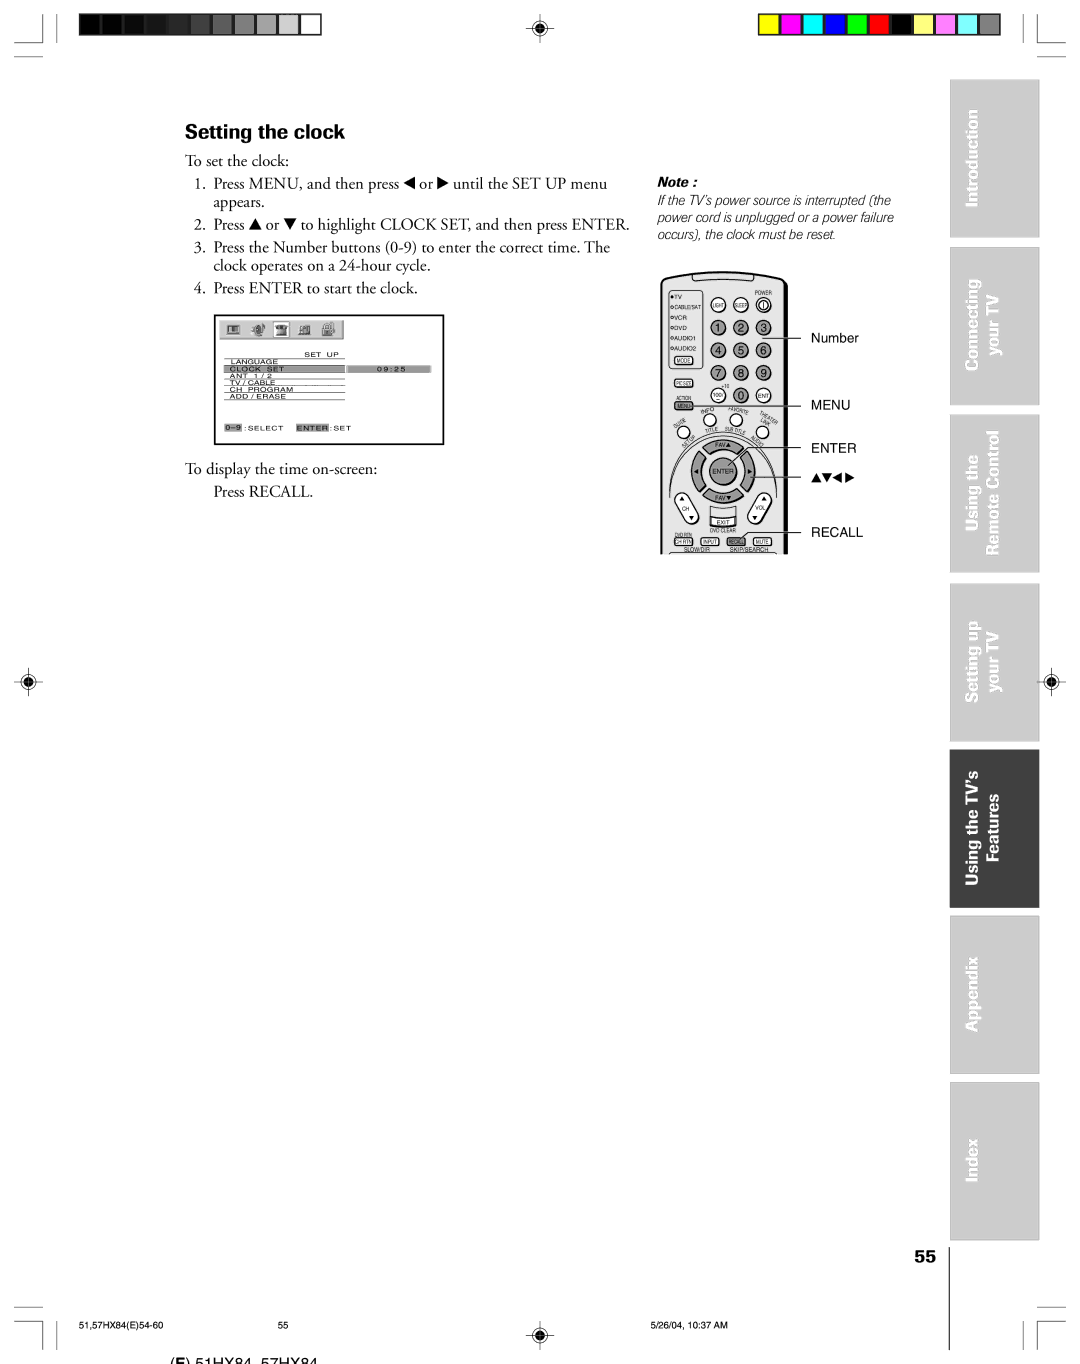
In terms of design, both models sported a sleek appearance, with a modern aesthetic that complemented contemporary home décor. The intuitive on-screen menus and remote control provided ease of use, allowing viewers to navigate settings and options quickly.
Overall, Toshiba's 57HX84 and 51HX84 represented a significant advancement in home entertainment technology during their time. Their combination of large screen sizes, enhanced imaging technologies, and versatile connectivity options made them popular choices for consumers looking to elevate their viewing experience. Even as technology has evolved, these models remain a noteworthy part of Toshiba's legacy in the television market.