TL-WN751ND
150Mbps Wireless N PCI Adapter
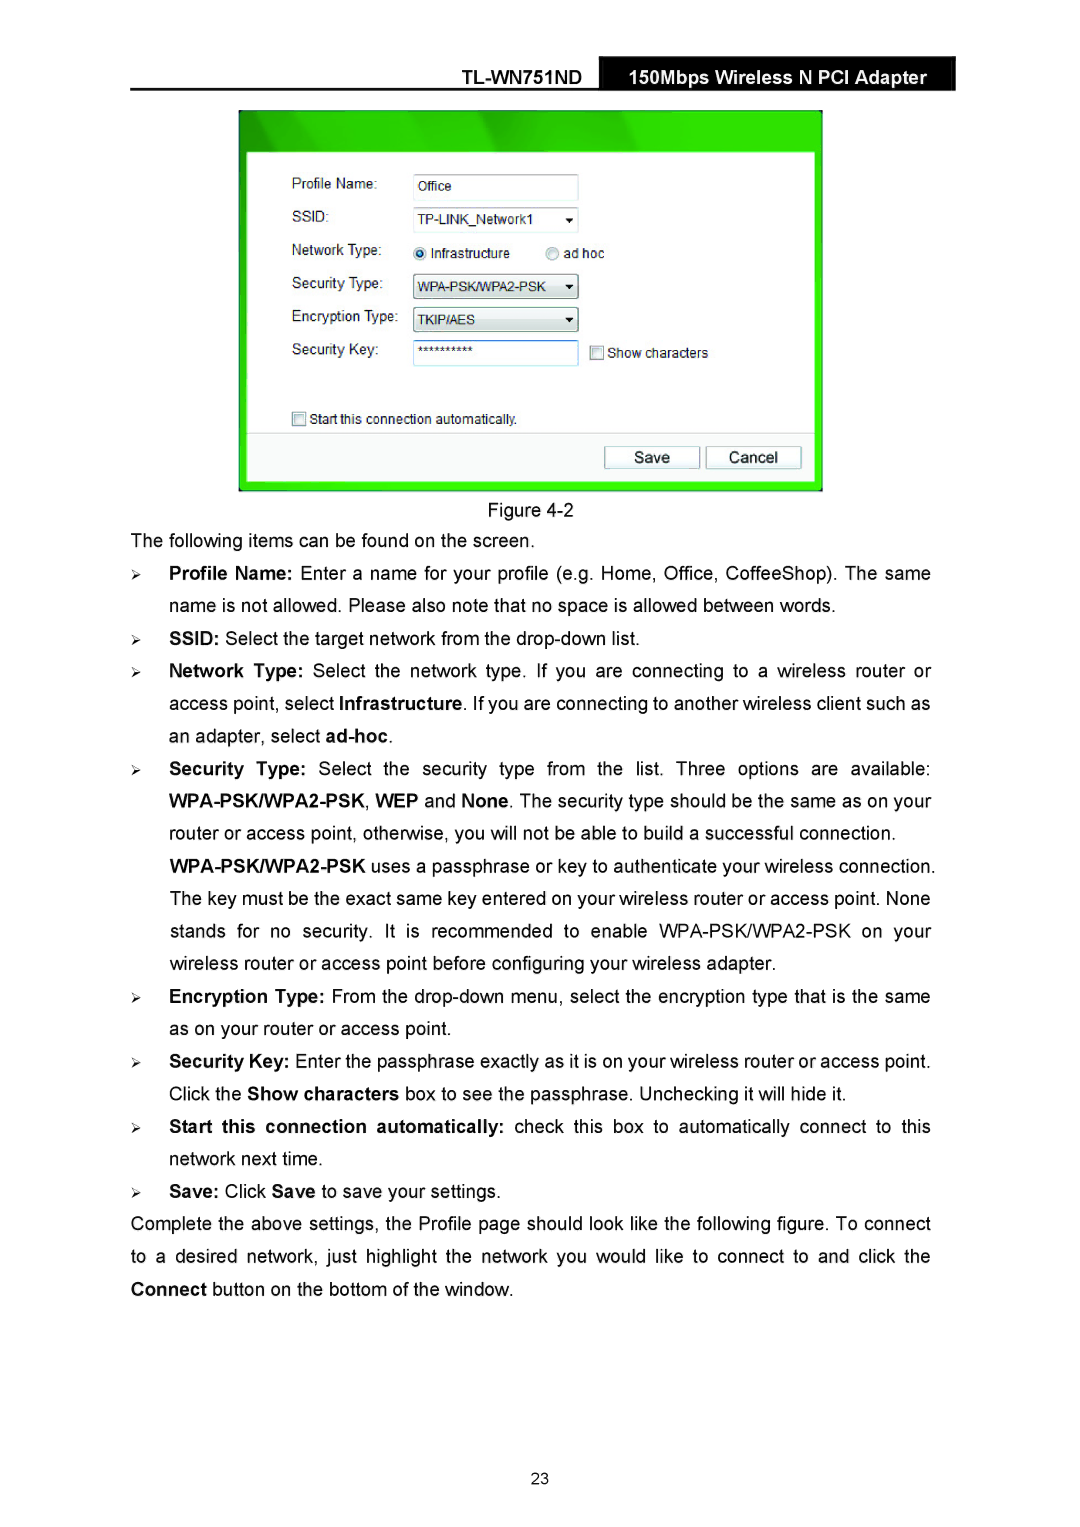
Figure
The following items can be found on the screen.
¾Profile Name: Enter a name for your profile (e.g. Home, Office, CoffeeShop). The same name is not allowed. Please also note that no space is allowed between words.
¾SSID: Select the target network from the
¾Network Type: Select the network type. If you are connecting to a wireless router or access point, select Infrastructure. If you are connecting to another wireless client such as an adapter, select
¾Security Type: Select the security type from the list. Three options are available:
¾Encryption Type: From the
¾Security Key: Enter the passphrase exactly as it is on your wireless router or access point. Click the Show characters box to see the passphrase. Unchecking it will hide it.
¾Start this connection automatically: check this box to automatically connect to this network next time.
¾Save: Click Save to save your settings.
Complete the above settings, the Profile page should look like the following figure. To connect to a desired network, just highlight the network you would like to connect to and click the Connect button on the bottom of the window.
23
