TEW640MB specifications
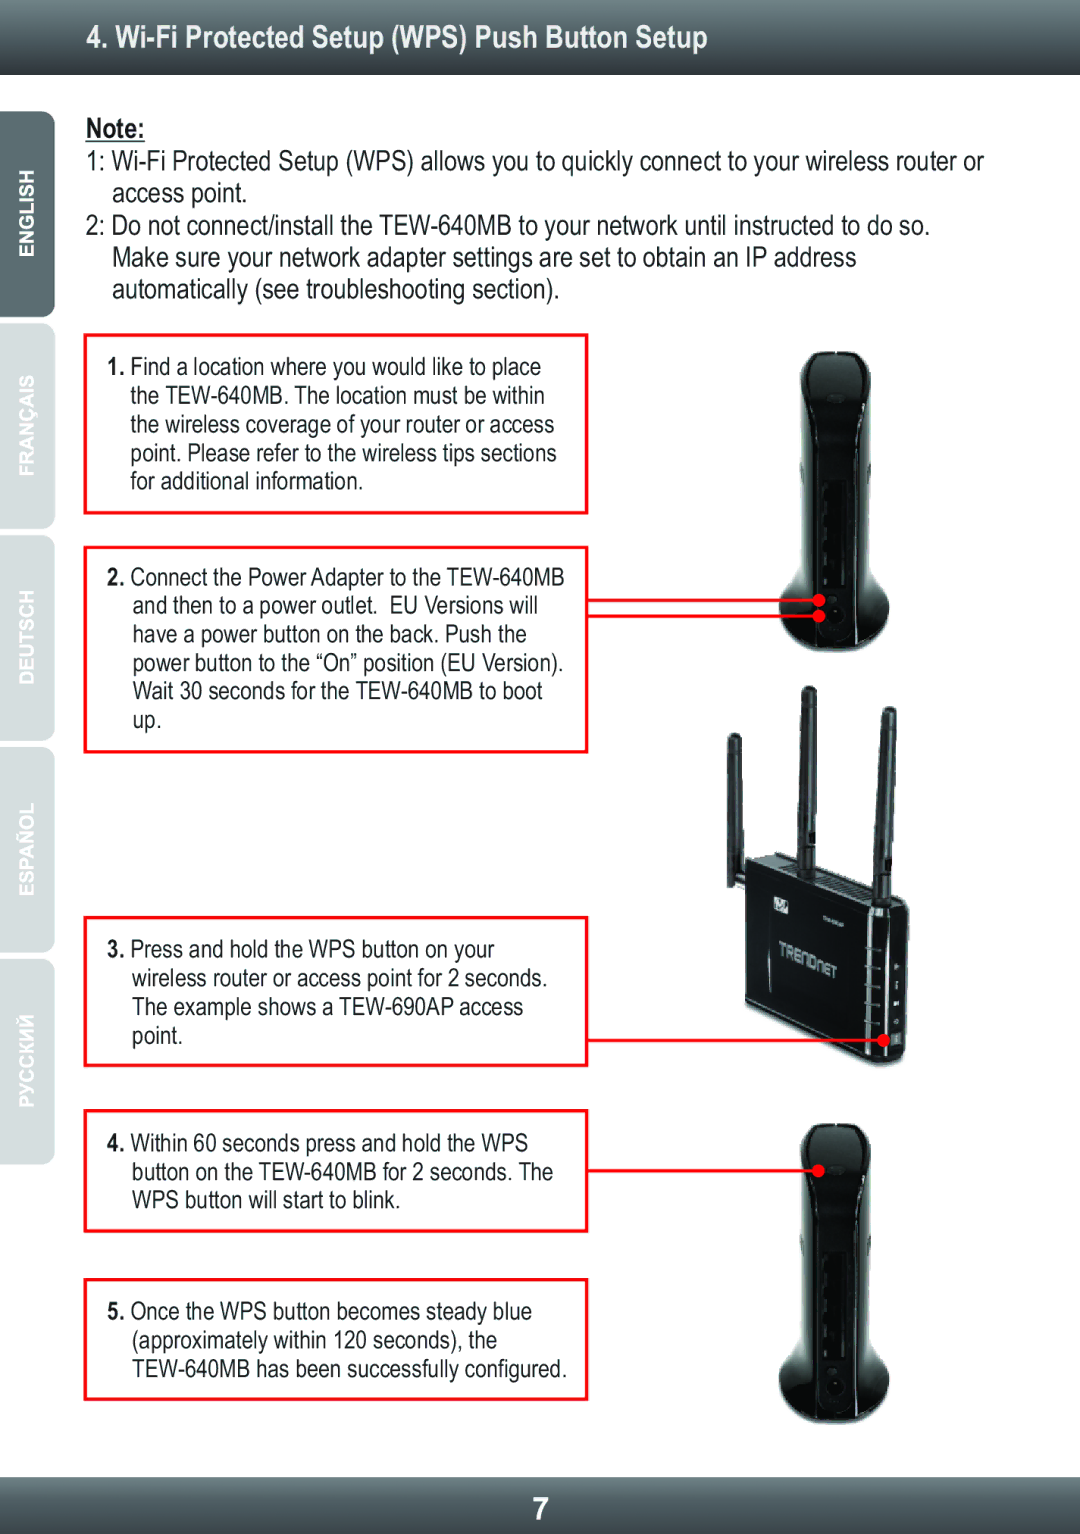
The TRENDnet TEW-640MB is a versatile and robust wireless access point that extends your home or office network capabilities. Designed to support high-speed wireless connections, it operates on the IEEE 802.11n standard, providing a reliable throughput of up to 300 Mbps. This enables smooth streaming and efficient data transfer for various applications, including gaming, video conferencing, and file sharing.One of the standout features of the TEW-640MB is its dual-band operation. It supports both the 2.4 GHz and 5 GHz frequency bands, allowing users to switch between bands for optimal performance. The 2.4 GHz band is particularly useful for devices that require greater range, while the 5 GHz band offers faster speeds with reduced interference for devices located closer to the access point.
The TEW-640MB also incorporates MIMO (Multiple Input Multiple Output) technology, which enhances wireless performance by using multiple antennas to transmit and receive data. This results in improved signal quality and greater range, making it an excellent choice for environments with multiple users and devices connected simultaneously.
In terms of security, the TRENDnet TEW-640MB supports various encryption protocols, including WPA and WPA2, to safeguard your network from unauthorized access. Users can also manage MAC address filtering and wireless security settings through the intuitive web interface, ensuring that their network remains secure at all times.
Another key feature is its versatility in deployment options. The TEW-640MB can function not only as a standard access point but also as a wireless bridge or repeater. This flexibility makes it easier to extend your existing network without extensive wiring or complicated setup processes.
For those who appreciate ease of use, the TRENDnet TEW-640MB offers a quick setup process through its Smart Setup Wizard. This feature simplifies the configuration of the device, allowing users to get connected with minimal effort.
Overall, the TRENDnet TEW-640MB is a feature-rich access point that caters to the needs of home and small office users alike. With its high-performance capabilities, dual-band functionality, and versatile deployment options, it is an ideal solution for enhancing wireless connectivity and ensuring a seamless online experience. Whether you're looking to stream media, game online, or connect multiple devices, the TEW-640MB delivers the performance and reliability necessary for modern networking demands.

