2. Hardware Installation
Note: Before installing the IDE hard drive, the jumper settings must be set to Master.
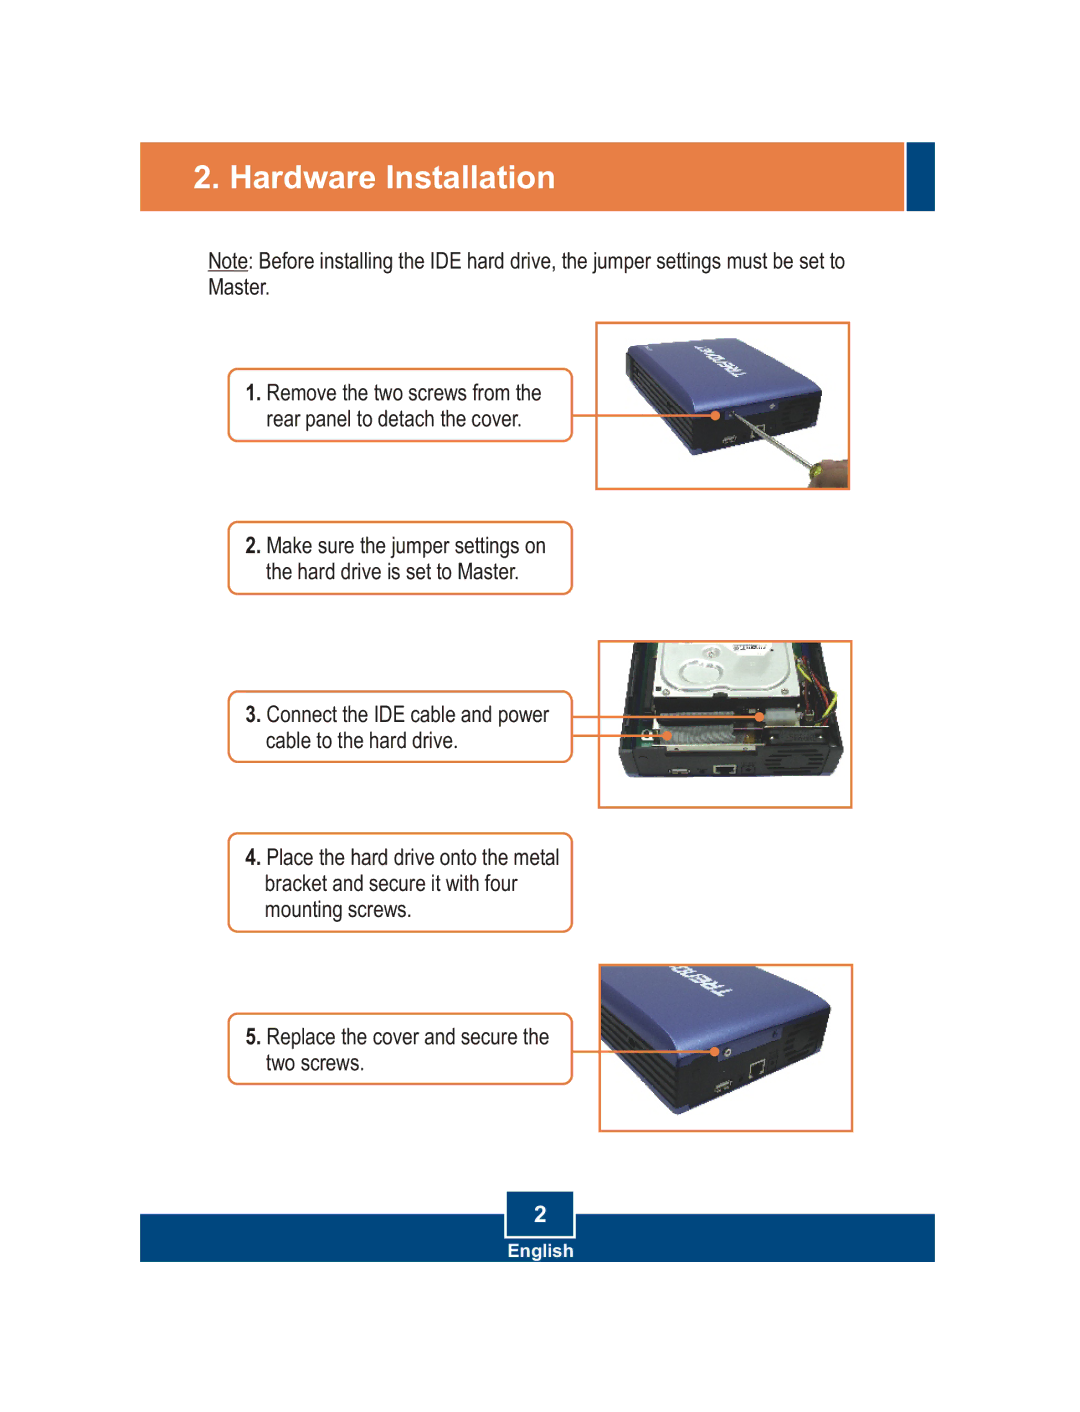
1.Remove the two screws from the rear panel to detach the cover.
2.Make sure the jumper settings on the hard drive is set to Master.
3.Connect the IDE cable and power cable to the hard drive.
4.Place the hard drive onto the metal bracket and secure it with four mounting screws.
5.Replace the cover and secure the two screws.
2
English
