TV-IP100W specifications
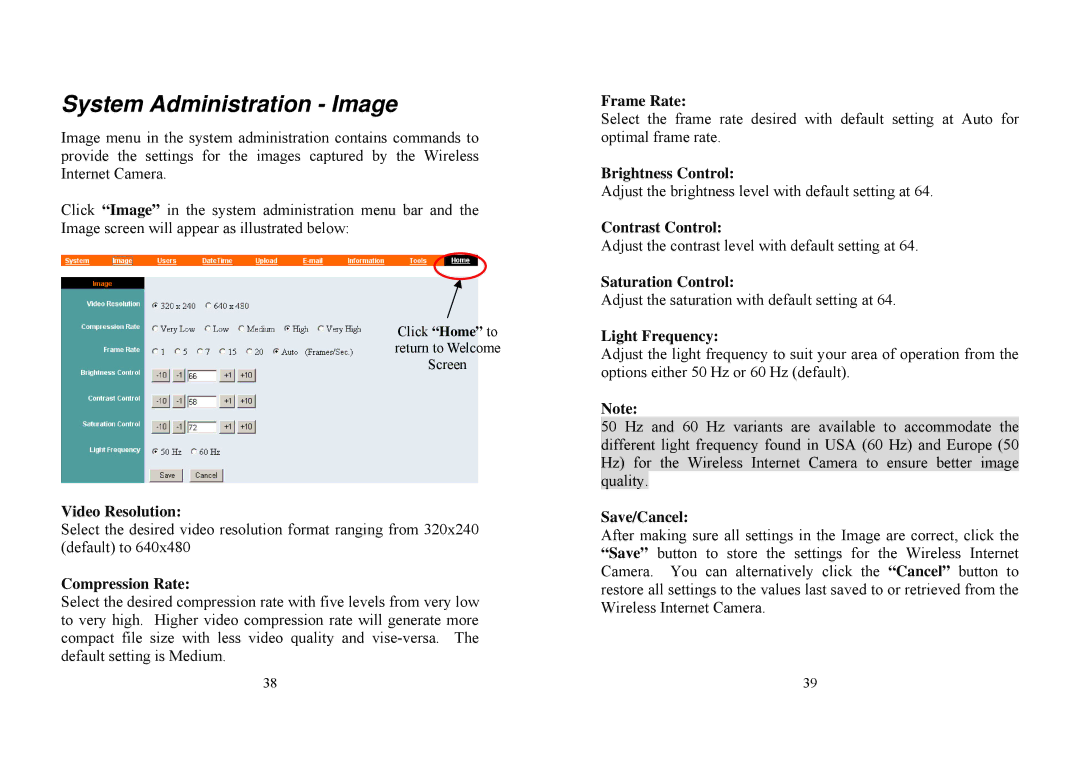
The TRENDnet TV-IP100W is a wireless Internet camera designed for both home and office security applications. This versatile camera delivers a host of features and technologies that make it suitable for real-time monitoring and surveillance. Its compact and durable design allows it to blend seamlessly into various environments, providing peace of mind without compromising on aesthetics.At the heart of the TV-IP100W is a 1/5" CMOS image sensor, which offers clarity and precision in capturing video. The camera supports video resolutions up to 640x480 pixels, ensuring that users can monitor their spaces without sacrificing image quality. One of its standout features is the ability to stream live video over the internet, allowing users to access their camera’s feed from virtually anywhere via a web browser or a mobile device.
The TRENDnet TV-IP100W employs wireless 802.11b/g technology, enabling easy installation and flexibility in camera placement. Users can connect the camera to their existing Wi-Fi network without the hassle of running long cables, making it an exceptionally user-friendly device. The camera is also equipped with a built-in microphone, which captures audio along with video, providing a more comprehensive monitoring solution.
With advanced motion detection capabilities, the TV-IP100W alerts users by sending email notifications or triggering alarms whenever movement is detected within its field of view. This feature enhances security by ensuring that users are informed of possible intrusions in real-time. Additionally, the camera includes an infrared LED that enables night vision, allowing it to capture clear images in low-light conditions.
The camera’s intuitive setup process is another major advantage. With a few simple steps, users can have their camera up and running, ready to protect their property. The TV-IP100W is compatible with various operating systems and offers software that facilitates video recording and playback, as well as setting up multiple cameras for expanded coverage.
In summary, the TRENDnet TV-IP100W is an effective and versatile wireless security camera ideal for both domestic and commercial use. Its high-quality video, easy installation, advanced motion detection, and night vision capabilities combine to deliver a robust surveillance solution that empowers users to monitor their spaces conveniently and effectively. As part of TRENDnet's commitment to providing reliable networking and security products, the TV-IP100W stands out as an excellent choice for those seeking peace of mind.

