Tripp Lite POS Series owner manual Basic Operation continued, Storage and Service

Models: POS Series

1 6
Download 6 pages 48.33 Kb
Page 4
Image 4
Basic Operation (continued)

Basic Operation (continued)

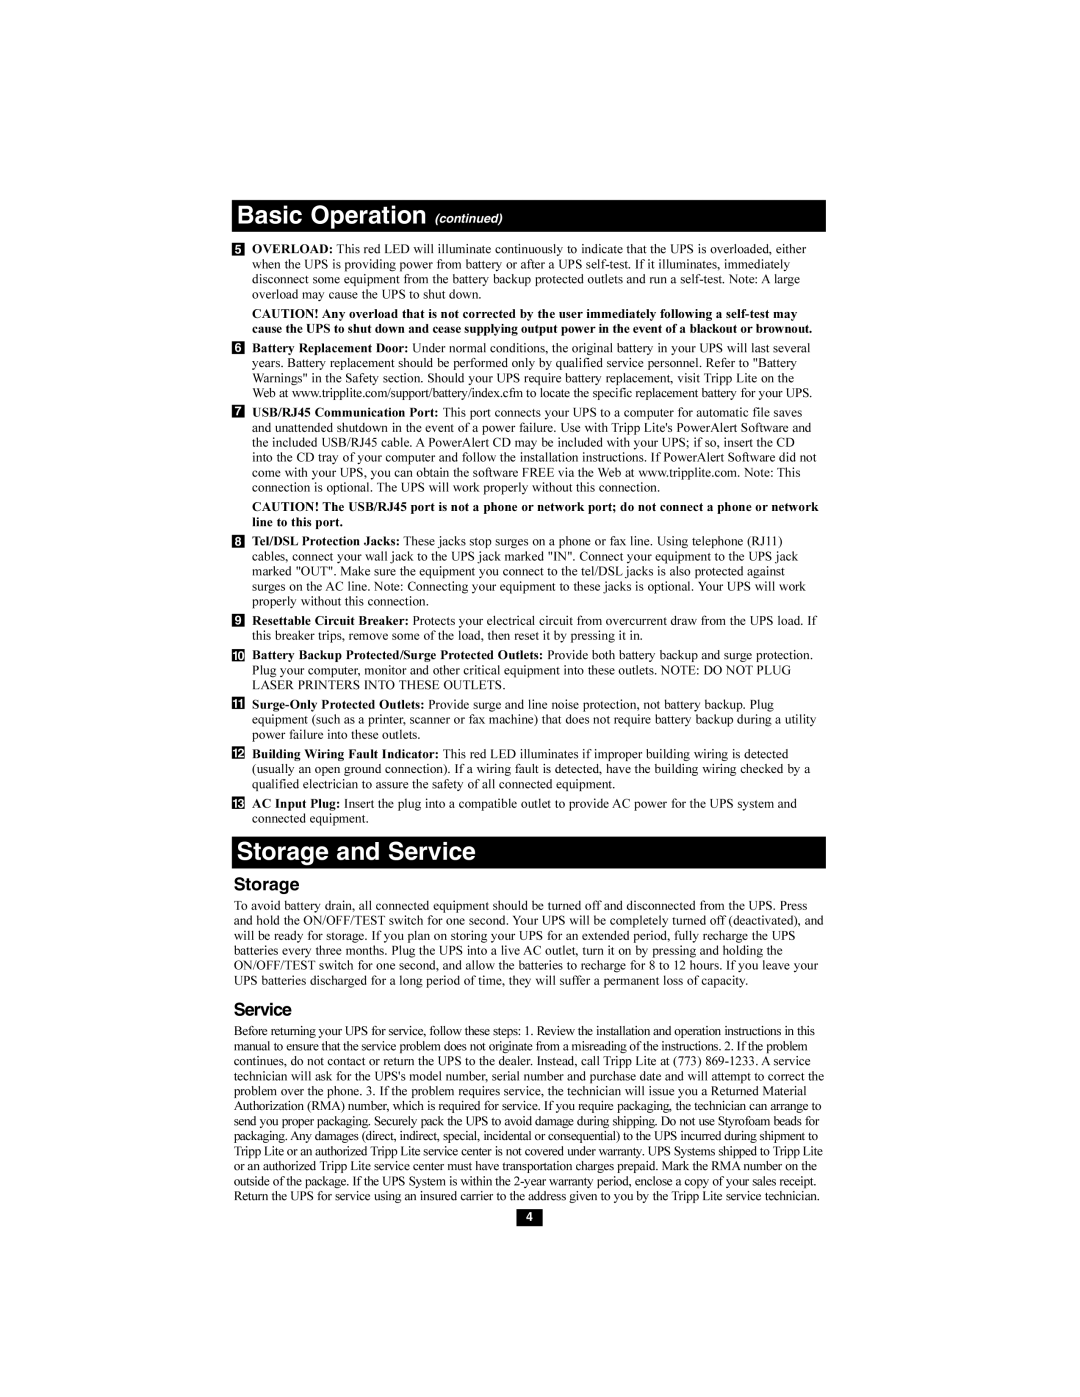
5OVERLOAD: This red LED will illuminate continuously to indicate that the UPS is overloaded, either when the UPS is providing power from battery or after a UPS self-test. If it illuminates, immediately disconnect some equipment from the battery backup protected outlets and run a self-test. Note: A large overload may cause the UPS to shut down.

CAUTION! Any overload that is not corrected by the user immediately following a self-test may cause the UPS to shut down and cease supplying output power in the event of a blackout or brownout.

6Battery Replacement Door: Under normal conditions, the original battery in your UPS will last several years. Battery replacement should be performed only by qualified service personnel. Refer to "Battery Warnings" in the Safety section. Should your UPS require battery replacement, visit Tripp Lite on the Web at www.tripplite.com/support/battery/index.cfm to locate the specific replacement battery for your UPS.

7USB/RJ45 Communication Port: This port connects your UPS to a computer for automatic file saves and unattended shutdown in the event of a power failure. Use with Tripp Lite's PowerAlert Software and the included USB/RJ45 cable. A PowerAlert CD may be included with your UPS; if so, insert the CD into the CD tray of your computer and follow the installation instructions. If PowerAlert Software did not come with your UPS, you can obtain the software FREE via the Web at www.tripplite.com. Note: This connection is optional. The UPS will work properly without this connection.

CAUTION! The USB/RJ45 port is not a phone or network port; do not connect a phone or network line to this port.

8Tel/DSL Protection Jacks: These jacks stop surges on a phone or fax line. Using telephone (RJ11) cables, connect your wall jack to the UPS jack marked "IN". Connect your equipment to the UPS jack marked "OUT". Make sure the equipment you connect to the tel/DSL jacks is also protected against surges on the AC line. Note: Connecting your equipment to these jacks is optional. Your UPS will work properly without this connection.

9Resettable Circuit Breaker: Protects your electrical circuit from overcurrent draw from the UPS load. If this breaker trips, remove some of the load, then reset it by pressing it in.

10Battery Backup Protected/Surge Protected Outlets: Provide both battery backup and surge protection.

Plug your computer, monitor and other critical equipment into these outlets. NOTE: DO NOT PLUG LASER PRINTERS INTO THESE OUTLETS.

11Surge-Only Protected Outlets: Provide surge and line noise protection, not battery backup. Plug equipment (such as a printer, scanner or fax machine) that does not require battery backup during a utility power failure into these outlets.

12Building Wiring Fault Indicator: This red LED illuminates if improper building wiring is detected (usually an open ground connection). If a wiring fault is detected, have the building wiring checked by a qualified electrician to assure the safety of all connected equipment.

13AC Input Plug: Insert the plug into a compatible outlet to provide AC power for the UPS system and connected equipment.

Storage and Service

Storage

To avoid battery drain, all connected equipment should be turned off and disconnected from the UPS. Press and hold the ON/OFF/TEST switch for one second. Your UPS will be completely turned off (deactivated), and will be ready for storage. If you plan on storing your UPS for an extended period, fully recharge the UPS batteries every three months. Plug the UPS into a live AC outlet, turn it on by pressing and holding the ON/OFF/TEST switch for one second, and allow the batteries to recharge for 8 to 12 hours. If you leave your UPS batteries discharged for a long period of time, they will suffer a permanent loss of capacity.

Service

Before returning your UPS for service, follow these steps: 1. Review the installation and operation instructions in this manual to ensure that the service problem does not originate from a misreading of the instructions. 2. If the problem continues, do not contact or return the UPS to the dealer. Instead, call Tripp Lite at (773) 869-1233. A service technician will ask for the UPS's model number, serial number and purchase date and will attempt to correct the problem over the phone. 3. If the problem requires service, the technician will issue you a Returned Material Authorization (RMA) number, which is required for service. If you require packaging, the technician can arrange to send you proper packaging. Securely pack the UPS to avoid damage during shipping. Do not use Styrofoam beads for packaging. Any damages (direct, indirect, special, incidental or consequential) to the UPS incurred during shipment to Tripp Lite or an authorized Tripp Lite service center is not covered under warranty. UPS Systems shipped to Tripp Lite or an authorized Tripp Lite service center must have transportation charges prepaid. Mark the RMA number on the outside of the package. If the UPS System is within the 2-year warranty period, enclose a copy of your sales receipt. Return the UPS for service using an insured carrier to the address given to you by the Tripp Lite service technician.

4

Page 4
Image 4
Tripp Lite POS Series owner manual Basic Operation continued, Storage and Service