12Section 4: Operation

STARTING THE ENGINE

The following steps describe how to start and stop the engine. Do not attempt to engage the tines or wheels until you have read all of the operating instruc- tions in this Section. Also review

the safety rules in Section 1: “Safety” and the tiller and engine controls information in Section 3: “Features and Controls.”

1.Complete the “Pre-Start Checklist” on the previous page.

2.Put the Wheel Gear Lever (Figure 4-1) in the ENGAGE position.

3.Put the Depth Regulator Lever in the “travel” position (lever all the way down) so that the tines are clear of the ground.

4.Release all controls on the tiller.

5.Put the Engine Throttle Control Lever (Figure 4-1) in the “FAST” setting.

6.On engines equipped with a fuel valve, turn valve to open position as instructed in the separate engine manual.

7.Choke or prime engine as instructed in the separate Engine Owner’s Manual.

8.For recoil (non-electric) starting models:

(a)Place one hand on fuel tank to stabi- lize unit when you pull the starter handle.

(b)Use the recoil starter rope to start the engine as instructed in the sepa- rate Engine Owner’s Manual. When the engine starts, gradually move the choke lever (on engines so equipped) to the “NO CHOKE”, “CHOKE OFF” or “RUN” position.

(c)Leave the Engine Throttle Control Lever in the “FAST” setting.

9.For electric starting models (E666M):

(a)Turn the engine ignition key to the “START” setting and allow the starter motor to crank the engine for several seconds. Avoid cranking the engine longer than 15 seconds at a time as doing so could damage the starter motor. NOTE: Refer to the Engine Owner’s Manual for detailed starting instructions.

(b)When the engine starts, release the key and it will return to the “RUN” setting.

(c)Gradually move choke lever (on engines so equipped) to “NO CHOKE”, “CHOKE OFF” or “RUN” position.

(d)Leave the Engine Throttle Control Lever in the “FAST” setting.

To Start the Electric Start Engine With the Recoil Starter Rope

If necessary, the electric start engine can be started with the recoil starter rope by following the steps below:

1.If the battery is not “dead” or damaged, leave it connected to the tiller so it will be recharged during engine operation. Make sure the battery cells are filled to the UPPER LEVEL line with elec- trolyte.

2.If the battery is “dead” or damaged, remove it (refer to “Battery Removal and Installation” in Section 5) and have it tested. Before starting engine, cover the terminal on the loose end of the positive

(+) cable with the insulated boot and secure it in place with electrical tape to prevent electrical sparks.

3.Put the ignition key in the “RUN” position and then follow Steps 1-8 of “Starting the Engine.”

STOPPING THE ENGINE

1.To stop the wheels and tines, release the Forward Clutch Control levers or the Reverse Clutch Control knob (whichever control is engaged).

2.To stop the engine on the recoil start model, move the Engine Throttle Control Lever to the “STOP” position.

3.To stop the engine on an electric start model, move the ignition key to “OFF”.

IMPORTANT: After stopping an electric start engine, remove the ignition key from the switch to reduce the possibility of unauthorized starting of the engine.

OPERATING THE TILLER

The following pages provide guidelines to using your tiller effectively and safely in various gardening applications. Be sure to read “Tilling Tips & Techniques” in this Section before you actually put the tines into the soil.

This is a traditional “standard rotating tine” tiller with forward rotating tines. It operates completely differently from CRT (Counter Rotating Tines) tillers or from low-cost front tine tillers.

1.Follow the “Pre-Start Checklist” on the previous page. Be sure that the Wheel Gear Lever is in the ENGAGE position.

2.Put the Depth Regulator Lever in the “travel” position (lever all the way down) so that the tines are clear of the ground. Use this position when practicing with your tiller or when moving to or from the garden. When you are ready to begin tilling, you must move the Depth Regula- tor Lever to the desired depth setting (see “Tilling Tips & Techniques”).

3.Start the engine and allow it to warm up. When warm, put Engine Throttle Control Lever in “FAST” speed setting.

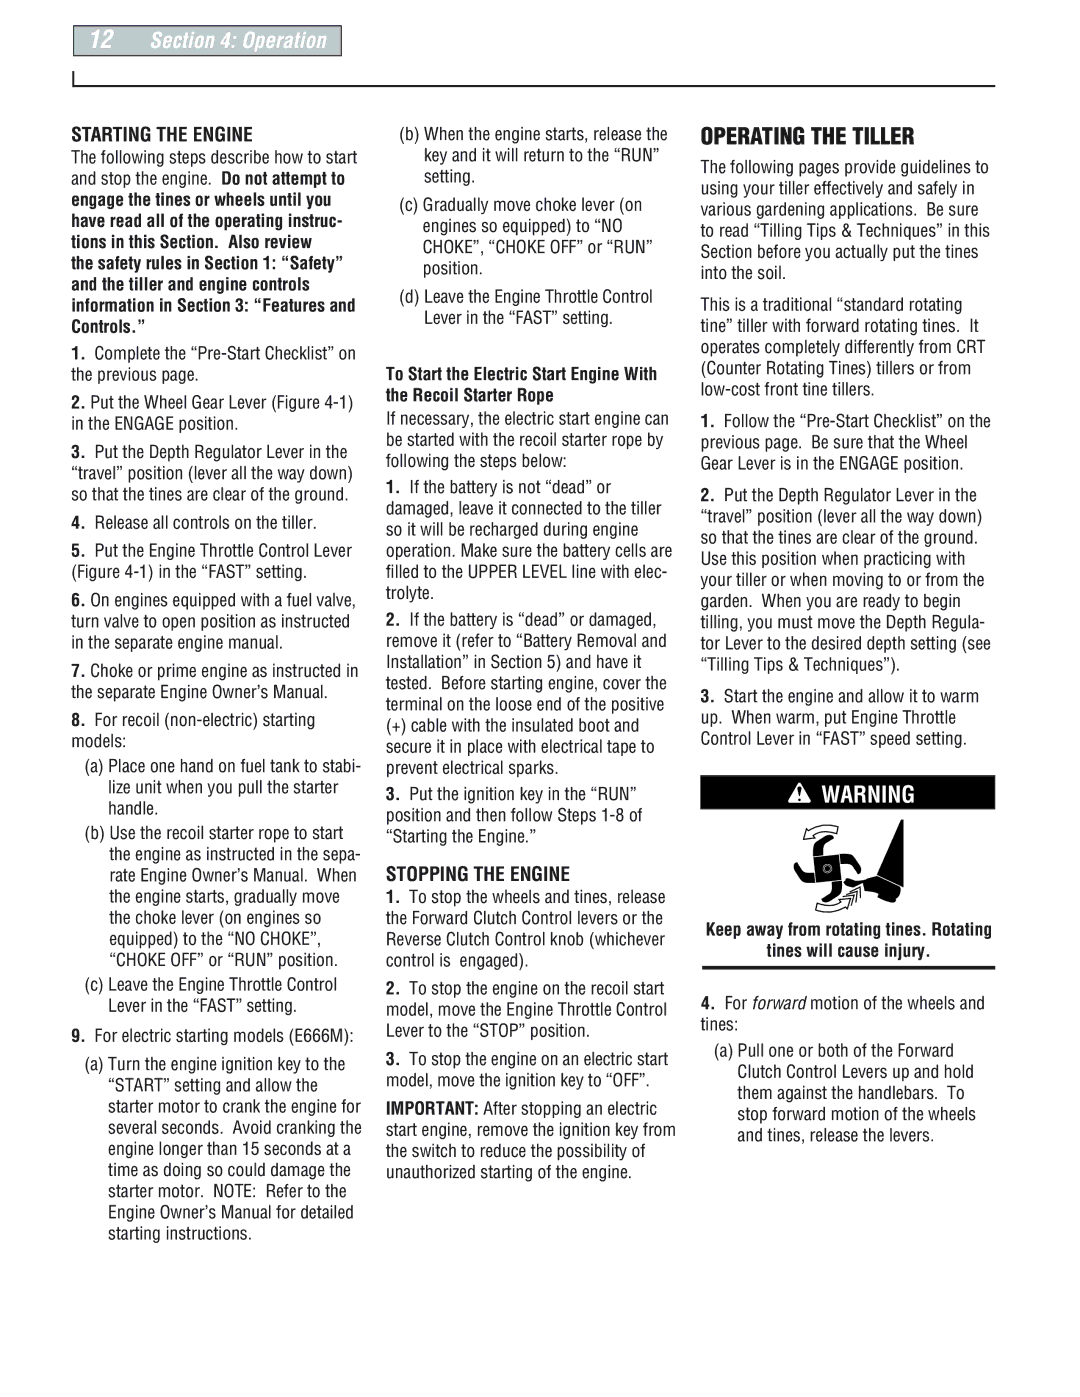
WARNING

Keep away from rotating tines. Rotating

tines will cause injury.

4.For forward motion of the wheels and tines:

(a)Pull one or both of the Forward Clutch Control Levers up and hold them against the handlebars. To stop forward motion of the wheels and tines, release the levers.

Page 12
Image 12
Troy-Bilt 665B Pro-line, 664Dpony, E66M PonyES Operating the Tiller, Operation, Starting the Engine, Stopping the Engine

E66M PonyES, 664Dpony, 665B Pro-line specifications

The Troy-Bilt E66M PonyES, 665B Pro-line, and 664D Pony represent a trio of robust lawn care solutions tailored for those seeking efficiency, durability, and cutting-edge features in their outdoor equipment. Each model is designed to tackle the unique challenges of yard maintenance while providing users with a comfortable and flexible experience.

The Troy-Bilt E66M PonyES stands out with its compact design, making it an ideal choice for residential lawns and tight spaces. Equipped with a reliable engine, this model offers exceptional power while maintaining fuel efficiency. The E66M features a 66-inch cutting deck that ensures a wide cutting path, significantly reducing mowing time. Its electric start capability adds convenience, allowing users to quickly get to work without the hassle of a pull cord. Additionally, the PonyES is designed with adjustable cutting heights, providing versatility for various grass types and conditions, ensuring a neat cut every time.

Next in line is the 665B Pro-line, engineered for more demanding tasks. This model is ideal for professional landscapers and homeowners with larger properties. The 665B boasts a more robust engine and enhanced durability, enabling it to handle challenging terrains with ease. With a significant cutting deck size of 66 inches, this model is optimized for speed and efficiency. The Pro-line features a heavy-duty transmission and a superior suspension system, which not only enhances maneuverability but also ensures a smooth ride over bumpy lawns. Its ergonomic design includes a comfortable seat and user-friendly controls, allowing operators to work for extended periods without fatigue.

Lastly, the 664D Pony offers a blend of power and versatility. Designed for those who appreciate performance without compromising on ease of use, this model features a 64-inch cutting deck that adeptly navigates various landscapes. The 664D is built with a high-performance engine, ensuring consistent power and reliability. Its durable construction and advanced cutting technology help to achieve a precise, professional-quality cut. The model also incorporates features like easy height adjustments and user-friendly handling, making it a favorite among both casual mowers and serious landscapers.

In summary, the Troy-Bilt E66M PonyES, 665B Pro-line, and 664D Pony are exemplary models that cater to a wide range of mowing needs. Each machine leverages innovative technologies, powerful engines, and thoughtful designs, ensuring that users experience efficiency and quality with every mowing session. Whether for a small garden or vast landscapes, these models are equipped to deliver exceptional performance and ease of use.