O W N E R ’ S M A N U A L
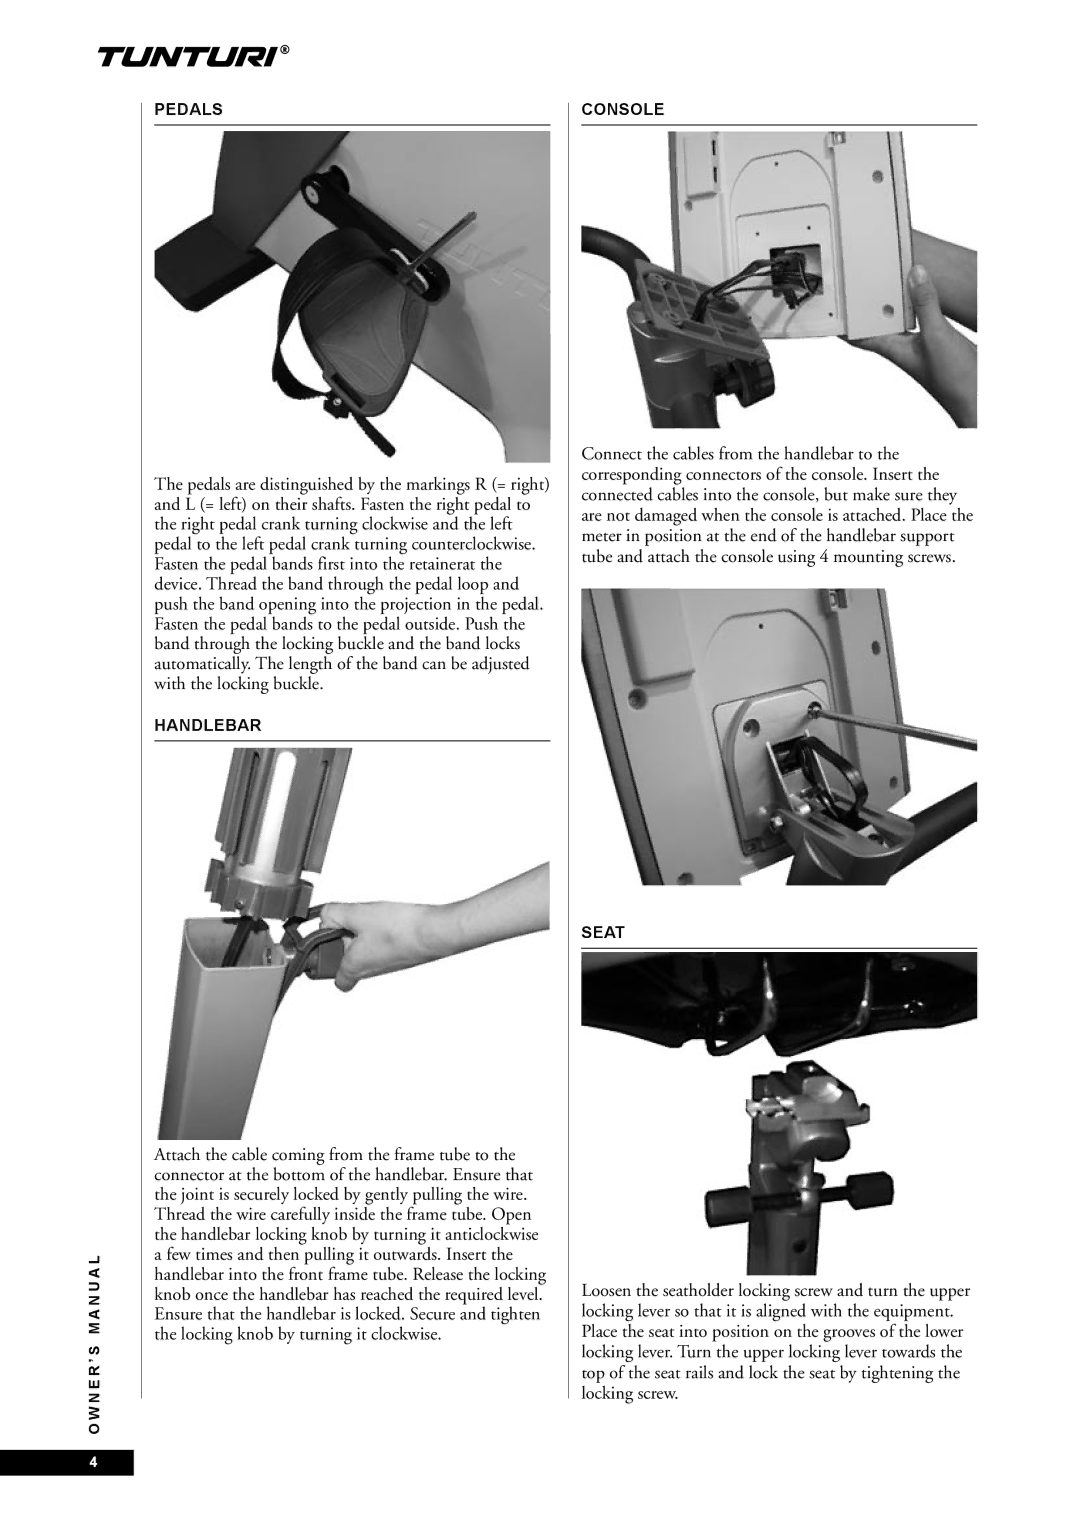
PEDALS
The pedals are distinguished by the markings R (= right) and L (= left) on their shafts. Fasten the right pedal to the right pedal crank turning clockwise and the left pedal to the left pedal crank turning counterclockwise. Fasten the pedal bands first into the retainerat the device. Thread the band through the pedal loop and push the band opening into the projection in the pedal. Fasten the pedal bands to the pedal outside. Push the band through the locking buckle and the band locks automatically. The length of the band can be adjusted with the locking buckle.
HANDLEBAR
Attach the cable coming from the frame tube to the connector at the bottom of the handlebar. Ensure that the joint is securely locked by gently pulling the wire. Thread the wire carefully inside the frame tube. Open the handlebar locking knob by turning it anticlockwise a few times and then pulling it outwards. Insert the handlebar into the front frame tube. Release the locking knob once the handlebar has reached the required level. Ensure that the handlebar is locked. Secure and tighten the locking knob by turning it clockwise.
CONSOLE
Connect the cables from the handlebar to the corresponding connectors of the console. Insert the connected cables into the console, but make sure they are not damaged when the console is attached. Place the meter in position at the end of the handlebar support tube and attach the console using 4 mounting screws.
SEAT
Loosen the seatholder locking screw and turn the upper locking lever so that it is aligned with the equipment. Place the seat into position on the grooves of the lower locking lever. Turn the upper locking lever towards the top of the seat rails and lock the seat by tightening the locking screw.
4