INSTRUCTIONS FOR USE
1. Press and realease the |
|
POWER/SCAN button |
|
and the system will start |
|
its |
|
Figure 1 | |
(See Fig. 1). |
|
2. Once the |
|
completed, the display |
|
will show the last temper- | Figure 2 |
| |
ature recorded. (See Fig. |
|
2). This indicates that the |
|
thermometer is ready for |
|
you to use. |
|
3.Press the POWER/SCAN button without releasing
it so it will perform the | Figure 3 |
| |
automatic scanning |
|
| |
sequences. The word Lo |
|
may appear indicating |
|
the temperature |
|
registering is lower than |
|
93.2°F/34°C (See Fig. 3). |
|
4.Keeping the POWER/SCAN button depressed, insert the probe into the ear canal. The probe must be inserted well
6
into the ear to allow the |
|
probe tip to continuously |
|
scan the ear canal. This |
|
will ensure an accurate | Figure 4 |
| |
| |
temperature measurement |
|
(See Fig. 4). After one |
|
second release the |
|
POWER/SCAN button |
|
for a temperature reading. |
|
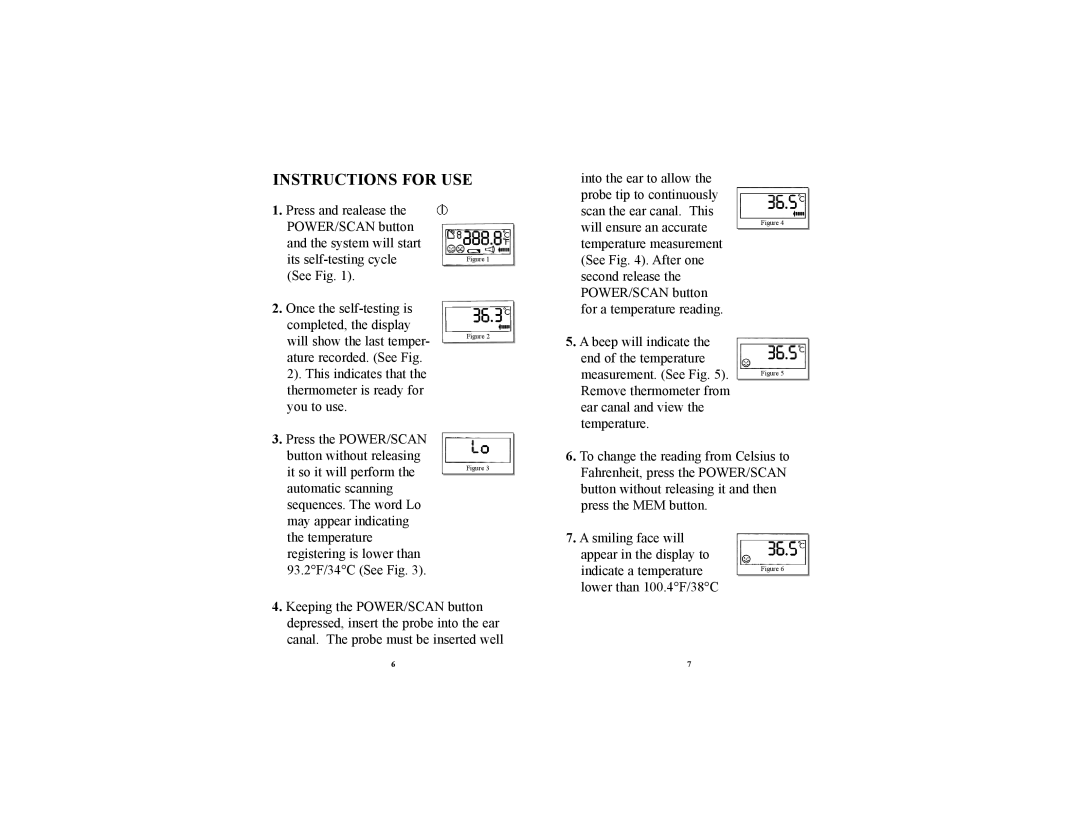
5. A beep will indicate the |
|
| |
end of the temperature |
|
measurement. (See Fig. 5). | Figure 5 |
| |
|
|
Remove thermometer from |
|
ear canal and view the |
|
temperature. |
|
6.To change the reading from Celsius to Fahrenheit, press the POWER/SCAN button without releasing it and then press the MEM button.
7.A smiling face will
appear in the display to
indicate a temperature Figure 6 lower than 100.4°F/38°C
7