OPERATING INSTRUCTIONS
Using the Spotlight
The twin beam, quartz halogen Spotlight is operated by the two switches located in the compartment on the side of the unit (see the illustration on page 2). The top ON/OFF Switch controls the left beam; the bottom ON/OFF Switch controls the right beam.
Using the 3-LED Auxiliary Light
The
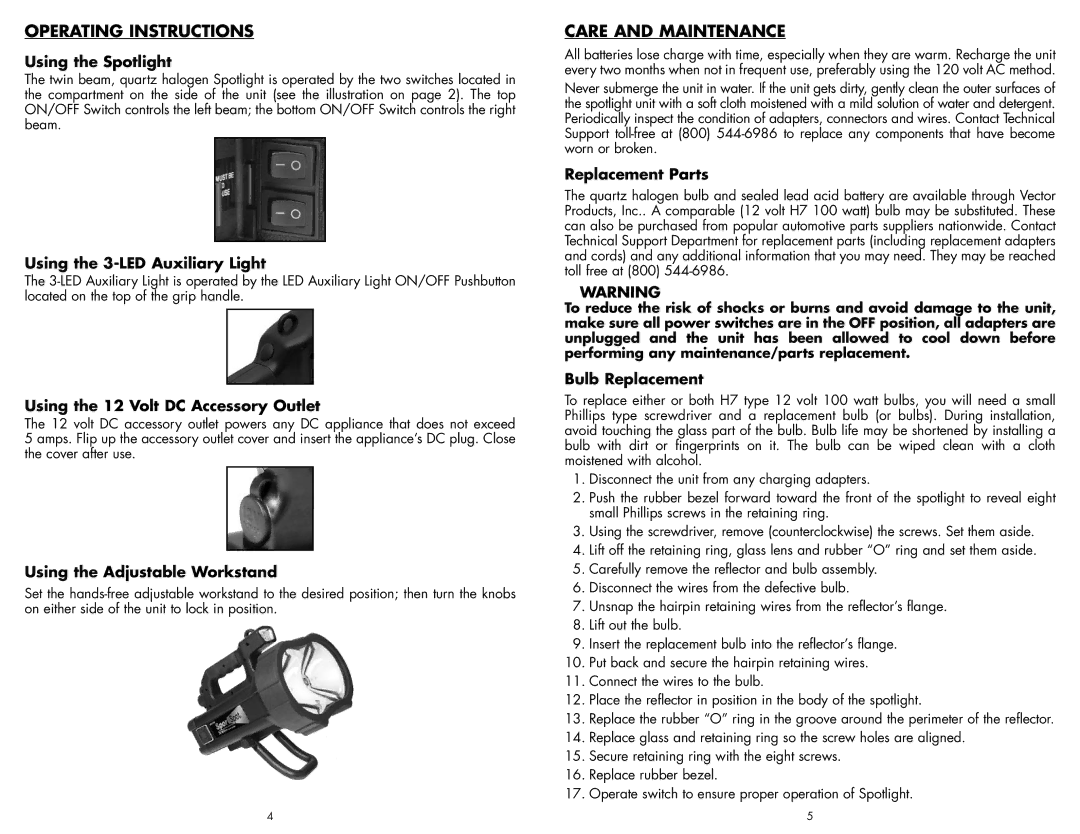
Using the 12 Volt DC Accessory Outlet
The 12 volt DC accessory outlet powers any DC appliance that does not exceed 5 amps. Flip up the accessory outlet cover and insert the appliance’s DC plug. Close the cover after use.
Using the Adjustable Workstand
Set the
CARE AND MAINTENANCE
All batteries lose charge with time, especially when they are warm. Recharge the unit every two months when not in frequent use, preferably using the 120 volt AC method.
Never submerge the unit in water. If the unit gets dirty, gently clean the outer surfaces of the spotlight unit with a soft cloth moistened with a mild solution of water and detergent. Periodically inspect the condition of adapters, connectors and wires. Contact Technical Support
Replacement Parts
The quartz halogen bulb and sealed lead acid battery are available through Vector Products, Inc.. A comparable (12 volt H7 100 watt) bulb may be substituted. These can also be purchased from popular automotive parts suppliers nationwide. Contact Technical Support Department for replacement parts (including replacement adapters and cords) and any additional information that you may need. They may be reached toll free at (800)
WARNING
To reduce the risk of shocks or burns and avoid damage to the unit, make sure all power switches are in the OFF position, all adapters are unplugged and the unit has been allowed to cool down before performing any maintenance/parts replacement.
Bulb Replacement
To replace either or both H7 type 12 volt 100 watt bulbs, you will need a small Phillips type screwdriver and a replacement bulb (or bulbs). During installation, avoid touching the glass part of the bulb. Bulb life may be shortened by installing a bulb with dirt or fingerprints on it. The bulb can be wiped clean with a cloth moistened with alcohol.
1.Disconnect the unit from any charging adapters.
2.Push the rubber bezel forward toward the front of the spotlight to reveal eight small Phillips screws in the retaining ring.
3.Using the screwdriver, remove (counterclockwise) the screws. Set them aside.
4.Lift off the retaining ring, glass lens and rubber “O” ring and set them aside.
5.Carefully remove the reflector and bulb assembly.
6.Disconnect the wires from the defective bulb.
7.Unsnap the hairpin retaining wires from the reflector’s flange.
8.Lift out the bulb.
9.Insert the replacement bulb into the reflector’s flange.
10.Put back and secure the hairpin retaining wires.
11.Connect the wires to the bulb.
12.Place the reflector in position in the body of the spotlight.
13.Replace the rubber “O” ring in the groove around the perimeter of the reflector.
14.Replace glass and retaining ring so the screw holes are aligned.
15.Secure retaining ring with the eight screws.
16.Replace rubber bezel.
17.Operate switch to ensure proper operation of Spotlight.
4 | 5 |