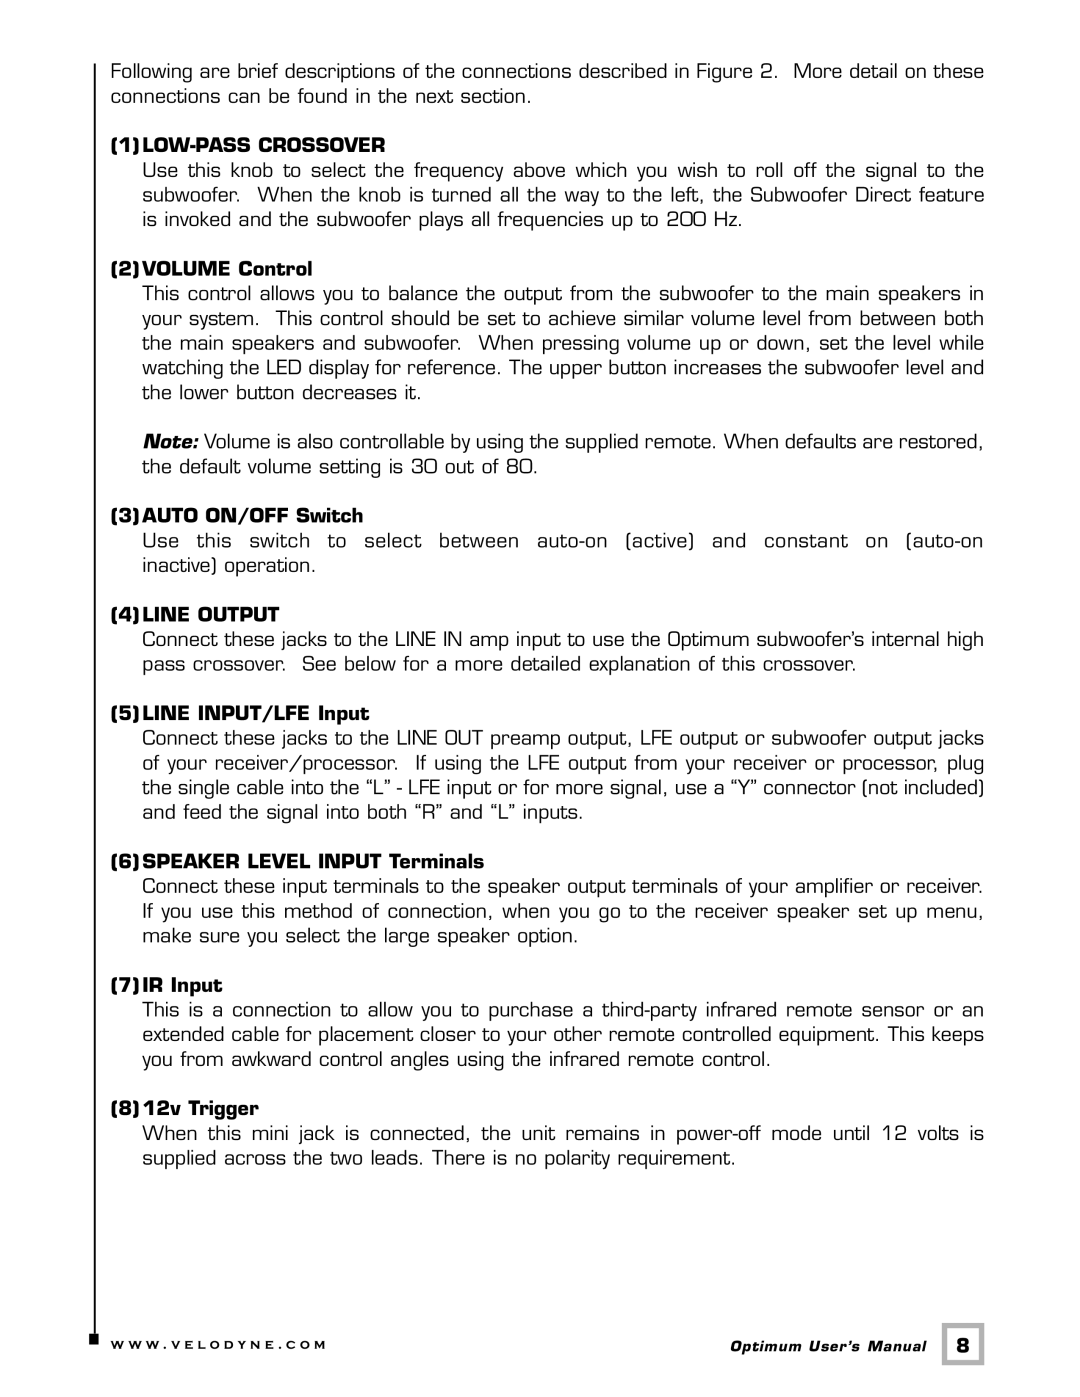
8, 10, 12 specifications
Velodyne Acoustics is renowned for its pioneering contributions to the audio industry, particularly within the realm of subwoofers. Among its celebrated range, the Velodyne Acoustics 10, 12, and MINI subwoofers stand out for their exceptional performance, innovative technologies, and user-friendly designs.The Velodyne Acoustics 10-inch subwoofer offers a perfect blend of power and precision. With a robust 300-watt peak power output, it delivers deep, rich bass that can fill any room. This model features Velodyne’s patented Smart Recovery circuit, which ensures that the subwoofer recovers quickly from transient peaks, guaranteeing clear sound reproduction without distortion. Its front-firing design allows for flexible placement, while the adjustable crossover and phase controls enable seamless integration with a wide range of speakers.
The 12-inch model steps up the game with an impressive 500-watt peak power output. This subwoofer is engineered to produce thunderous low frequencies, making it ideal for home theater setups and music enthusiasts alike. One notable feature is the Digital Signal Processing (DSP), which optimizes audio performance by minimizing distortion and enhancing sound clarity. The 12-inch subwoofer also comes equipped with an easy-to-navigate LCD display that provides real-time information and settings for user convenience.
For those in search of compact yet powerful audio solutions, the Velodyne MINI subwoofer is a perfect choice. Despite its small size, it packs a punch with a remarkable 200-watt peak output. The MINI utilizes a unique down-firing design that ensures optimum bass response while minimizing vibrations. With its sleek, unobtrusive design, this subwoofer can be easily integrated into any living space without sacrificing sound quality. Additionally, the adjustable volume and crossover controls allow users to customize their listening experience.
Across the board, all three models feature robust cabinet construction to reduce cabinet resonance and improve overall sound quality. They are designed for easy setup, ensuring that even novice users can achieve an immersive audio experience without hassle. Each model reflects Velodyne's commitment to excellence in sound engineering, making them ideal for a variety of applications—from home theaters to music systems.
In conclusion, Velodyne Acoustics continues to push the boundaries of audio performance with its 10, 12, and MINI subwoofers. Their advanced technologies, impressive specifications, and user-friendly features solidify their place as reliable choices for audiophiles who demand the best in sound quality.

