QUICK INSTALLATION
ATTACHING THE BASE STAND
• Before attaching (or detaching) the stand, unplug the AC cord from the AC input terminal.
WARNING: The LCD display is very fragile and must be protected at all times when attaching the base stand. Be sure that nothing hard or sharp, or anything that could scratch or damage the LCD display, comes in contact with it. Do NOT place pressure on the front of the unit at any time because the screen could crack.
CAUTIONS:
•Attach the base stand in the correct direction.
•Incorrect installation of the stand may result in the unit falling over.
•Be sure to follow the instructions.
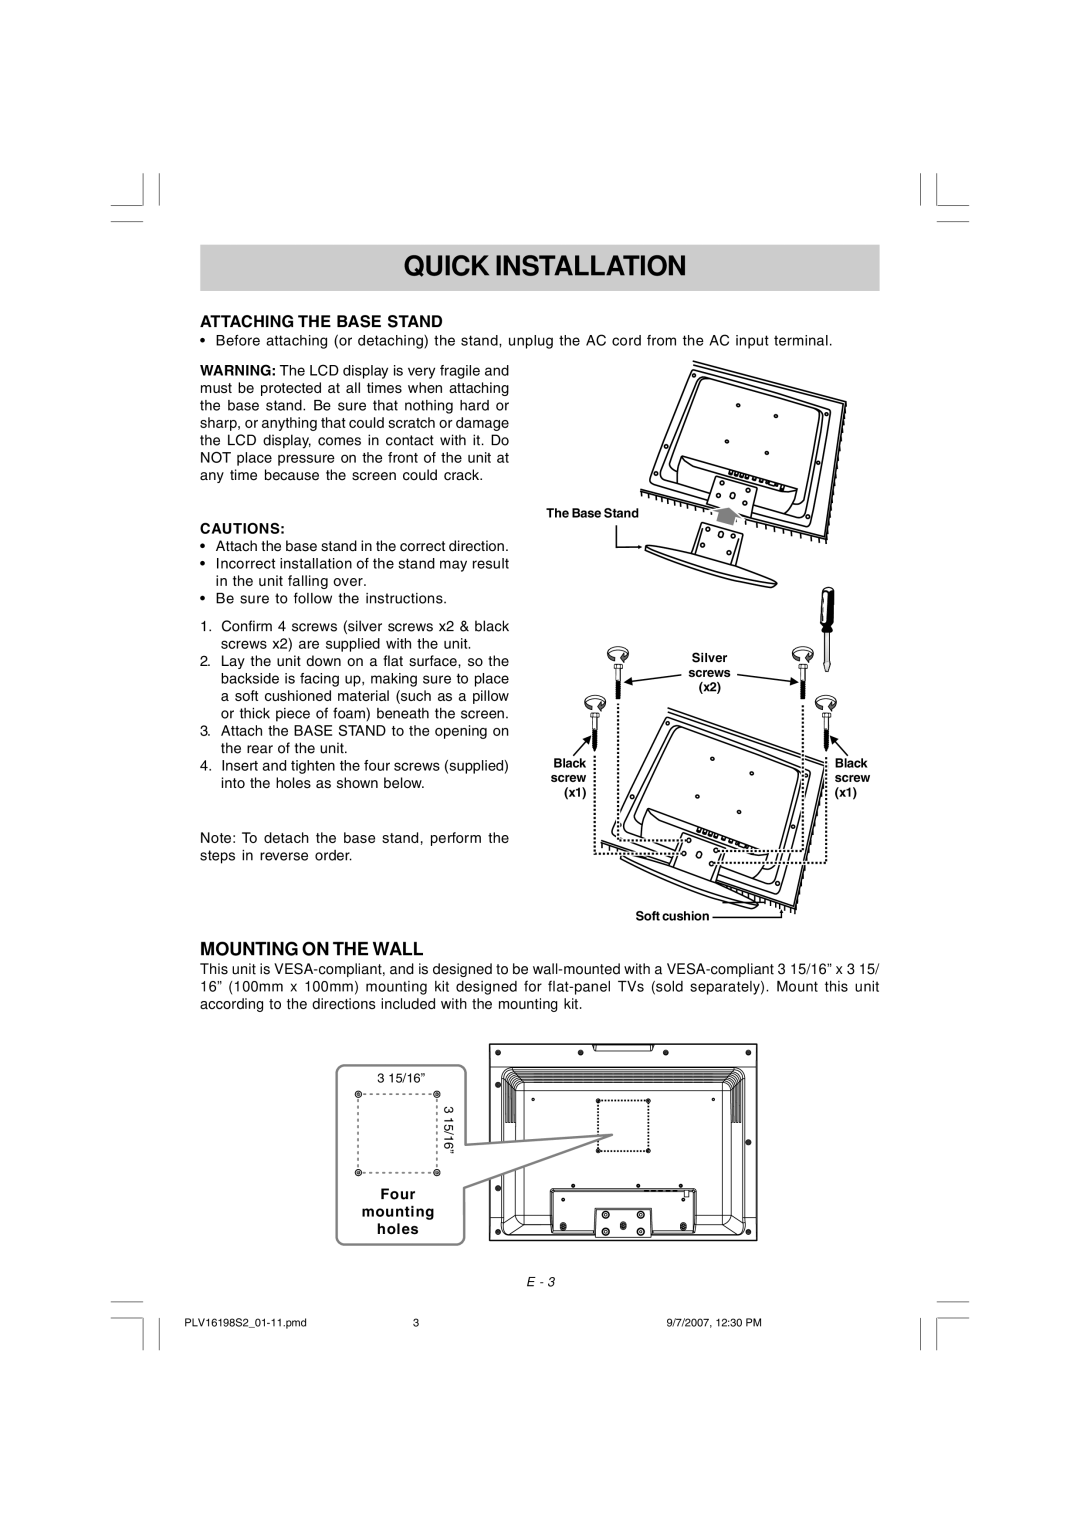
1.Confirm 4 screws (silver screws x2 & black screws x2) are supplied with the unit.
2.Lay the unit down on a flat surface, so the backside is facing up, making sure to place a soft cushioned material (such as a pillow or thick piece of foam) beneath the screen.
3.Attach the BASE STAND to the opening on the rear of the unit.
4.Insert and tighten the four screws (supplied) into the holes as shown below.
Note: To detach the base stand, perform the steps in reverse order.
The Base Stand
Silver
screws
(x2)
Black | Black |
screw | screw |
(x1) | (x1) |
Soft cushion
MOUNTING ON THE WALL
This unit is
3 15/16”  315/16”
Four
mounting
holes
E - 3
3 | 9/7/2007, 12:30 PM |