Setup Procedure
1. Determine the installation location
CAUTION: DO NOT ATTEMPT TO INSTALL THE LCD MONITOR BY YOURSELF. Installation of your LCD monitor must be done by a qualified technician. Contact your dealer for more information.
CAUTION: MOVING OR INSTALLING THE LCD MONITOR MUST BE DONE BY TWO OR MORE PEOPLE. Failure to follow this caution may result in injury if the LCD monitor falls.
CAUTION: Do not mount or operate the monitor upside down, face up, or face down.
CAUTION: Do not install the LCD monitor where it will be exposed to direct sunlight, as this will result in display defects.
IMPORTANT:
Lay the protective sheet, which was wrapped around the LCD monitor when it was packaged, beneath the LCD monitor so as not to scratch the panel.
2. Connect external equipment
To protect the connected equipment, turn off the main power before making connections. Refer to your equipment user manual.
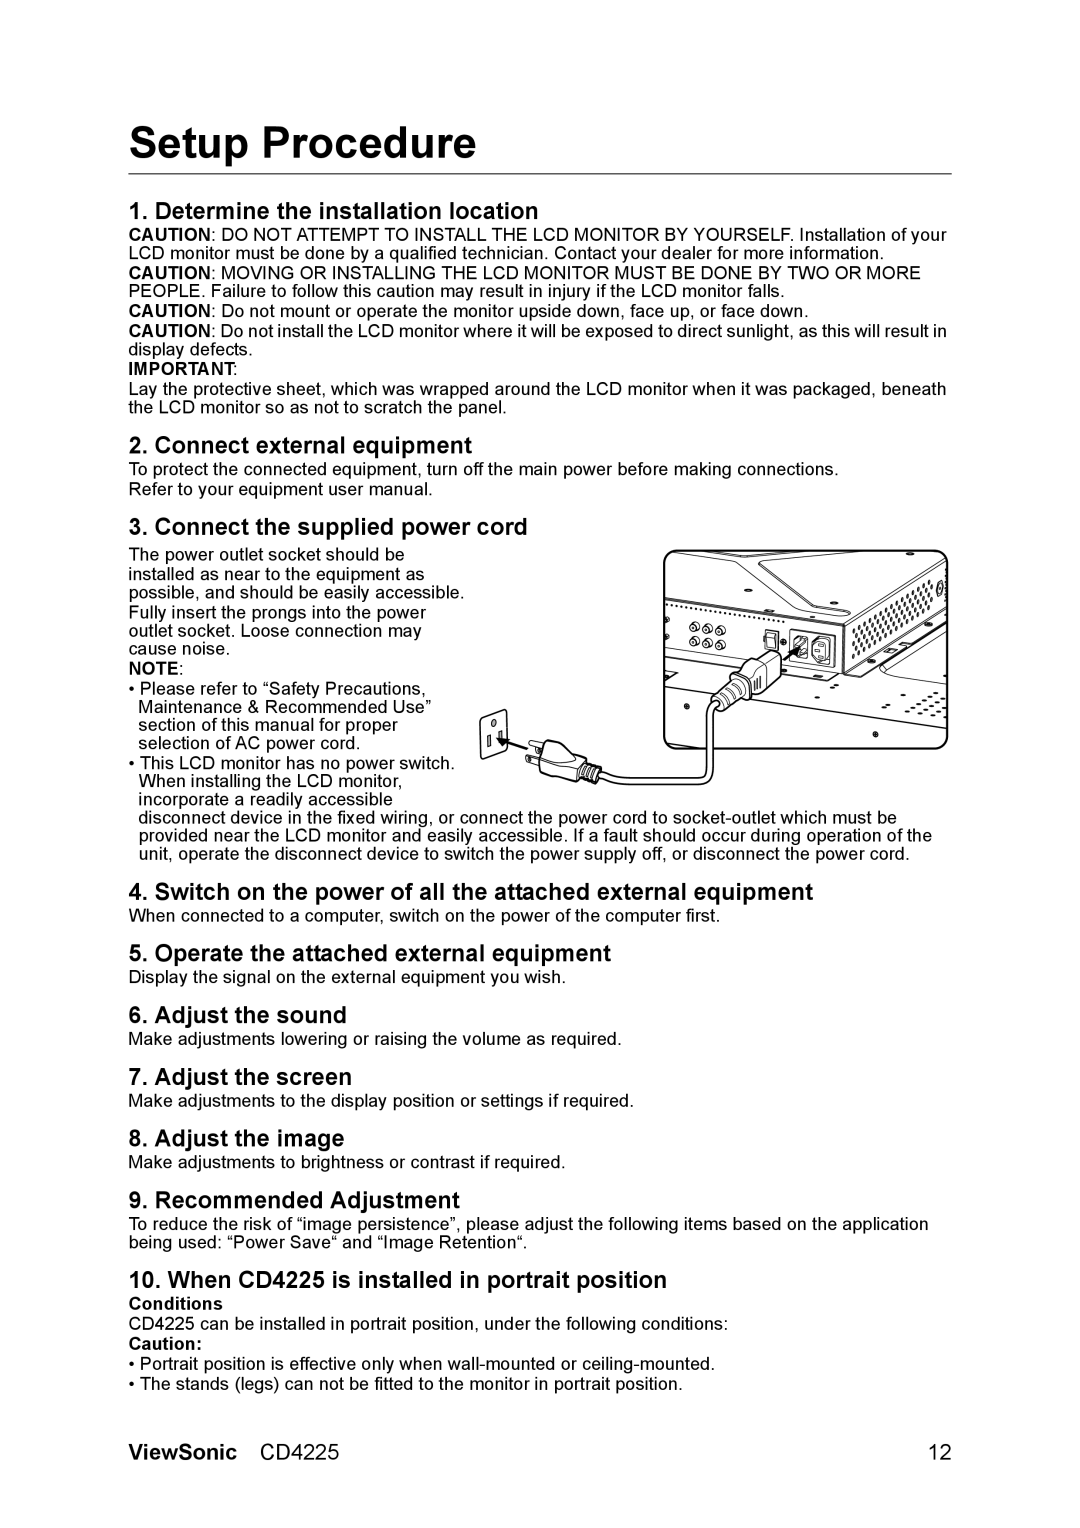
3. Connect the supplied power cord
The power outlet socket should be installed as near to the equipment as possible, and should be easily accessible. Fully insert the prongs into the power outlet socket. Loose connection may cause noise.
NOTE:
• Please refer to “Safety Precautions,
Maintenance & Recommended Use” section of this manual for proper
selection of AC power cord.
• This LCD monitor has no power switch. When installing the LCD monitor, incorporate a readily accessible
disconnect device in the fixed wiring, or connect the power cord to
4. Switch on the power of all the attached external equipment
When connected to a computer, switch on the power of the computer first.
5. Operate the attached external equipment
Display the signal on the external equipment you wish.
6. Adjust the sound
Make adjustments lowering or raising the volume as required.
7. Adjust the screen
Make adjustments to the display position or settings if required.
8. Adjust the image
Make adjustments to brightness or contrast if required.
9. Recommended Adjustment
To reduce the risk of “image persistence”, please adjust the following items based on the application being used: “Power Save“ and “Image Retention“.
10. When CD4225 is installed in portrait position
Conditions
CD4225 can be installed in portrait position, under the following conditions:
Caution:
•Portrait position is effective only when
•The stands (legs) can not be fitted to the monitor in portrait position.
ViewSonic CD4225 | 12 |