
P220f specifications
The ViewSonic P220f is a high-performance 22-inch CRT monitor that has carved a niche for itself among graphics professionals, gamers, and anyone in need of an exceptional visual experience. With its sleek design and robust performance capabilities, the P220f remains a noteworthy choice even in an era dominated by LCD and LED technologies.At the heart of the P220f is its aperture grille technology, which is known for its ability to deliver vivid colors and sharp images. This technology provides a wider color spectrum and higher brightness levels, allowing for striking visual fidelity and realism. The monitor boasts a maximum resolution of 1600 x 1200, which ensures that images are displayed with remarkable clarity and detail, making it ideal for tasks requiring precise color accuracy, such as graphic design and photo editing.
Another of the P220f’s standout features is its fast refresh rates, which can reach up to 85 Hz at its maximum resolution. This capability significantly reduces flicker and eye strain, making it suitable for long hours of use, particularly for gamers and professionals who rely on smooth motion and clear visuals. The monitor also supports a variety of aspect ratios, enhancing flexibility for different applications and content.
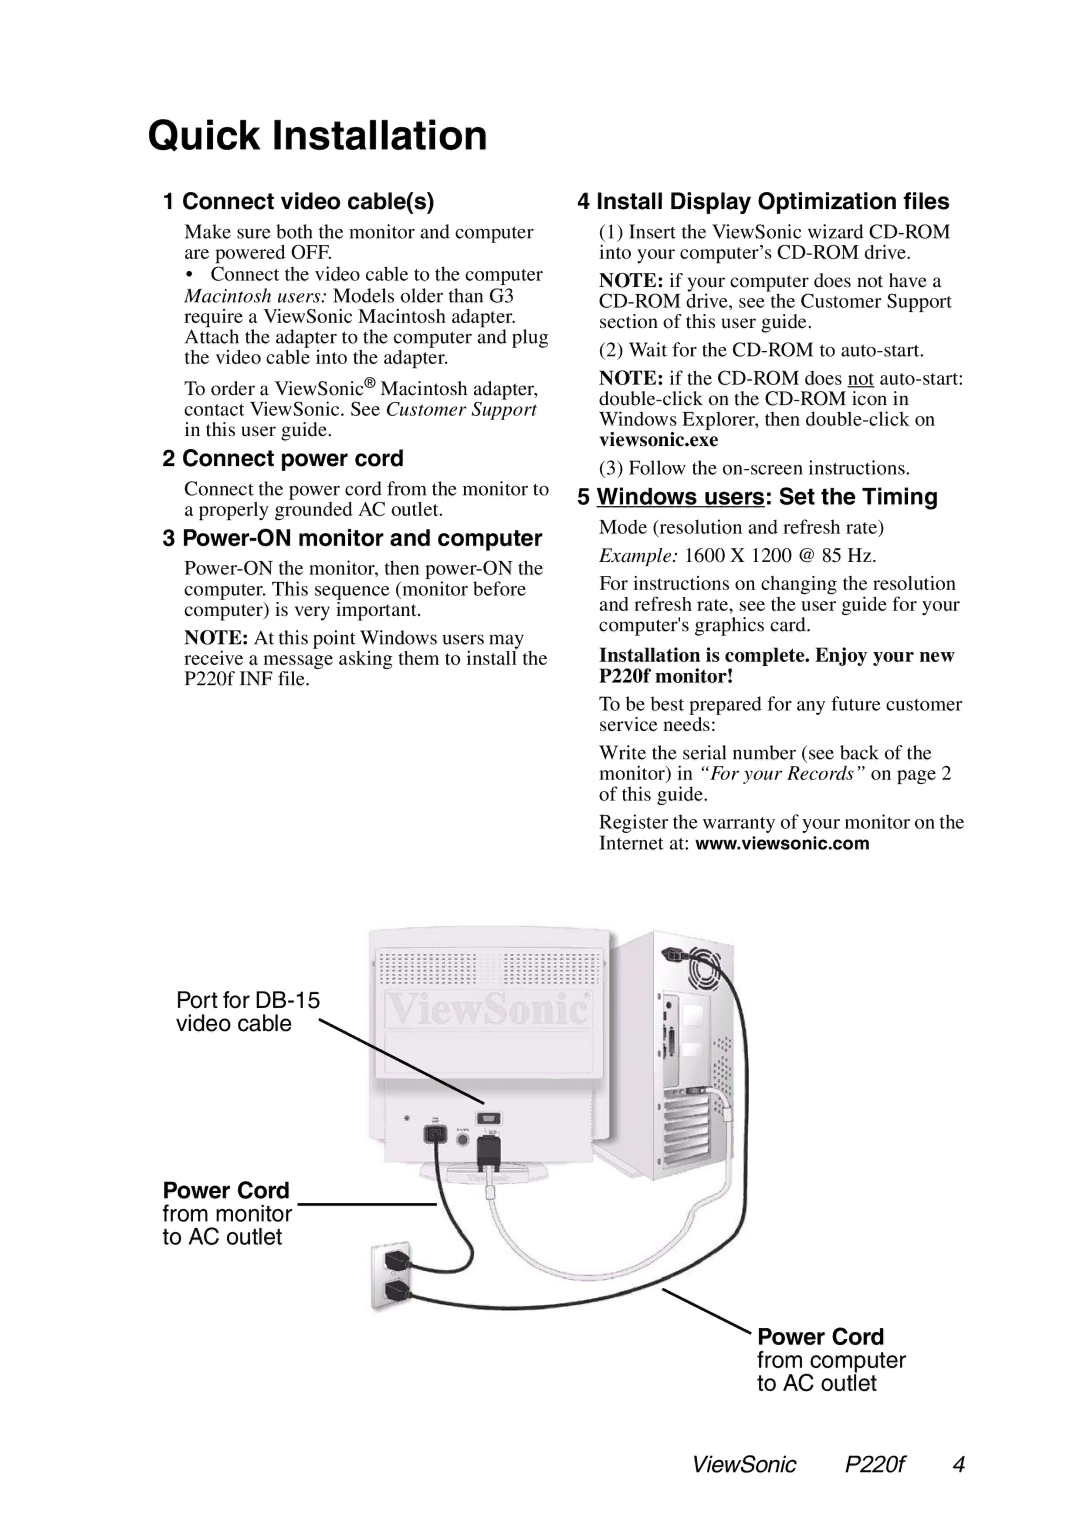
The P220f is equipped with a variety of connectivity options, including VGA and DVI inputs, ensuring compatibility with a wide range of video sources. This versatility allows users to connect the monitor to various devices, such as computers, laptops, and gaming consoles, making it a great addition to any setup.
In terms of ergonomics, the ViewSonic P220f features tilt adjustments, allowing users to reposition the screen for optimal viewing angles. Additionally, its robust build quality ensures durability, ensuring that the monitor can withstand the rigors of daily use.
Catering to professionals, the P220f is noted for its excellent color reproduction, with a 0.25mm dot pitch that contributes to its sharp imagery. This precise detail makes it a favored choice for artists and creatives who require a monitor capable of true-to-life color fidelity.
In summary, the ViewSonic P220f is a stellar CRT monitor that offers a unique combination of features, technologies, and characteristics that make it a lasting choice for visual enthusiasts. Whether for professional tasks or gaming, its outstanding performance, sharp visuals, and ergonomic design continue to impress, ensuring it remains a relevant option in the display market.