Wall Mounting (Optional) For use only with UL Listed Wall Mount Bracket
To obtain a
Step 1. Verify that the power button is turned Off, then disconnect the power cord. Step 2. Lay the LCD display face down on a towel or blanket.
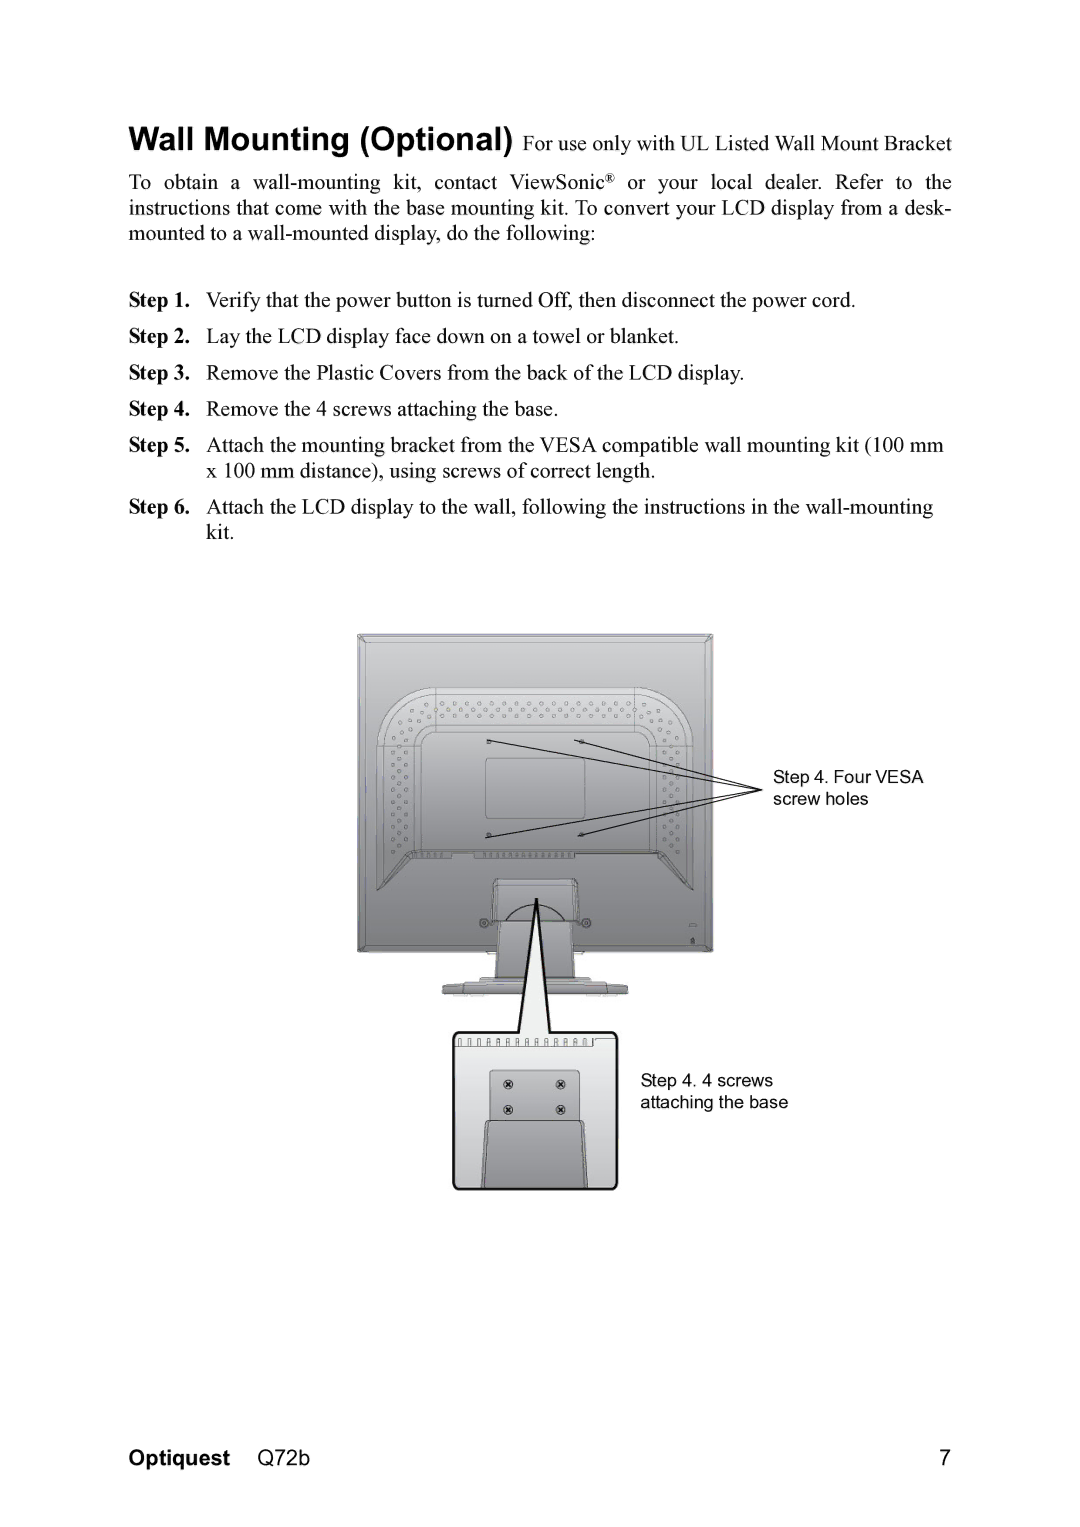
Step 3. Remove the Plastic Covers from the back of the LCD display. Step 4. Remove the 4 screws attaching the base.
Step 5. Attach the mounting bracket from the VESA compatible wall mounting kit (100 mm x 100 mm distance), using screws of correct length.
Step 6. Attach the LCD display to the wall, following the instructions in the
Step 4. Four VESA screw holes
Step 4. 4 screws attaching the base
Optiquest Q72b | 7 |