Setup Procedure

1. Determine the installation location

CAUTION: DO NOT ATTEMPT TO INSTALL THE LCD MONITOR BY YOURSELF. Installation of your LCD monitor must be done by a qualified technician. Contact your dealer for more information.

CAUTION: MOVING OR INSTALLING THE LCD MONITOR MUST BE DONE BY TWO OR MORE PEOPLE. Failure to follow this caution may result in injury if the LCD monitor falls.

CAUTION: Do not mount or operate the monitor upside down, face up, or face down.

CAUTION: Do not install the LCD monitor where it will be exposed to direct sunlight, as this will result in display defects.

IMPORTANT:

Lay the protective sheet, which was wrapped around the LCD monitor when it was packaged, beneath the LCD monitor so as not to scratch the panel.

2. Connect external equipment

To protect the connected equipment, turn off the main power before making connections. Refer to your equipment user manual.

3. Connect the supplied power cord

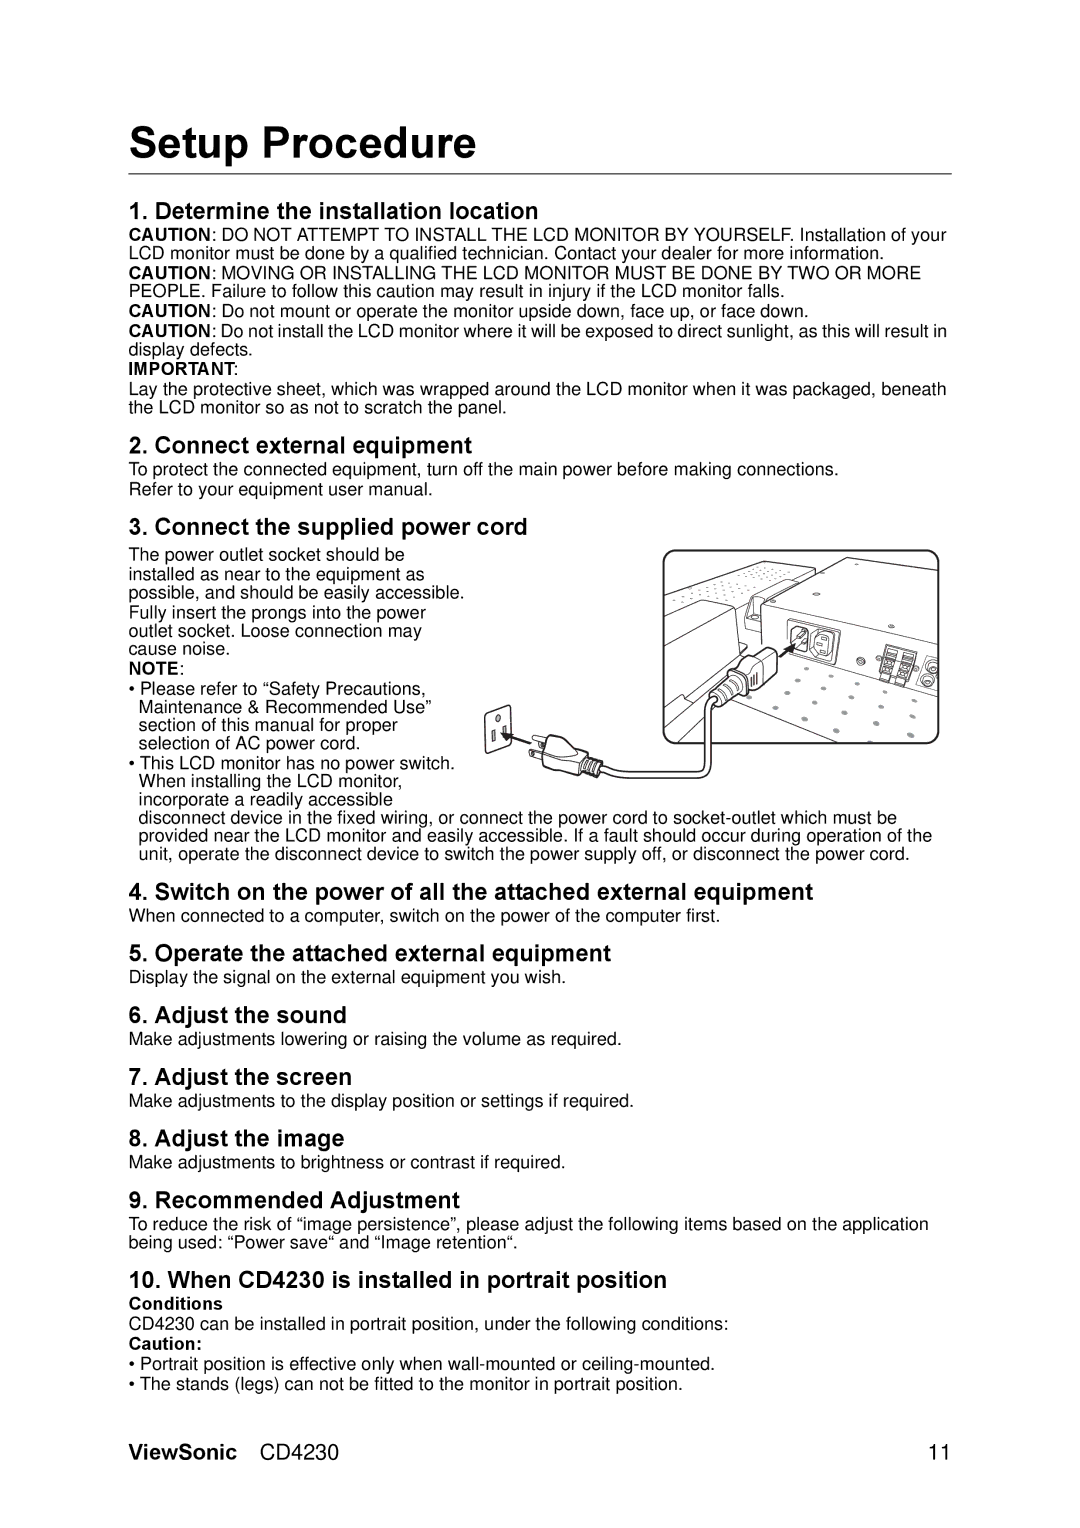
The power outlet socket should be installed as near to the equipment as possible, and should be easily accessible. Fully insert the prongs into the power outlet socket. Loose connection may cause noise.

NOTE:

• Please refer to “Safety Precautions, Maintenance & Recommended Use” section of this manual for proper selection of AC power cord.

• This LCD monitor has no power switch. When installing the LCD monitor, incorporate a readily accessible

disconnect device in the fixed wiring, or connect the power cord to socket-outlet which must be provided near the LCD monitor and easily accessible. If a fault should occur during operation of the unit, operate the disconnect device to switch the power supply off, or disconnect the power cord.

4. Switch on the power of all the attached external equipment

When connected to a computer, switch on the power of the computer first.

5. Operate the attached external equipment

Display the signal on the external equipment you wish.

6. Adjust the sound

Make adjustments lowering or raising the volume as required.

7. Adjust the screen

Make adjustments to the display position or settings if required.

8. Adjust the image

Make adjustments to brightness or contrast if required.

9. Recommended Adjustment

To reduce the risk of “image persistence”, please adjust the following items based on the application being used: “Power save“ and “Image retention“.

10. When CD4230 is installed in portrait position

Conditions

CD4230 can be installed in portrait position, under the following conditions:

Caution:

Portrait position is effective only when wall-mounted or ceiling-mounted.

The stands (legs) can not be fitted to the monitor in portrait position.

ViewSonic CD4230

11

Page 13
Image 13
ViewSonic VS12541 manual Setup Procedure, Conditions

VS12541 specifications

The ViewSonic VS12541 is a feature-rich display solution tailored for both business and educational environments. With its 12.5-inch screen size, it strikes a perfect balance between portability and visibility, making it an ideal option for presentations, classrooms, and collaborative settings.

One of the standout features of the VS12541 is its high-resolution display, which delivers crystal-clear visuals with vibrant colors. The sharp image quality enhances the viewing experience, ensuring that presentations and videos are engaging and easy to read. The display supports multi-touch technology, allowing multiple users to interact simultaneously, fostering collaboration and participation in group activities.

The VS12541 utilizes advanced LED backlight technology, which not only improves power efficiency but also enhances overall brightness and color accuracy. This technology supports a wide color gamut, ensuring that images and graphics appear vivid and lifelike, making it suitable for media-rich content.

Connectivity is another key aspect of the ViewSonic VS12541. The display comes equipped with multiple input options, including HDMI and USB ports, allowing seamless integration with various devices such as laptops, tablets, and other multimedia equipment. This versatility ensures that users can easily connect their devices without the hassle of additional adapters.

In terms of design, the VS12541 features a sleek and modern aesthetic that complements any environment. Its lightweight build ensures that it can be easily mounted on walls or used on desks, providing flexibility in setup. Additionally, the anti-glare screen minimizes reflections, making it suitable for well-lit spaces.

The ViewSonic VS12541 is also built with user-friendly features. It includes an intuitive interface for easy navigation and control of settings. Furthermore, it supports a range of operating systems, making it compatible with various platforms and applications.

To round out its offerings, the VS12541 is backed by ViewSonic's reputation for quality and reliability, with robust customer support and warranty options. This makes it a smart investment for organizations looking for a dependable display solution that enhances productivity and collaboration.

In summary, the ViewSonic VS12541 combines high-resolution visuals, advanced touch technology, versatile connectivity, and a sleek design to create a powerful display solution suitable for diverse applications in business and educational settings.