Product Controls
Surface Operation
Lighting Burners
All burners are ignited by electric ignition.
There are no
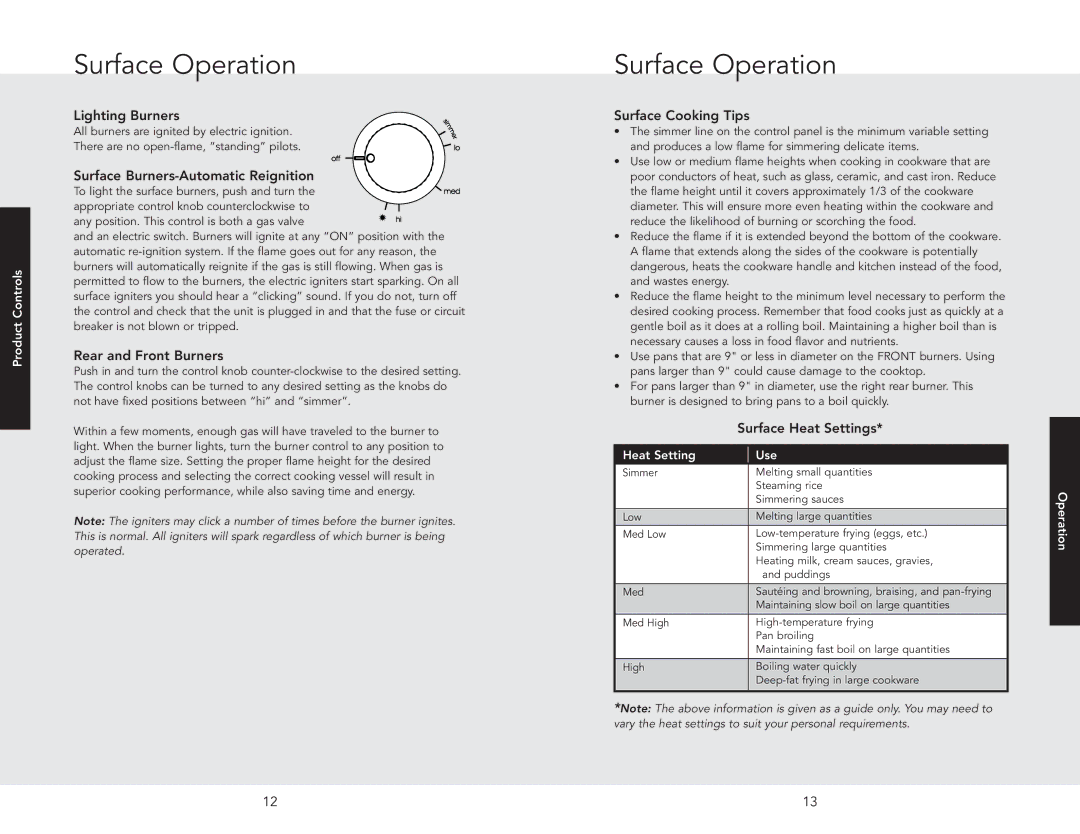
Surface Burners-Automatic Reignition
To light the surface burners, push and turn the appropriate control knob counterclockwise to
any position. This control is both a gas valve
and an electric switch. Burners will ignite at any “ON” position with the automatic
Rear and Front Burners
Push in and turn the control knob
Within a few moments, enough gas will have traveled to the burner to light. When the burner lights, turn the burner control to any position to adjust the flame size. Setting the proper flame height for the desired cooking process and selecting the correct cooking vessel will result in superior cooking performance, while also saving time and energy.
Note: The igniters may click a number of times before the burner ignites. This is normal. All igniters will spark regardless of which burner is being operated.
Surface Operation
Surface Cooking Tips
•The simmer line on the control panel is the minimum variable setting and produces a low flame for simmering delicate items.
•Use low or medium flame heights when cooking in cookware that are poor conductors of heat, such as glass, ceramic, and cast iron. Reduce the flame height until it covers approximately 1/3 of the cookware diameter. This will ensure more even heating within the cookware and reduce the likelihood of burning or scorching the food.
•Reduce the flame if it is extended beyond the bottom of the cookware. A flame that extends along the sides of the cookware is potentially dangerous, heats the cookware handle and kitchen instead of the food, and wastes energy.
•Reduce the flame height to the minimum level necessary to perform the desired cooking process. Remember that food cooks just as quickly at a gentle boil as it does at a rolling boil. Maintaining a higher boil than is necessary causes a loss in food flavor and nutrients.
•Use pans that are 9" or less in diameter on the FRONT burners. Using pans larger than 9" could cause damage to the cooktop.
•For pans larger than 9" in diameter, use the right rear burner. This burner is designed to bring pans to a boil quickly.
Surface Heat Settings*
Heat Setting | Use |
|
Simmer | Melting small quantities |
|
| Steaming rice | Operation |
| Simmering large quantities | |
| Simmering sauces |
|
Low | Melting large quantities |
|
Med Low |
| |
| Heating milk, cream sauces, gravies, |
|
| and puddings |
|
|
|
|
Med | Sautéing and browning, braising, and |
|
| Maintaining slow boil on large quantities |
|
Med High |
| |
| Pan broiling |
|
| Maintaining fast boil on large quantities |
|
|
|
|
High | Boiling water quickly |
|
|
| |
|
|
|
*Note: The above information is given as a guide only. You may need to vary the heat settings to suit your personal requirements.
12 | 13 |