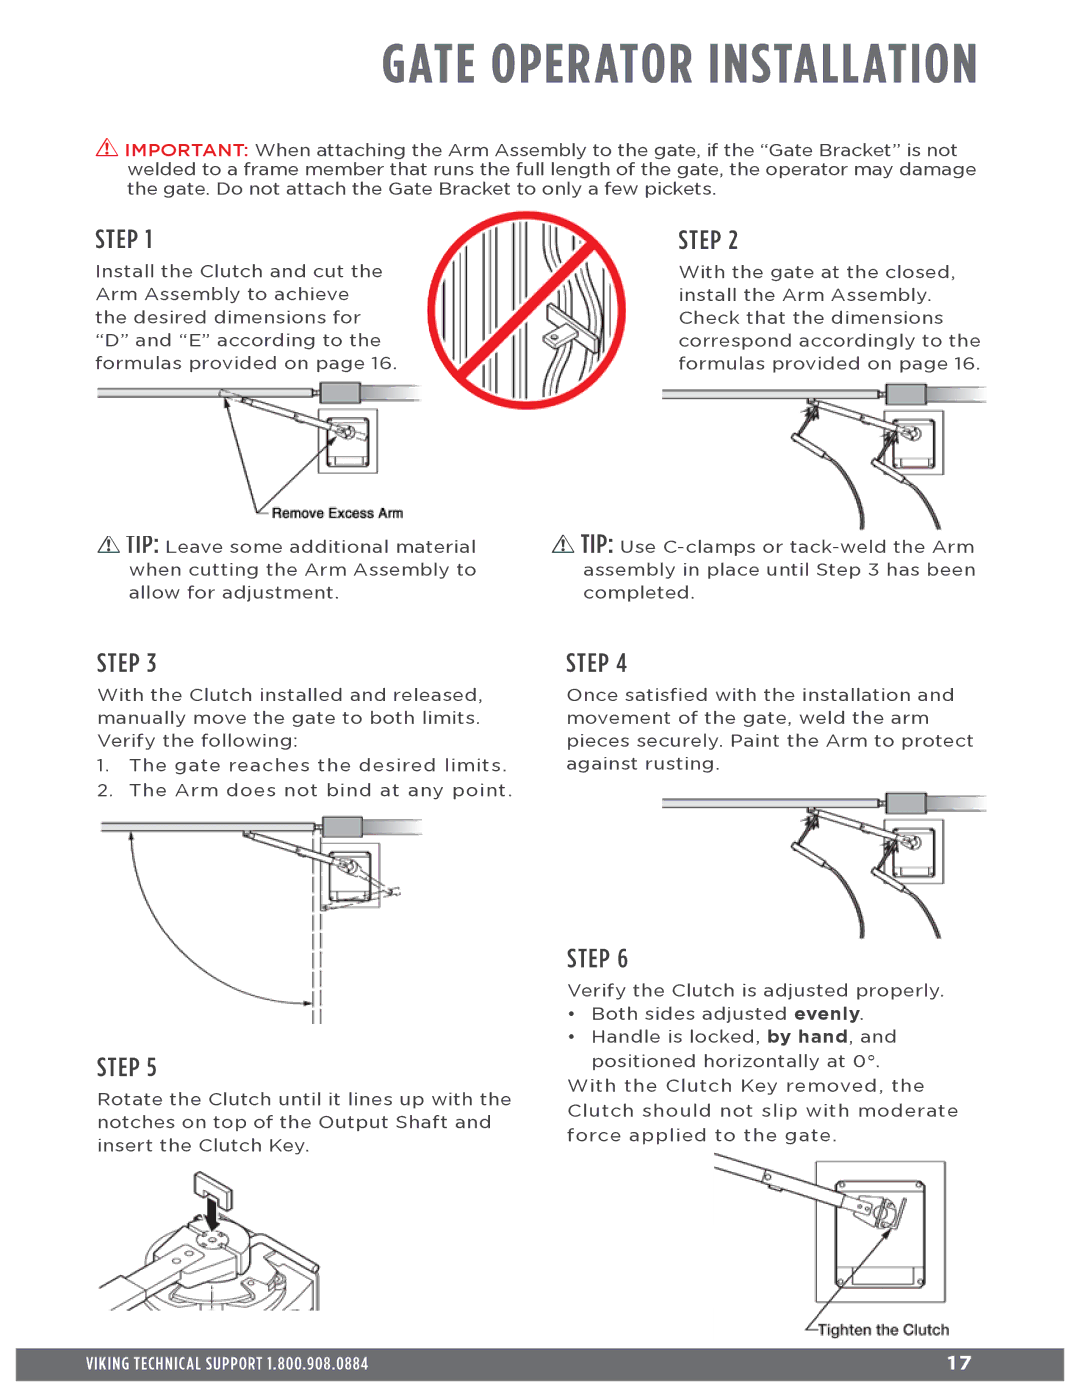
f1 gate specifications
Viking Access Systems has long been recognized as an industry leader in providing reliable, high-quality access control solutions, and their F1 Gate is a prominent example of this commitment to innovation and security. Designed to enhance the functionality and aesthetics of any residential or commercial property, the F1 Gate combines advanced technology with robust materials to ensure both durability and performance.One of the standout features of the F1 Gate is its modular design. This system allows for customization according to the specific needs and preferences of the user. Whether for a driveway, garden, or secured entryway, the F1 Gate can be tailored in terms of size, style, and materials, providing versatility for any application. The gate can be crafted from high-grade steel or aluminum, ensuring long-lasting strength and resistance to weather conditions.
Incorporating cutting-edge automation technology, the F1 Gate operates smoothly and efficiently. It features a powerful motor that guarantees quick opening and closing, coupled with a silent operation to minimize disruption. Users can enjoy seamless access through a variety of control options, including remote controls, keypads, and smartphone applications, providing flexibility in managing entry points.
Safety is a top priority in the F1 Gate design. It comes equipped with advanced safety features such as obstacle detection and automatic reversing systems. These technologies ensure that the gate will halt or reverse if an obstruction is detected, protecting vehicles, pets, and pedestrians alike. Additionally, the gate can integrate with existing security systems, adding another layer of protection to properties.
The F1 Gate also boasts significant energy efficiency. With intelligent power management systems, it is designed to consume minimal energy, making it an eco-friendly choice for those conscious about their environmental impact without sacrificing functionality.
Aesthetically, Viking Access Systems understands the importance of curb appeal. The F1 Gate offers various finishes and colors, allowing users to select an option that complements their property’s architecture. The sleek design enhances the overall look while providing a secure barrier against unauthorized access.
In summary, the Viking Access Systems F1 Gate combines versatility, safety, technology, and aesthetic appeal. Its robust construction and advanced features make it an excellent choice for those seeking a reliable and stylish access solution, perfect for any environment and requirement. As technology continues to evolve, the F1 Gate stands at the forefront, embodying the future of secure access control.

