E4100 Assembly
6:Slip the Front Transport Wheel (61) onto the right side of the Front Foot Wheel Axle (60). Secure this wheel with the Outside Wheel Washer (182) and the Wheel Attach Nut (183). This nut should be tightened until the wheel has no
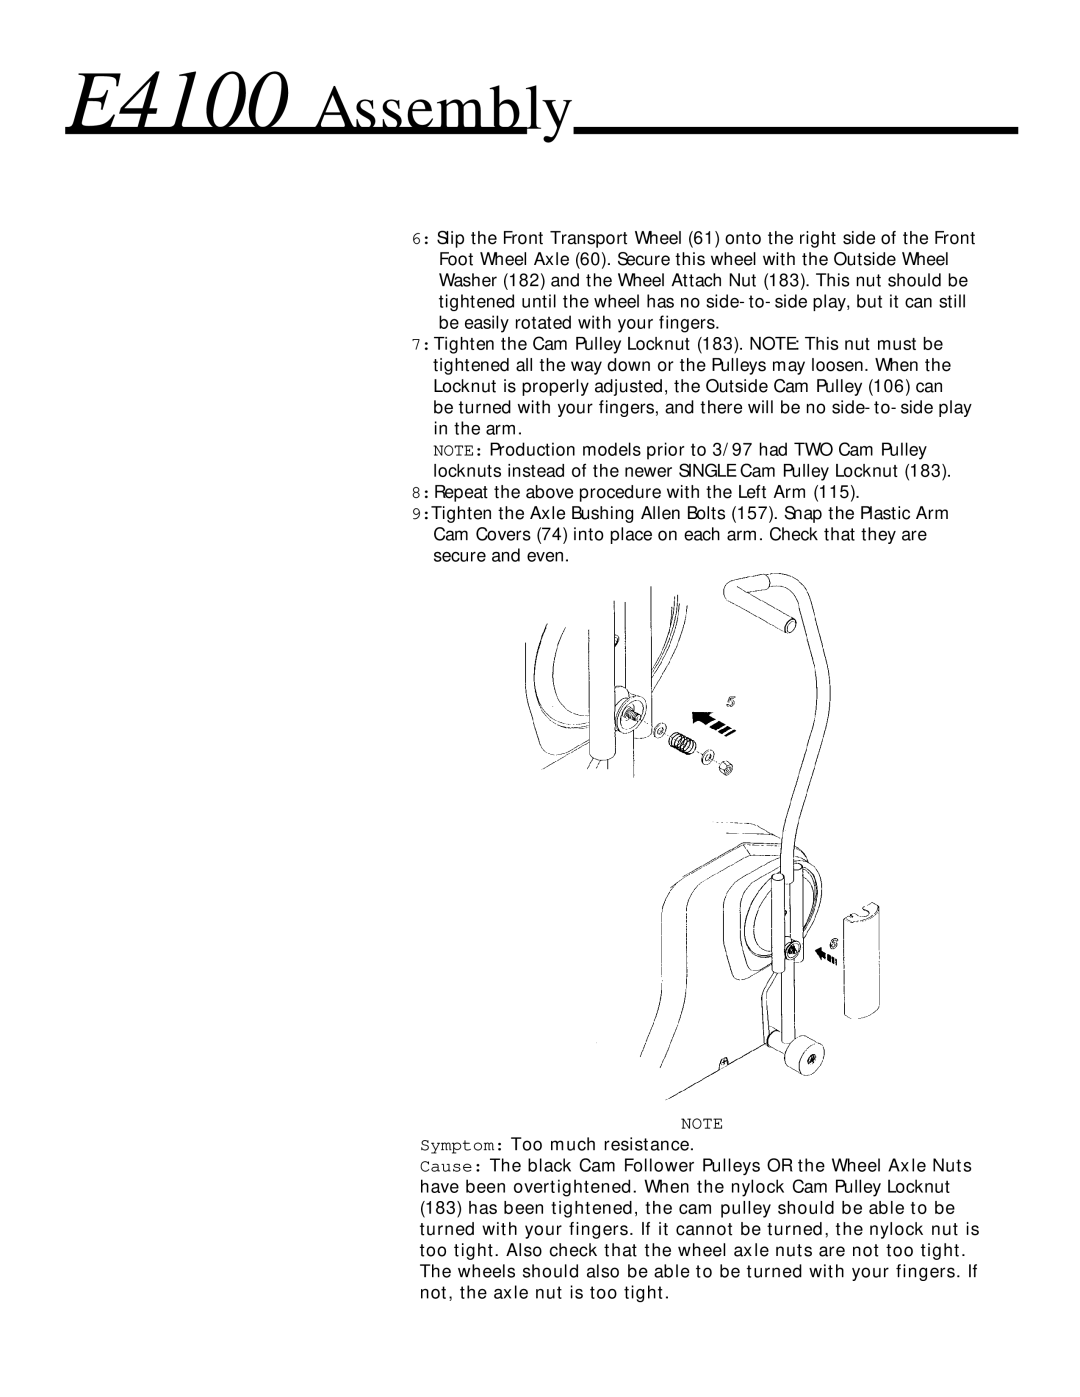
7:Tighten the Cam Pulley Locknut (183). NOTE: This nut must be tightened all the way down or the Pulleys may loosen. When the Locknut is properly adjusted, the Outside Cam Pulley (106) can be turned with your fingers, and there will be no
NOTE: Production models prior to 3/97 had TWO Cam Pulley locknuts instead of the newer SINGLE Cam Pulley Locknut (183).
8:Repeat the above procedure with the Left Arm (115).
9:Tighten the Axle Bushing Allen Bolts (157). Snap the Plastic Arm Cam Covers (74) into place on each arm. Check that they are secure and even.
NOTE
Symptom: Too much resistance.
Cause: The black Cam Follower Pulleys OR the Wheel Axle Nuts have been overtightened. When the nylock Cam Pulley Locknut
(183)has been tightened, the cam pulley should be able to be turned with your fingers. If it cannot be turned, the nylock nut is too tight. Also check that the wheel axle nuts are not too tight. The wheels should also be able to be turned with your fingers. If not, the axle nut is too tight.