220 specifications
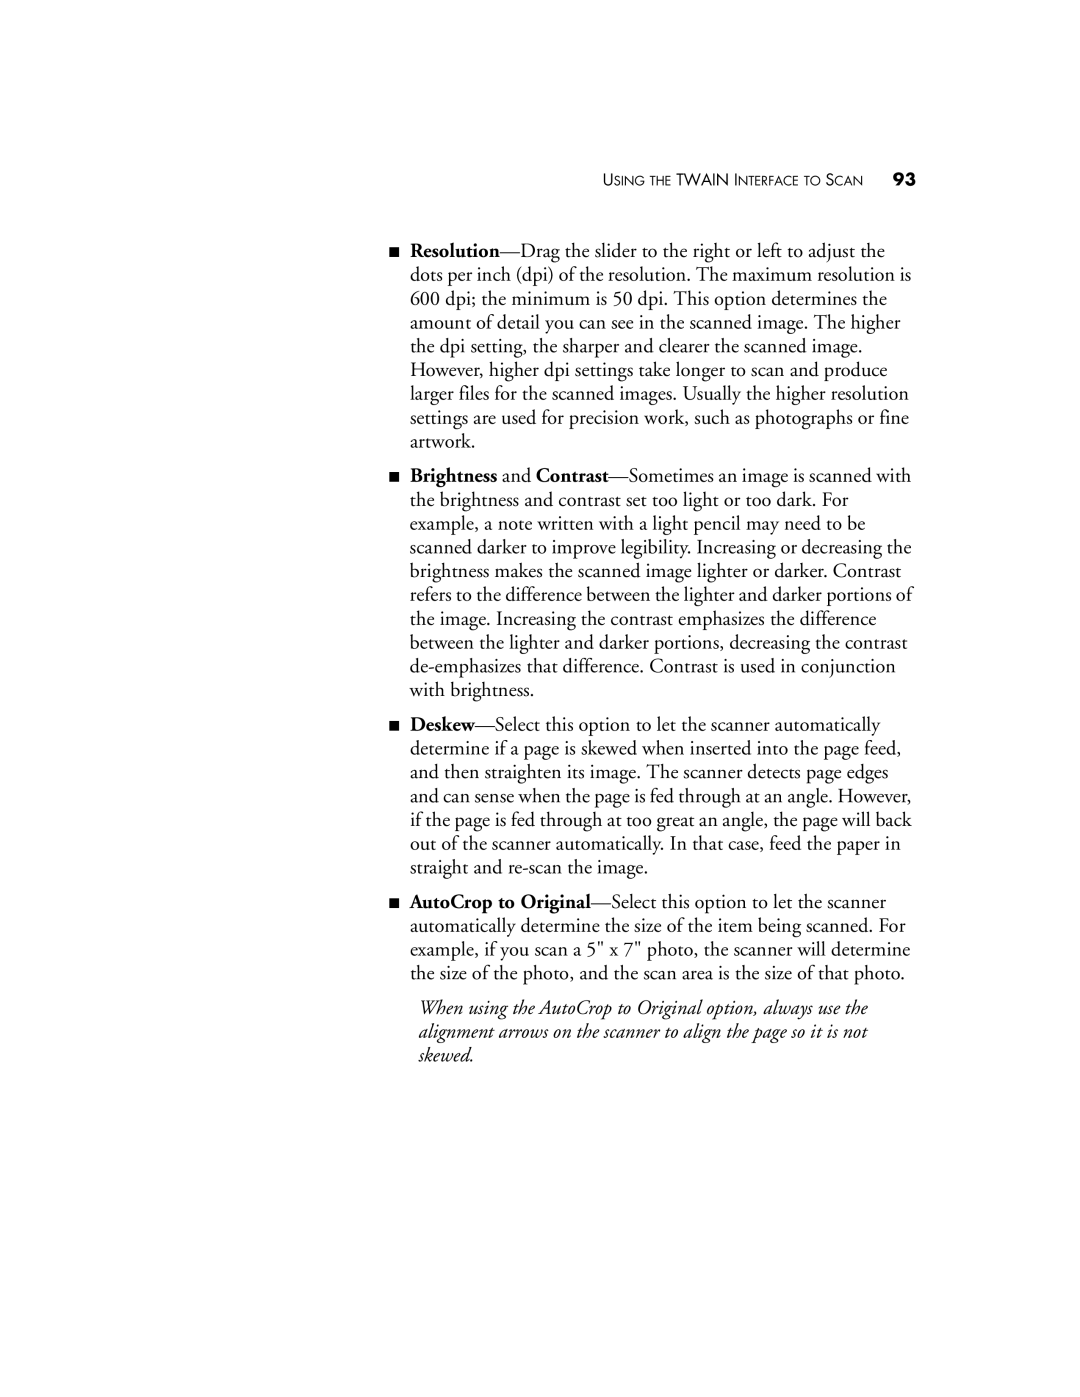
The Visioneer 220 is a compact and efficient document scanner designed to meet the demands of both home offices and small businesses. With its sleek design and user-friendly interface, it offers an ideal solution for digitizing paper documents, helping to streamline workflows and improve productivity.One of the standout features of the Visioneer 220 is its advanced scanning technology. Equipped with a high-resolution optical sensor, it captures documents at resolutions up to 600 dpi, ensuring that scanned images are crisp and clear. This feature is particularly beneficial for users who need to preserve intricate details in documents like contracts, photographs, or illustrations.
The scanner supports various media types and sizes, including business cards, receipts, and full-sized documents. With a maximum scanning width of 8.5 inches and the ability to handle documents up to 14 inches long, the Visioneer 220 is versatile enough to accommodate diverse scanning needs. Additionally, its automatic document feeder (ADF) can hold up to 50 sheets at a time, allowing for batch scanning and enhancing efficiency.
Speed is another critical advantage of the Visioneer 220. It can scan up to 25 pages per minute in monochrome and 15 pages per minute in color. This fast scanning capability is essential for busy environments where time is of the essence. Users can also take advantage of the two-sided scanning feature, which significantly reduces the time spent on document processing.
In terms of connectivity, the Visioneer 220 is equipped with USB 3.0, providing fast data transfer speeds and compatibility with most computers. Users can easily connect the scanner to their PC or Mac, and the plug-and-play functionality ensures a hassle-free setup process.
The Visioneer 220 comes with bundled software that enhances its functionality. This software suite includes tools for image enhancement and document management, allowing users to organize, edit, and store scanned documents effectively. The scanner is also compatible with various scanning software solutions, including OCR (Optical Character Recognition) applications, which enable users to convert scanned text into editable files.
For added convenience, the Visioneer 220 features an energy-efficient design and operates quietly, making it suitable for shared spaces. Its compact size allows it to fit neatly on any desk without taking up too much room.
In summary, the Visioneer 220 is a powerful document scanner that combines advanced technology, speed, and convenience. With its high-resolution scanning capabilities, versatile media handling, and efficient software tools, it is an excellent choice for users looking to digitize their important documents efficiently. Perfect for both personal and professional use, the Visioneer 220 stands out in its category for its reliability and performance.
