Digital Camera >>
Macintosh OS 9.0 computers
For Mac OS 9.0 or higher, the computer will automatically recognize the ViviCam 3105s and load its own USB drivers.
Step 2: Connecting the ViviCam 3105s to Your Computer
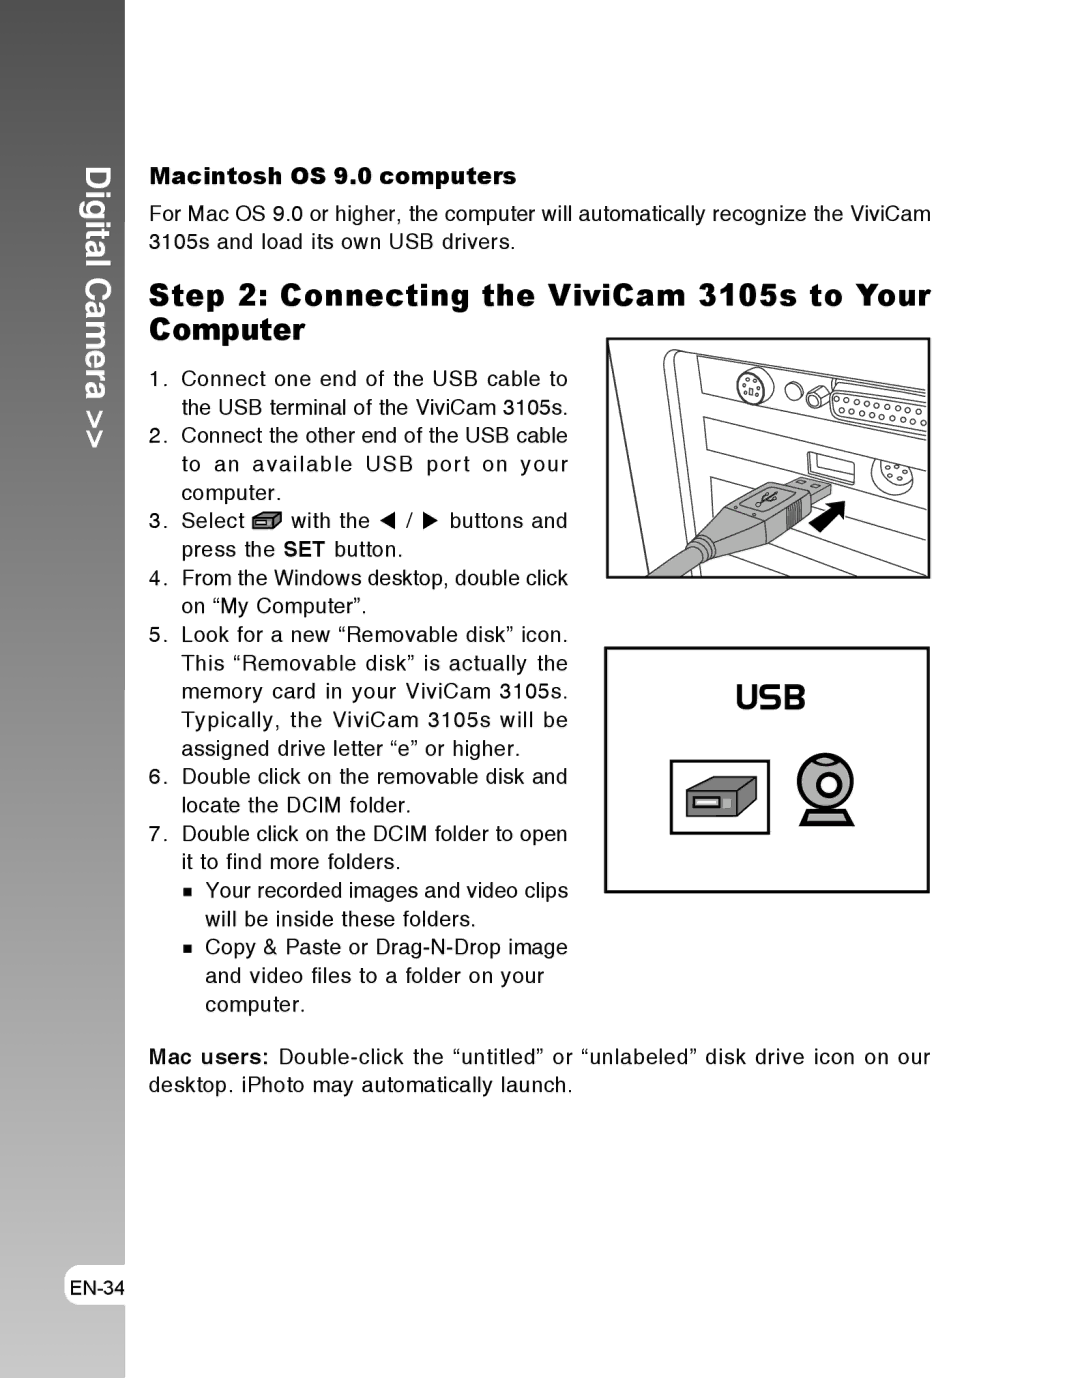
1.Connect one end of the USB cable to the USB terminal of the ViviCam 3105s.
2.Connect the other end of the USB cable
to an available USB port on your computer.
3. Select ![]() with the W / X buttons and press the SET button.
with the W / X buttons and press the SET button.
4.From the Windows desktop, double click on “My Computer”.
5.Look for a new “Removable disk” icon.
This “Removable disk” is actually the | USB | |
memory card in your ViviCam 3105s. | ||
Typically, the ViviCam 3105s will be |
|
|
assigned drive letter “e” or higher. |
|
|
6. Double click on the removable disk and |
|
|
locate the DCIM folder. |
|
|
7.Double click on the DCIM folder to open it to find more folders.
![]() Your recorded images and video clips will be inside these folders.
Your recorded images and video clips will be inside these folders.
![]() Copy & Paste or
Copy & Paste or
Mac users: