6.Self-Timer. Press the ENTER Button to display a

set of monochrome icons on the image display. Press

the arrow buttons / until the self-timer icon appears (enlarged) in the center of the LCD window.

Press the arrow buttons / to toggle between self-timer enabled/self-timer disabled. Enable the self-timer. Press the shutter button and note that the RED self-timer LED blinks on the front of the camera and an image is captured after ten seconds.

7.Digital Zoom. Press the arrow buttons / on the

MENU/ENTER Button to adjust the digital zoom and a

scaling-bar will appear on the left side of the LCD Monitor indicating the digital zoom level, in ten steps.

8.Slide the Macro Switch on the side of camera to enable Macro (close-up) photography. When you select Macro Mode, the green Macro LED located on the top of the LCD monitor will light green.

Notes:

If the low-battery icon appears, install new batteries immediately to keep the camera operating normally.

When the storage memory begins to fill, the image counter will turn red and a red card icon will appear as an indication that memory is almost full. “Memory Full” indicates all memory storage has been used.

6-3 Play Mode

In Play Mode, you can review your still images and movies as follows:

1.Turn the Mode Dial to Play Mode .

2.Use the lens cover to turn the camera on. As the camera powers-up the last recorded image appears on the LCD.

3.Press the arrow buttons / on the MENU/ENTER

Button to review your images. You may move forward or backward through your images.

4.Press the Enter button in the center of the MENU/ENTER

Button to access the "Delete" function. Press the arrow button , to access the "Auto play” (Slideshow) feature.

Note: If there are no images stored in the internal memory or memory card, a “No picture” message appears on the LCD.

6-4 Movie Mode

You can use the Movie Mode to record movies (without audio) as follows:

1.Turn the Mode Dial to Movie Mode .

2.Use the lens cover to turn the camera on.

3.Press the Shutter button to start recording. Press the Shutter button again to stop recording.

4.The LCD Monitor will show the recording time (in seconds) while you are recording a movie.

˜The maximum recording time will depending on the available memory space.

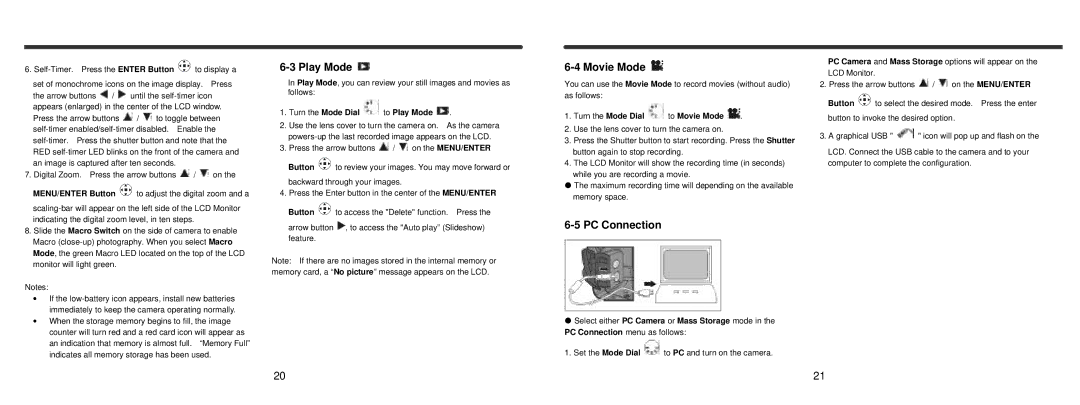
6-5 PC Connection

˜Select either PC Camera or Mass Storage mode in the PC Connection menu as follows:

1. Set the Mode Dial to PC and turn on the camera.

PC Camera and Mass Storage options will appear on the LCD Monitor.

2.Press the arrow buttons / on the MENU/ENTER

Button to select the desired mode. Press the enter button to invoke the desired option.

3.A graphical USB " " icon will pop up and flash on the

LCD. Connect the USB cable to the camera and to your computer to complete the configuration.

20

21

Page 11
Image 11
Vivitar Vivicam 3695 user manual PC Connection, Turn the Mode Dial to Play Mode, Turn the Mode Dial to Movie Mode

Vivicam 3695 specifications

The Vivitar ViviCam 3695 is a compact digital camera that emerged in the early 2000s, catering to a growing market of amateur photographers and casual users who sought an affordable yet functional option. With its combination of simplicity and essential features, the ViviCam 3695 became a popular choice for those looking to capture life's moments without breaking the bank.

One of the main features of the ViviCam 3695 is its 3.2-megapixel image sensor, which allows users to take decent quality photos for personal use. While it may not compete with modern high-resolution cameras, the resolution provided by the ViviCam 3695 is suitable for printing small photos or sharing online. The varying picture sizes, including small, medium, and large options, provide users with flexibility based on their needs.

The camera's 3x digital zoom capability is another noteworthy characteristic, enabling users to get closer to the action without physically moving. Although it lacks an optical zoom, the digital zoom still allows for some enhancement of distant subjects, making it a practical option for capturing spontaneous moments.

The user-friendly interface of the ViviCam 3695 is designed with simplicity in mind. Its straightforward navigation and controls are particularly appealing to novice photographers, eliminating the learning curve that often accompanies more advanced cameras. The 1.5-inch LCD display makes it easy to compose shots, review images, and operate the camera settings effortlessly.

In terms of connectivity, the ViviCam 3695 supports USB transfer, allowing users to quickly and easily transfer their images to a computer for editing and sharing. This feature enhances the overall user experience, bridging the gap between capturing images and enjoying them on digital platforms.

The camera is powered by AA batteries, providing users with the convenience of easy battery replacement, which can be especially advantageous for those who frequently shoot photos. Additionally, the compact design of the ViviCam 3695 makes it portable enough to carry on adventures or everyday outings.

Overall, the Vivitar ViviCam 3695 stands out as an entry-level digital camera, offering essential features and ease of use for beginners. While it may not boast advanced technologies found in higher-end models, its affordability and practicality make it a memorable option for capturing everyday moments.