CONNECTING THE CHARGER WITH THE DC ACCESSORY PLUG
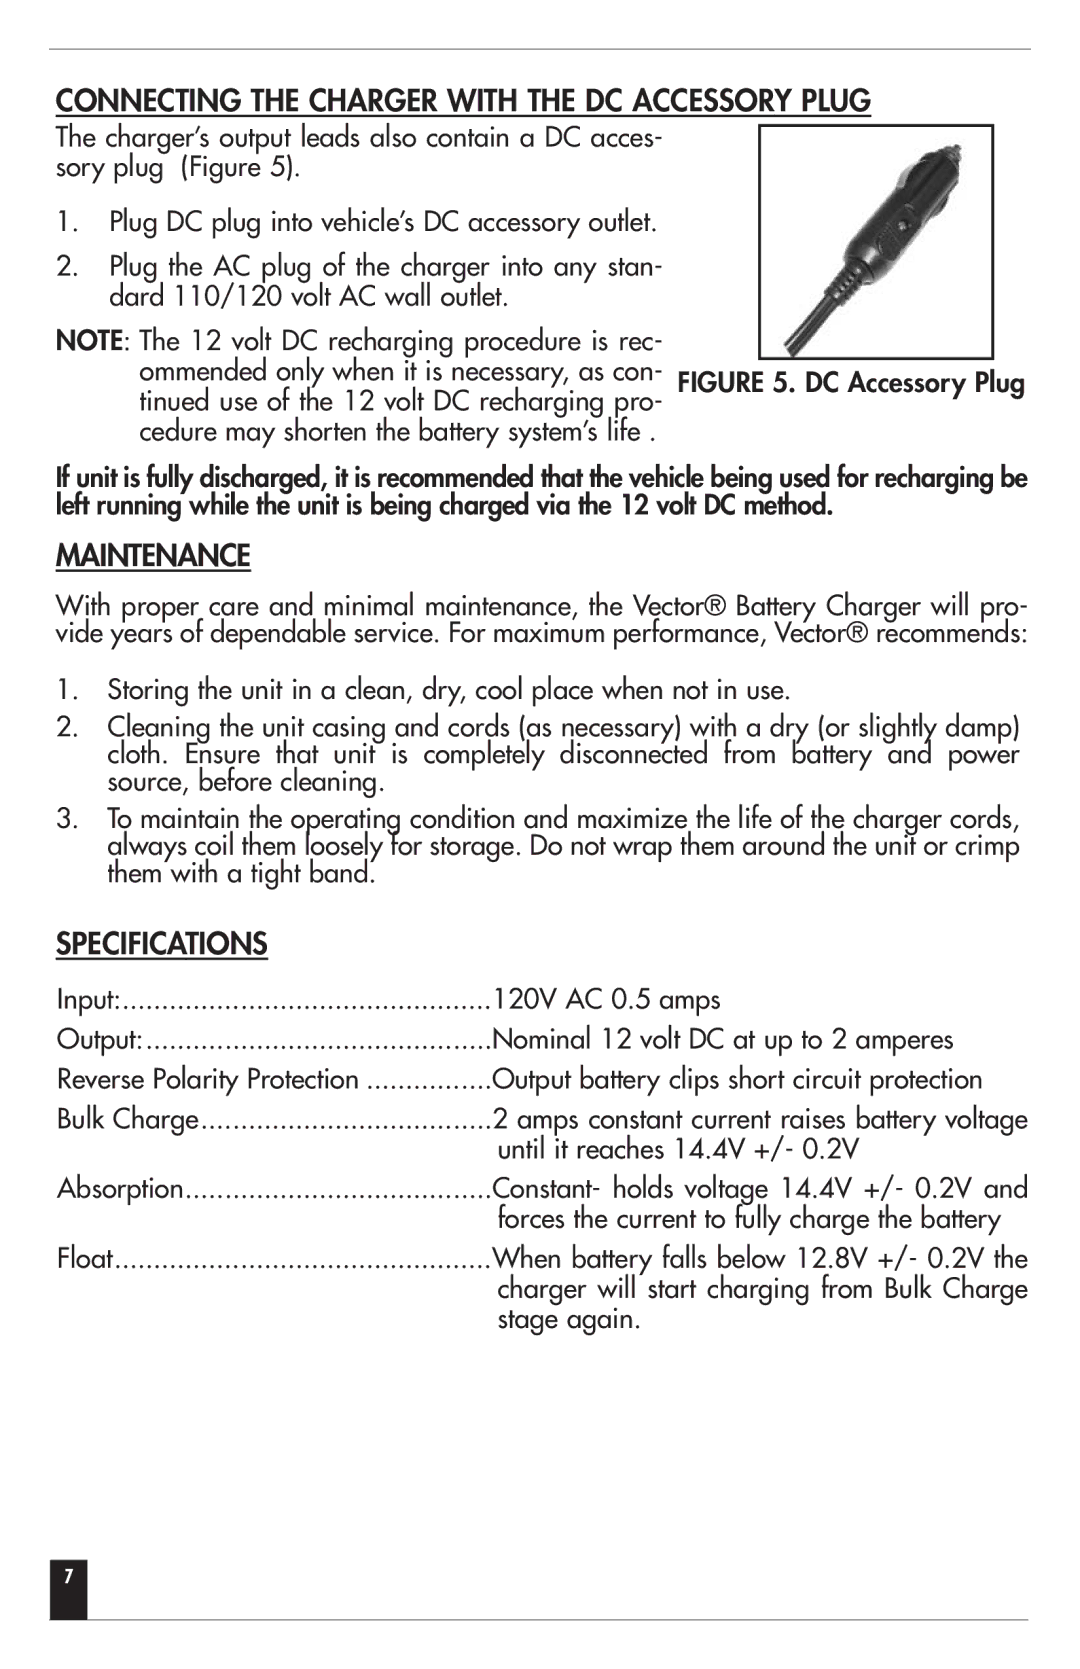
The charger’s output leads also contain a DC acces- sory plug (Figure 5).
1.Plug DC plug into vehicle’s DC accessory outlet.
2.Plug the AC plug of the charger into any stan- dard 110/120 volt AC wall outlet.
NOTE: The 12 volt DC recharging procedure is rec-
ommended only when it is necessary, as con- FIGURE 5. DC Accessory Plug tinued use of the 12 volt DC recharging pro-
cedure may shorten the battery system’s life .
If unit is fully discharged, it is recommended that the vehicle being used for recharging be left running while the unit is being charged via the 12 volt DC method.
MAINTENANCE
With proper care and minimal maintenance, the Vector® Battery Charger will pro- vide years of dependable service. For maximum performance, Vector® recommends:
1.Storing the unit in a clean, dry, cool place when not in use.
2.Cleaning the unit casing and cords (as necessary) with a dry (or slightly damp) cloth. Ensure that unit is completely disconnected from battery and power source, before cleaning.
3.To maintain the operating condition and maximize the life of the charger cords, always coil them loosely for storage. Do not wrap them around the unit or crimp them with a tight band.
SPECIFICATIONS
Input: | 120V AC 0.5 amps |
Output: | Nominal 12 volt DC at up to 2 amperes |
Reverse Polarity Protection | Output battery clips short circuit protection |
Bulk Charge | 2 amps constant current raises battery voltage |
| until it reaches 14.4V +/- 0.2V |
Absorption | Constant- holds voltage 14.4V +/- 0.2V and |
| forces the current to fully charge the battery |
Float | When battery falls below 12.8V +/- 0.2V the |
| charger will start charging from Bulk Charge |
| stage again. |
7
