VIZIO VU37L HDTV10A User Manual
4.2.6 Tint
Press the ![]() button to highlight the Tint selection.
button to highlight the Tint selection.
Press the ![]() button to start adjusting the tint and the menu page will disappear and be replaced by a small Tint Indicator Bar so you can see the tint adjustment to the left or right of the nominal position.
button to start adjusting the tint and the menu page will disappear and be replaced by a small Tint Indicator Bar so you can see the tint adjustment to the left or right of the nominal position.
Use the ![]() or
or ![]() button to adjust the level.
button to adjust the level.
The Tint adjusts the hue of the picture. The easiest way to set tint is to look at flesh tones and adjust for a realistic appearance. In most cases, the default middle position is correct. If people’s faces look too orange try reducing the level of color first as the case of this is often too much color.
Once the adjustments are completed press the LAST button repeatedly to exit the OSD completely.
4.2.7 Sharpness
Press the | button to highlight the Sharpness selection. |
Press the | button to start adjusting the sharpness and the menu page will disappear and be replaced |
by a small Sharpness Indicator Bar so you can see the sharpness level between the minimum and
maximum available levels. Use the ![]() or
or ![]() button to adjust the level.
button to adjust the level.
The Sharpness adjusts the sharpness of the picture.
Once the adjustments are completed press the LAST button repeatedly to exit the OSD completely.
4.2.8 Advanced Video Features
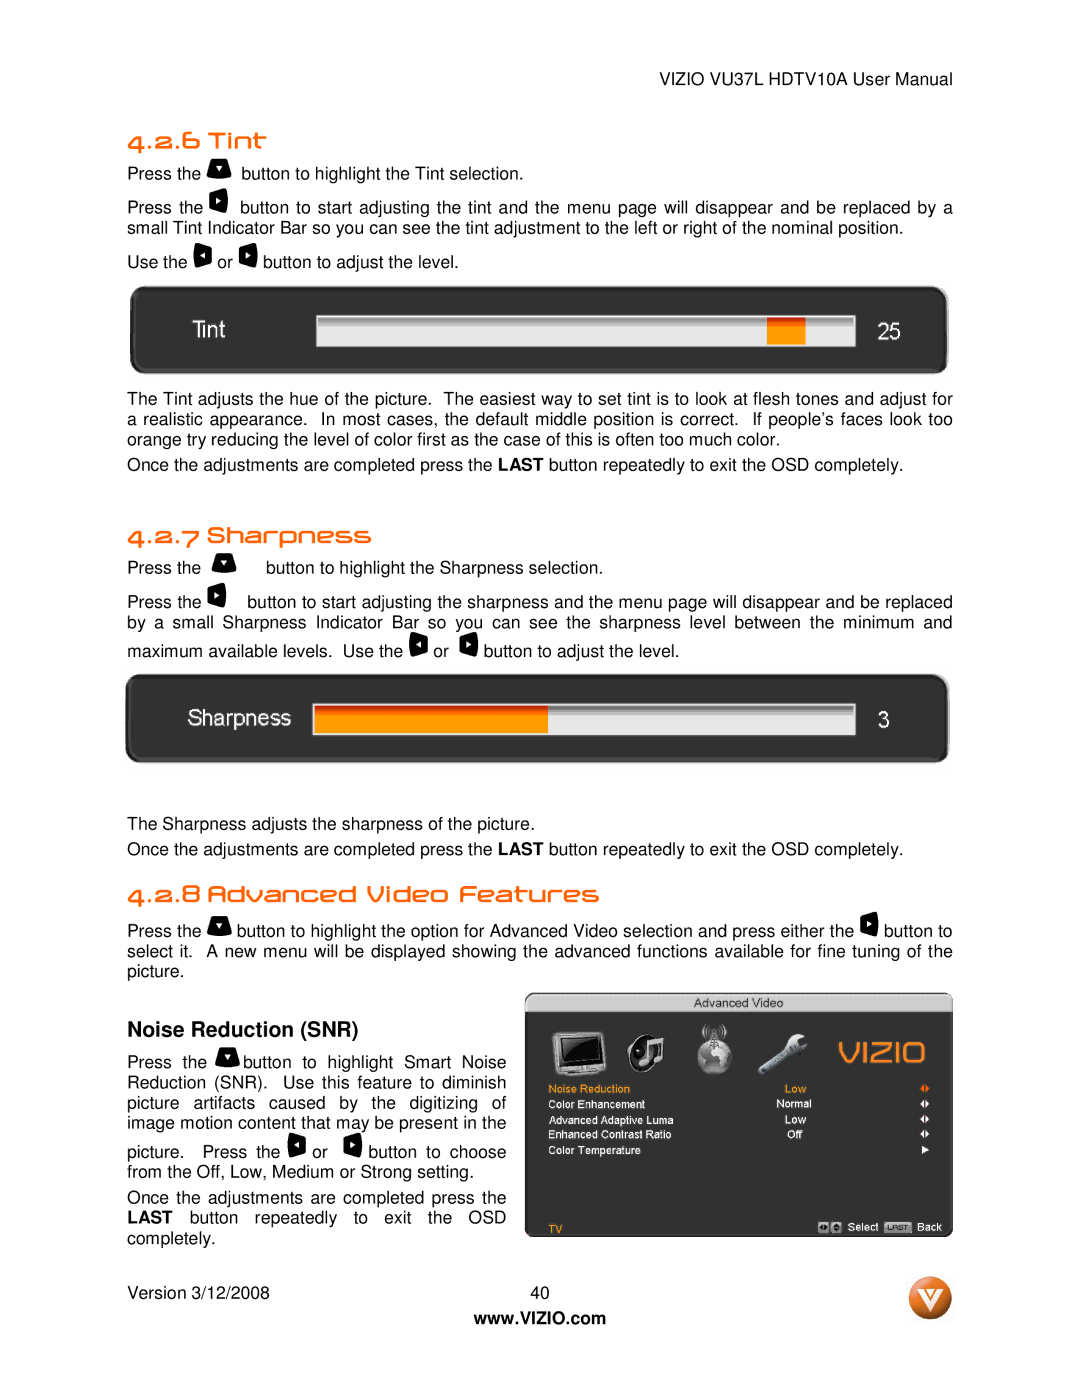
Press the ![]() button to highlight the option for Advanced Video selection and press either the
button to highlight the option for Advanced Video selection and press either the ![]() button to select it. A new menu will be displayed showing the advanced functions available for fine tuning of the picture.
button to select it. A new menu will be displayed showing the advanced functions available for fine tuning of the picture.
Noise Reduction (SNR)
Press the ![]() button to highlight Smart Noise Reduction (SNR). Use this feature to diminish picture artifacts caused by the digitizing of image motion content that may be present in the
button to highlight Smart Noise Reduction (SNR). Use this feature to diminish picture artifacts caused by the digitizing of image motion content that may be present in the
picture. Press the ![]() or
or ![]() button to choose from the Off, Low, Medium or Strong setting.
button to choose from the Off, Low, Medium or Strong setting.
Once the adjustments are completed press the LAST button repeatedly to exit the OSD completely.
Version 3/12/2008 | 40 |
| www.VIZIO.com |
