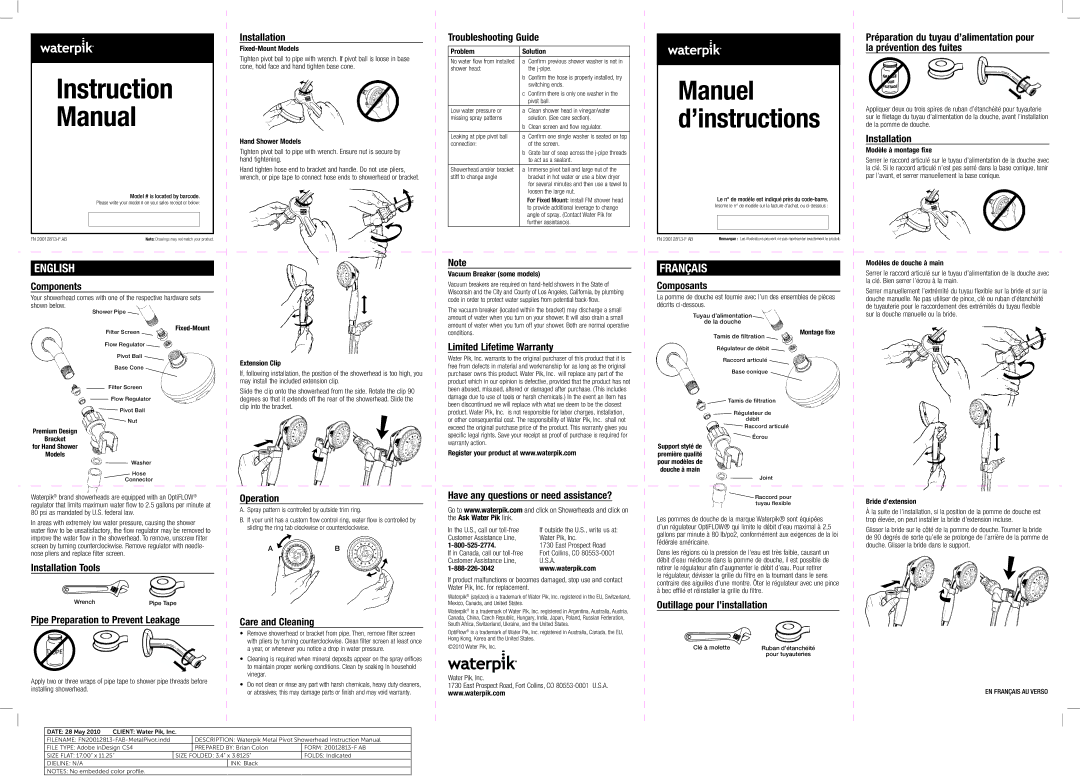
Instruction
Manual
Model # is located by barcode.
Please write your model # on your sales receipt or below:
FN 20012813-F AB | Note: Drawings may not match your product. |
ENGLISH
Components
Your showerhead comes with one of the respective hardware sets shown below.
Shower Pipe 
Filter Screen | Fixed-Mount |
|
Flow Regulator | |
| Pivot Ball | |
| Base Cone | |
| Filter Screen | |
| Flow Regulator | |
| |
| Pivot Ball | |
| Nut | |
Premium Design
Bracket
for Hand Shower
Models
Washer
Hose
Connector
Waterpik® brand showerheads are equipped with an OptiFLOW® regulator that limits maximum water flow to 2.5 gallons per minute at 80 psi as mandated by U.S. federal law.
In areas with extremely low water pressure, causing the shower water flow to be unsatisfactory, the flow regulator may be removed to improve the water flow in the showerhead. To remove, unscrew filter screen by turning counterclockwise. Remove regulator with needle- nose pliers and replace filter screen.
Installation Tools
Pipe Preparation to Prevent Leakage
Apply two or three wraps of pipe tape to shower pipe threads before installing showerhead.
Installation
Fixed-Mount Models
Tighten pivot ball to pipe with wrench. If pivot ball is loose in base cone, hold face and hand tighten base cone.
Hand Shower Models
Tighten pivot ball to pipe with wrench. Ensure nut is secure by hand tightening.
Hand tighten hose end to bracket and handle. Do not use pliers, wrench, or pipe tape to connect hose ends to showerhead or bracket.
Extension Clip
If, following installation, the position of the showerhead is too high, you may install the included extension clip.
Slide the clip onto the showerhead from the side. Rotate the clip 90 degrees so that it extends off the rear of the showerhead. Slide the clip into the bracket.
Operation
A.Spray pattern is controlled by outside trim ring.
B.If your unit has a custom flow control ring, water flow is controlled by sliding the ring tab clockwise or counterclockwise.
A  B
B
Care and Cleaning
•Remove showerhead or bracket from pipe. Then, remove filter screen with pliers by turning counterclockwise. Clean filter screen at least once a year, or whenever you notice a drop in water pressure.
•Cleaning is required when mineral deposits appear on the spray orifices to maintain proper working conditions. Clean by soaking in household vinegar.
•Do not clean or rinse any part with harsh chemicals, heavy duty cleaners, or abrasives; this may damage parts or finish and may void warranty.
Troubleshooting Guide
Problem | Solution |
No water flow from installed | a Confirm previous shower washer is not in |
shower head: | the j-pipe. |
| b Confirm the hose is properly installed, try |
| switching ends. |
| c Confirm there is only one washer in the |
| pivot ball. |
| |
Low water pressure or | a Clean shower head in vinegar/water |
missing spray patterns | solution. (See care section). |
| b Clean screen and flow regulator. |
Leaking at pipe pivot ball | a Confirm one single washer is seated on top |
connection: | of the screen. |
| b Grate bar of soap across the j-pipe threads |
| to act as a sealant. |
| |
Showerhead and/or bracket | a Immerse pivot ball and large nut of the |
stiff to change angle | bracket in hot water or use a blow dryer |
| for several minutes and then use a towel to |
| loosen the large nut. |
| For Fixed Mount: install FM shower head |
| to provide additional leverage to change |
| angle of spray. (Contact Water Pik for |
| further assistance). |
Note
Vacuum Breaker (some models)
Vacuum breakers are required on hand-held showers in the State of Wisconsin and the City and County of Los Angeles, California, by plumbing code in order to protect water supplies from potential back-flow.
The vacuum breaker (located within the bracket) may discharge a small amount of water when you turn on your shower. It will also drain a small amount of water when you turn off your shower. Both are normal operative conditions.
Limited Lifetime Warranty
Water Pik, Inc. warrants to the original purchaser of this product that it is free from defects in material and workmanship for as long as the original purchaser owns this product. Water Pik, Inc. will replace any part of the product which in our opinion is defective, provided that the product has not been abused, misused, altered or damaged after purchase. (This includes damage due to use of tools or harsh chemicals.) In the event an item has been discontinued we will replace with what we deem to be the closest product. Water Pik, Inc. is not responsible for labor charges, installation, or other consequential cost. The responsibility of Water Pik, Inc. shall not exceed the original purchase price of the product. This warranty gives you specific legal rights. Save your receipt as proof of purchase is required for warranty action.
Register your product at www.waterpik.com
Have any questions or need assistance?
Go to www.waterpik.com and click on Showerheads and click on the Ask Water Pik link.
In the U.S., call our toll-free | If outside the U.S., write us at: |
Customer Assistance Line, | Water Pik, Inc. |
1-800-525-2774. | 1730 East Prospect Road |
If in Canada, call our toll-free | Fort Collins, CO 80553-0001 |
Customer Assistance Line, | U.S.A. |
1-888-226-3042 | www.waterpik.com |
If product malfunctions or becomes damaged, stop use and contact Water Pik, Inc. for replacement.
Waterpik® (stylized) is a trademark of Water Pik, Inc. registered in the EU, Switzerland, Mexico, Canada, and United States.
Waterpik® is a trademark of Water Pik, Inc. registered in Argentina, Australia, Austria, Canada, China, Czech Republic, Hungary, India, Japan, Poland, Russian Federation, South Africa, Switzerland, Ukraine, and the United States.
OptiFlow® is a trademark of Water Pik, Inc. registered in Australia, Canada, the EU, Hong Kong, Korea and the United States.
©2010 Water Pik, Inc.
Water Pik, Inc.
1730 East Prospect Road, Fort Collins, CO 80553-0001 U.S.A. www.waterpik.com
Manuel d’instructions
Le n° de modèle est indiqué près du code-barre.
Inscrire le n° de modèle sur la facture d’achat, ou ci-dessous :
FN 20012813-F ABRemarque : Les illustrations peuvent ne pas représenter exactement le produit.
FRANÇAIS
Composants
La pomme de douche est fournie avec l’un des ensembles de pièces décrits ci-dessous.
Tuyau d’alimentation
de la douche
Tamis de filtration | Montage fixe |
|
Régulateur de débit 
Raccord articulé
Base conique
 Tamis de filtration
Régulateur de
débit
 Raccord articulé
  Écrou
Écrou
Support stylé de première qualité pour modèles de douche à main
Joint
 Raccord pour tuyau flexible
Les pommes de douche de la marque Waterpik® sont équipées d’un régulateur OptiFLOW® qui limite le débit d’eau maximal à 2,5 gallons par minute à 80 lb/po2, conformément aux exigences de la loi fédérale américaine.
Dans les régions où la pression de l’eau est très faible, causant un débit d’eau médiocre dans la pomme de douche, il est possible de retirer le régulateur afin d’augmenter le débit d’eau. Pour retirer le régulateur, dévisser la grille du filtre en la tournant dans le sens contraire des aiguilles d’une montre. Ôter le régulateur avec une pince à bec effilé et réinstaller la grille du filtre.
Outillage pour l’installation
Clé à molette | | Ruban d’étanchéité |
| pour tuyauteries |
Préparation du tuyau d’alimentation pour la prévention des fuites
Appliquer deux ou trois spires de ruban d’étanchéité pour tuyauterie sur le filetage du tuyau d’alimentation de la douche, avant l’installation de la pomme de douche.
Installation
Modèle à montage fixe
Serrer le raccord articulé sur le tuyau d’alimentation de la douche avec la clé. Si le raccord articulé n’est pas serré dans la base conique, tenir par l’avant, et serrer manuellement la base conique.
Modèles de douche à main
Serrer le raccord articulé sur le tuyau d’alimentation de la douche avec la clé. Bien serrer l’écrou à la main.
Serrer manuellement l’extrémité du tuyau flexible sur la bride et sur la douche manuelle. Ne pas utiliser de pince, clé ou ruban d’étanchéité de tuyauterie pour le raccordement des extrémités du tuyau flexible sur la douche manuelle ou la bride.
Bride d’extension
Àla suite de l’installation, si la position de la pomme de douche est trop élevée, on peut installer la bride d’extension incluse.
Glisser la bride sur le côté de la pomme de douche. Tourner la bride de 90 degrés de sorte qu’elle se prolonge de l’arrière de la pomme de douche. Glisser la bride dans le support.
EN FRANÇAIS AU VERSO