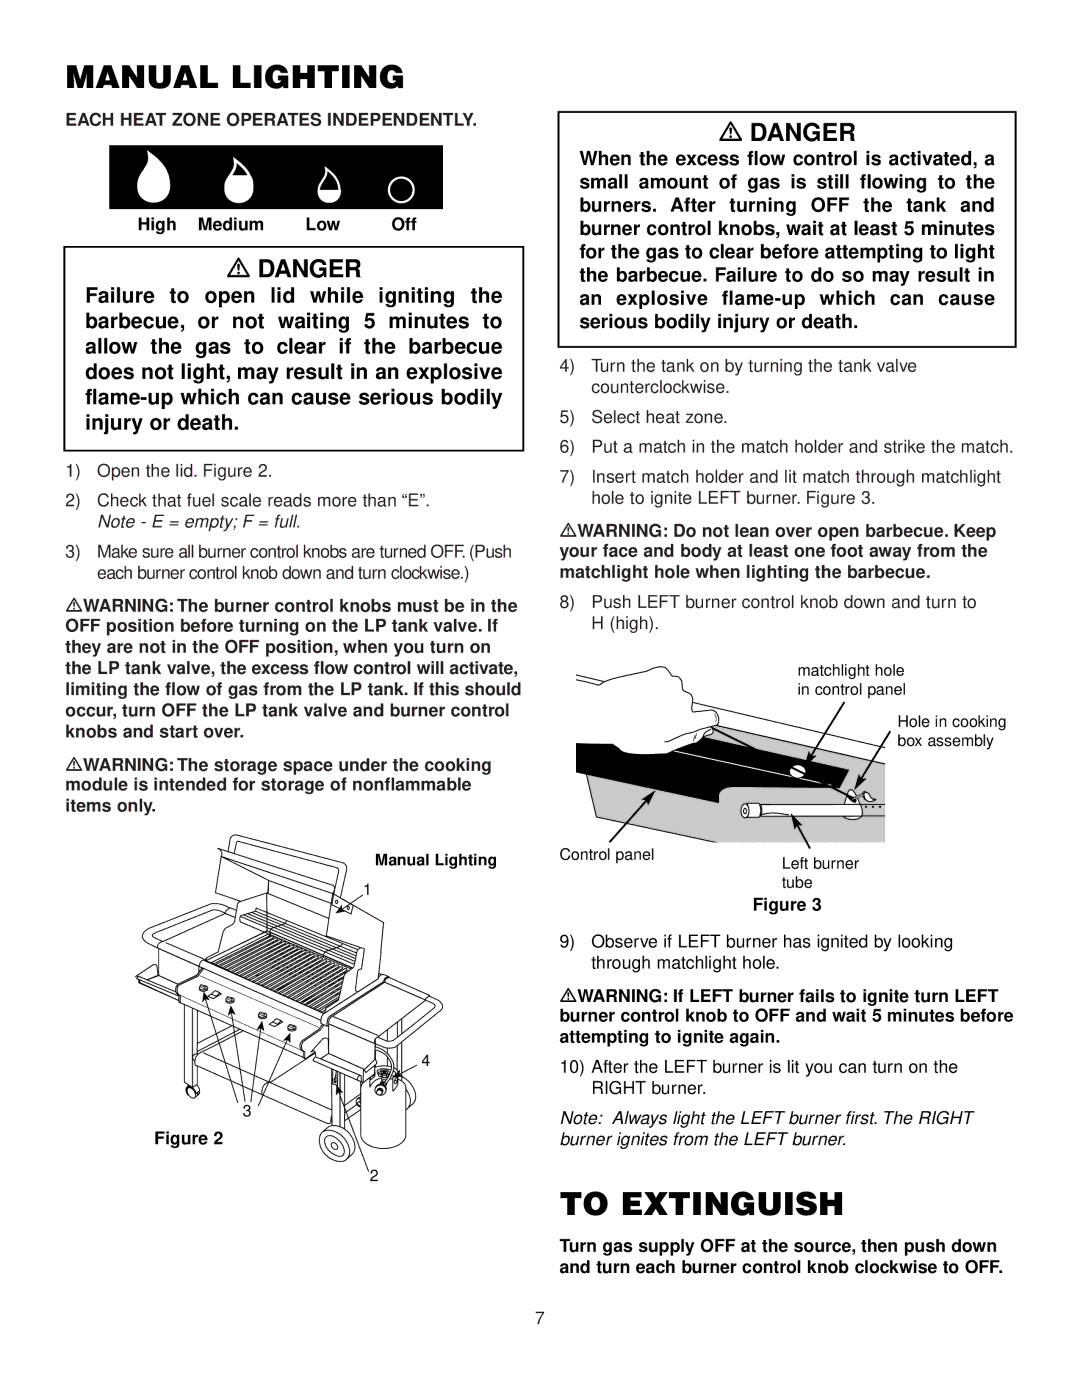
425, 450 specifications
The Weber 450 and 425 are part of Weber's esteemed line of gas grills, renowned for their innovative features, performance, and solid construction. These grills have become favorites among barbecue enthusiasts and professional chefs alike, offering a perfect blend of convenience and high-quality grilling results.One of the main features of the Weber 450 and 425 is their spacious cooking area. The grills provide ample room to prepare meals for family gatherings or outdoor parties, accommodating everything from steaks to vegetables. With the capability to cook multiple items simultaneously, these grills make it easy to prepare full meals outdoors.
Both models are equipped with high-performance burners, designed to deliver consistent heat across the entire cooking surface. This ensures that food is cooked evenly, allowing for perfect searing and browning. The burners are made from durable stainless steel, which not only withstands the elements but also contributes to the longevity of the grill.
The Weber 450 and 425 incorporate advanced technologies such as the Infinity Ignition system, which ensures a reliable start every time. With just the push of a button, users can ignite the grill, reducing frustrations and enhancing the overall grilling experience. Additionally, the heat distribution system ensures that the grill maintains an even temperature, which is essential for achieving culinary perfection.
Another noteworthy feature is the side burner, available on some configurations. This additional cooking space allows for the preparation of sauces or side dishes while the main grilling surface is in use, offering added convenience for outdoor cooking.
Both models also prioritize ease of cleaning. The grease management system helps to funnel excess grease away from the burners, reducing flare-ups and making post-cooking clean-up a breeze. The removable grease tray collects drippings and can be easily emptied, ensuring a hassle-free experience.
Finally, the Weber 450 and 425 are designed with durability in mind. With sturdy wheels for mobility and a robust frame, these grills can withstand the rigors of outdoor use. The high-quality materials used in construction ensure that these models are not only efficient but also resistant to the elements, making them a long-lasting addition to any outdoor cooking setup.
With their combination of functionality, advanced technology, and user-friendly features, the Weber 450 and 425 gas grills are excellent choices for anyone looking to enhance their outdoor cooking experiences. Whether you're a seasoned griller or a newcomer, these models offer everything needed to create delicious meals with ease.

