INSPECT AND CLEAN UNIT AND DECALS
S After each use, inspect complete unit for loose or damaged parts. Clean the unit and decals using a damp cloth with a mild deter- gent.
SWipe off unit with a clean dry cloth.
CLEAN AIR FILTER
Air Filter
Cover
Fuel Line
Fuel Filter
CHECK MUFFLER MOUNTING SCREWS
Once each year, ensure muffler mounting screws are secure and tightened properly to prevent damage.
|
|
|
|
|
| Mounting |
|
|
|
|
|
| Screw |
Muffler Cover |
|
| Holes | |||
|
|
| ||||
|
|
|
|
|
|
|
|
|
|
|
|
|
|
|
|
|
|
|
|
|
|
|
|
|
|
|
|
Air Filter
Screws
Screws
Cleaning the air filter:
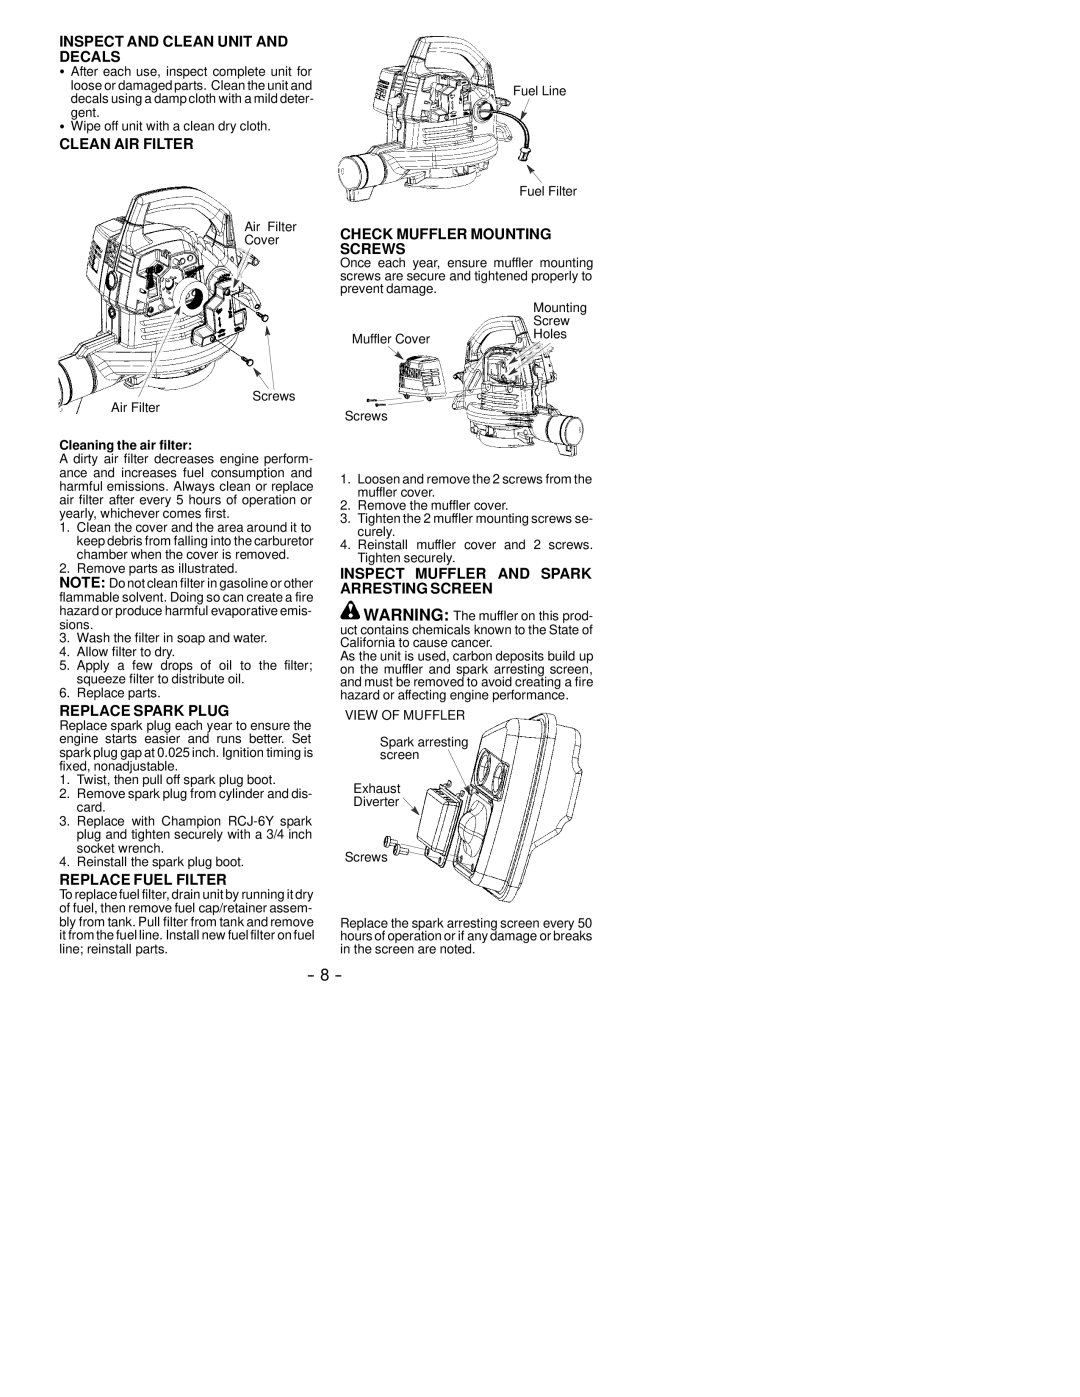
A dirty air filter decreases engine perform- ance and increases fuel consumption and harmful emissions. Always clean or replace air filter after every 5 hours of operation or yearly, whichever comes first.
1.Clean the cover and the area around it to keep debris from falling into the carburetor chamber when the cover is removed.
2.Remove parts as illustrated.
NOTE: Do not clean filter in gasoline or other flammable solvent. Doing so can create a fire hazard or produce harmful evaporative emis- sions.
3.Wash the filter in soap and water.
4.Allow filter to dry.
5.Apply a few drops of oil to the filter; squeeze filter to distribute oil.
6.Replace parts.
REPLACE SPARK PLUG
Replace spark plug each year to ensure the engine starts easier and runs better. Set spark plug gap at 0.025 inch. Ignition timing is fixed, nonadjustable.
1.Twist, then pull off spark plug boot.
2.Remove spark plug from cylinder and dis- card.
3.Replace with Champion
4.Reinstall the spark plug boot.
REPLACE FUEL FILTER
To replace fuel filter, drain unit by running it dry of fuel, then remove fuel cap/retainer assem- bly from tank. Pull filter from tank and remove it from the fuel line. Install new fuel filter on fuel line; reinstall parts.
1.Loosen and remove the 2 screws from the muffler cover.
2.Remove the muffler cover.
3.Tighten the 2 muffler mounting screws se- curely.
4.Reinstall muffler cover and 2 screws. Tighten securely.
INSPECT MUFFLER AND SPARK ARRESTING SCREEN
![]() WARNING: The muffler on this prod- uct contains chemicals known to the State of California to cause cancer.
WARNING: The muffler on this prod- uct contains chemicals known to the State of California to cause cancer.
As the unit is used, carbon deposits build up on the muffler and spark arresting screen, and must be removed to avoid creating a fire hazard or affecting engine performance.
VIEW OF MUFFLER
Spark arresting screen
Exhaust
Diverter ![]()
Screws
Replace the spark arresting screen every 50 hours of operation or if any damage or breaks in the screen are noted.
