
530164008 specifications
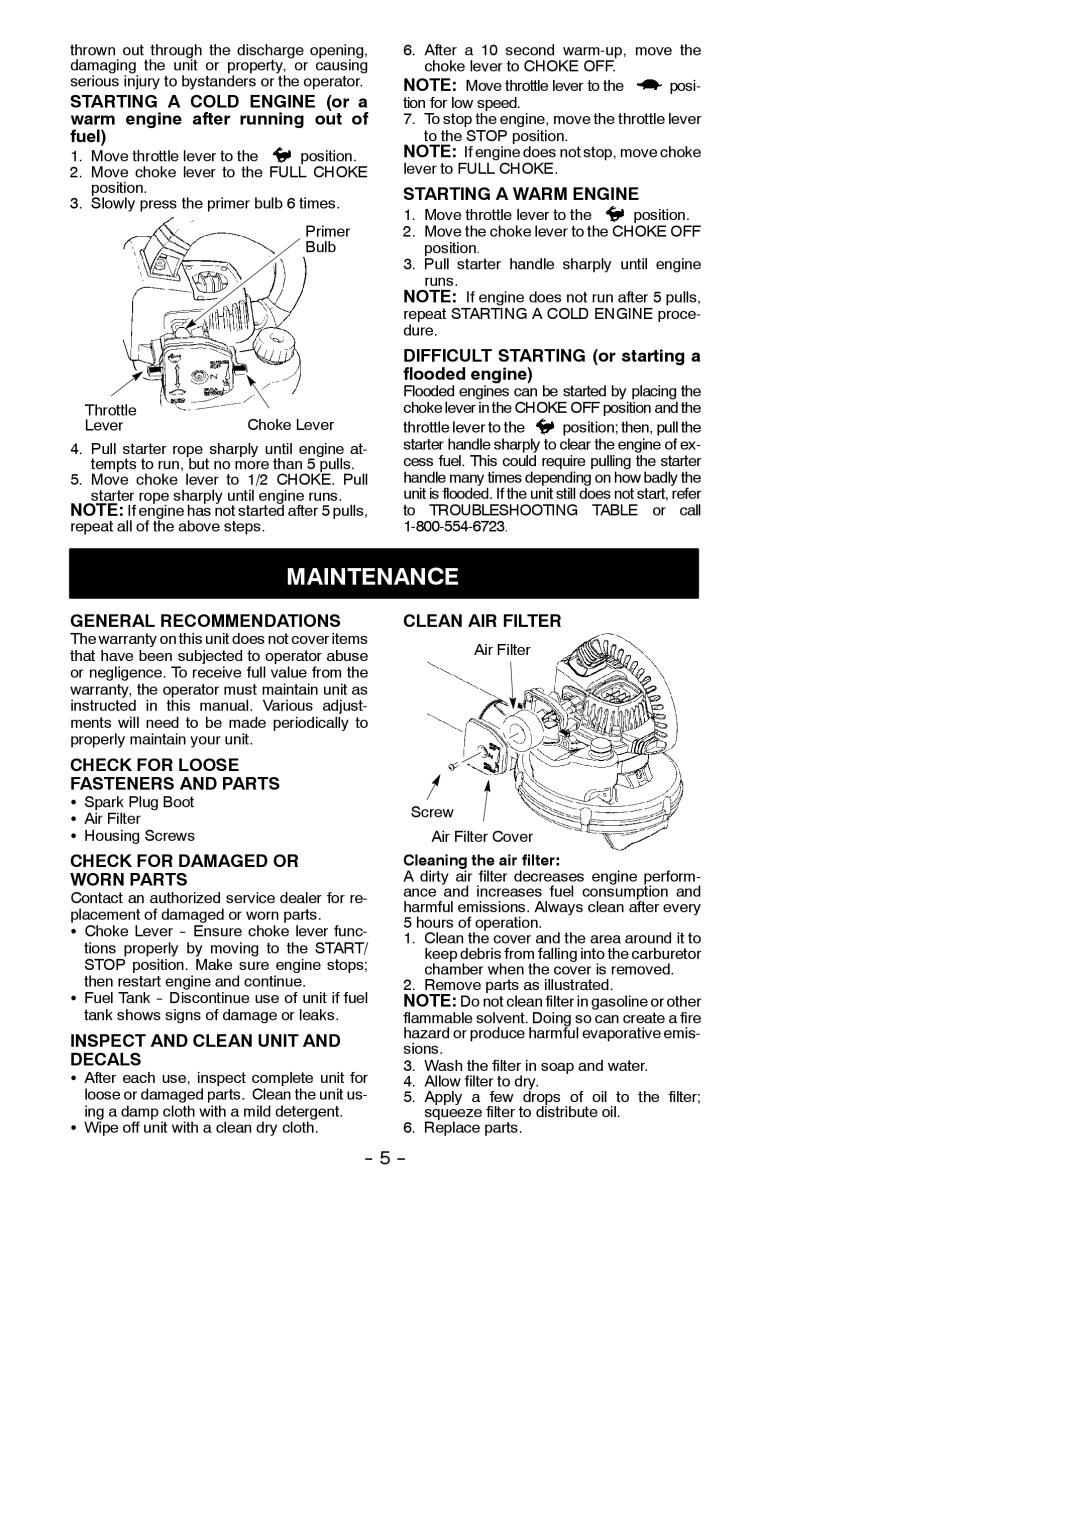
The Weed Eater 530164008 is an essential tool for gardeners and landscapers seeking a reliable and efficient solution for maintaining their outdoor spaces. This trimmer stands out with its well-balanced design and powerful performance, making it an excellent choice for both residential and commercial use.One of the key features of the Weed Eater 530164008 is its lightweight construction. Weighing significantly less than many traditional gas trimmers, this model allows users to maneuver effortlessly around gardens, flower beds, and hard-to-reach areas without experiencing fatigue. The ergonomic handle design further enhances comfort, ensuring users can work longer without straining their hands or wrists.
Power is where the Weed Eater 530164008 shines. Equipped with a robust engine, this trimmer delivers exceptional cutting performance that can tackle thick grass and stubborn weeds alike. The engine’s design promotes fuel efficiency, allowing users to get more work done on a single tank. This efficiency not only saves time but also reduces the frequency of refueling during larger projects.
A notable technology integrated into the Weed Eater 530164008 is its auto-feed spool system. This innovative feature ensures that the cutting line is always at the optimal length, allowing for continuous and uninterrupted trimming. When the line breaks or becomes too short, the auto-feed system automatically adjusts the line length, thus eliminating the need for manual rewinding and enhancing productivity.
In terms of versatility, the Weed Eater 530164008 is equipped with multiple cutting options, including standard line trimming and the option to attach different blades for tougher jobs. This adaptability makes it an invaluable tool for a variety of tasks, from trimming edges to clearing dense brush.
Durability is another hallmark of the Weed Eater 530164008. Constructed with high-quality materials, this trimmer is designed to withstand the rigors of frequent use. The reliable build ensures that users can count on it for years to come, making it a sound investment for anyone looking to keep their outdoor areas tidy.
In conclusion, the Weed Eater 530164008 is a powerful, user-friendly, and versatile trimmer that excels in performance and convenience. Its lightweight design, efficient engine, innovative features, and robust construction make it a top choice for anyone serious about maintaining their lawn and garden. Whether you are a homeowner or a professional landscaper, this trimmer offers the tools and performance needed to achieve those perfectly manicured outdoor spaces.