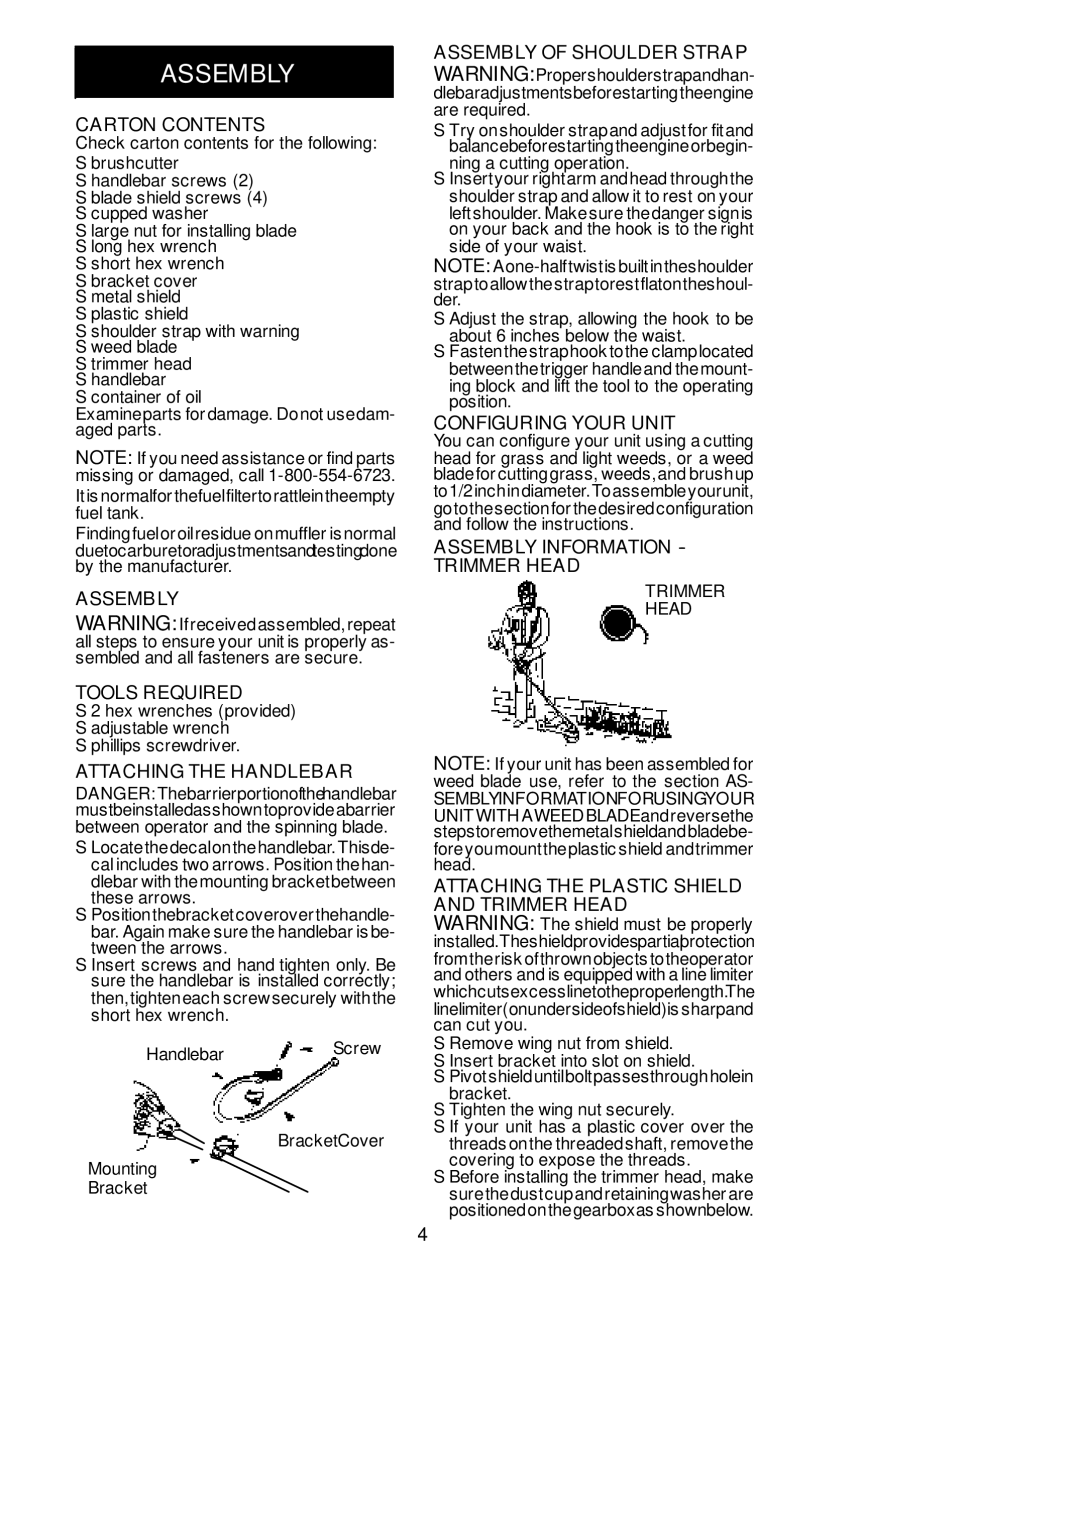
530087638, BC2400 specifications
The Weed Eater BC2400 is a powerful and versatile tool designed for homeowners and professionals alike. This string trimmer, model number 530087638, offers a host of features that make it ideal for tackling various landscaping tasks. With its robust design, this trimmer can handle even the tough overgrowth, ensuring your garden remains pristine.One of the main features of the BC2400 is its reliable engine. Powered by a strong and efficient 24 cc engine, this trimmer delivers ample power while maintaining fuel efficiency. This means that users can enjoy longer operation times without the frequent need to refuel, making the trimmer a practical choice for extensive yard work. The engine also employs a lightweight design, allowing for easy handling and reduced operator fatigue during long use.
The Weed Eater BC2400 utilizes a straight shaft design, which enhances its reach and versatility. This design allows users to easily navigate under shrubs and around obstacles, making it perfect for achieving a professional-looking finish in hard-to-reach areas. The trimmer is equipped with a dual-line feed system, enabling quicker and more efficient cutting. Users can simply bump the head of the trimmer to release more line, facilitating seamless operation.
Another notable technology integrated into the BC2400 is the anti-vibration system. This innovative feature minimizes vibrations during use, enhancing comfort and control for users. As a result, even prolonged tasks become less strenuous, allowing for continued productivity without discomfort.
The cutting width of the BC2400 is impressive, measuring at 17 inches, which makes it suitable for a variety of trimming applications, from edging lawns to clearing weeds. The inclusion of a shark-tooth metal blade option adds versatility, allowing users to tackle tougher materials where standard trimmer line might struggle.
In addition to its performance capabilities, the Weed Eater BC2400 features an ergonomic design with adjustable handles, ensuring users of different heights can achieve optimal control. The lightweight construction of the trimmer aids in maneuverability, making it easy to handle throughout extended periods of gardening or landscaping work.
Overall, the Weed Eater BC2400, model 530087638, is a reliable and efficient choice for anyone looking to maintain their outdoor spaces. With its powerful engine, user-friendly features, and innovative technologies, this string trimmer stands out as a top choice in the realm of lawn maintenance tools. Whether you're a professional landscaper or a homeowner, the BC2400 delivers impressive results that enhance the beauty of any garden.

