530086306, RT10 specifications
The Weed Eater RT10, model number 530086306, stands out as a reliable and efficient tool designed for grass trimming and landscaping needs. This versatile trimmer boasts a host of features aimed at maximizing user comfort and cutting performance, making it a popular choice among homeowners and gardening enthusiasts.One of the notable features of the RT10 is its lightweight design. Weighing in at just over nine pounds, this trimmer allows for easy maneuverability, helping users to reach tight spots and maintain longer trimming sessions without excessive fatigue. The balanced weight distribution of the tool enhances control, ensuring that even novice users can handle it with confidence.
Equipped with a powerful gas engine, the RT10 delivers robust cutting performance. The engine’s design provides ample torque, allowing the trimmer to slice through thick grass and weeds effortlessly. Users appreciate the quick starting capabilities, thanks to its advanced recoil starting system. The engine’s efficiency contributes to longer run times, enabling users to complete their tasks without frequent refueling breaks.
The RT10 also features an adjustable cutting width, allowing users to customize their mowing experience based on the specific lawn conditions. With a cutting width of 10 inches, the trimmer can tackle various tasks, from edging to light mowing. The adjustable handle ensures user comfort during operation, accommodating different heights and grip preferences.
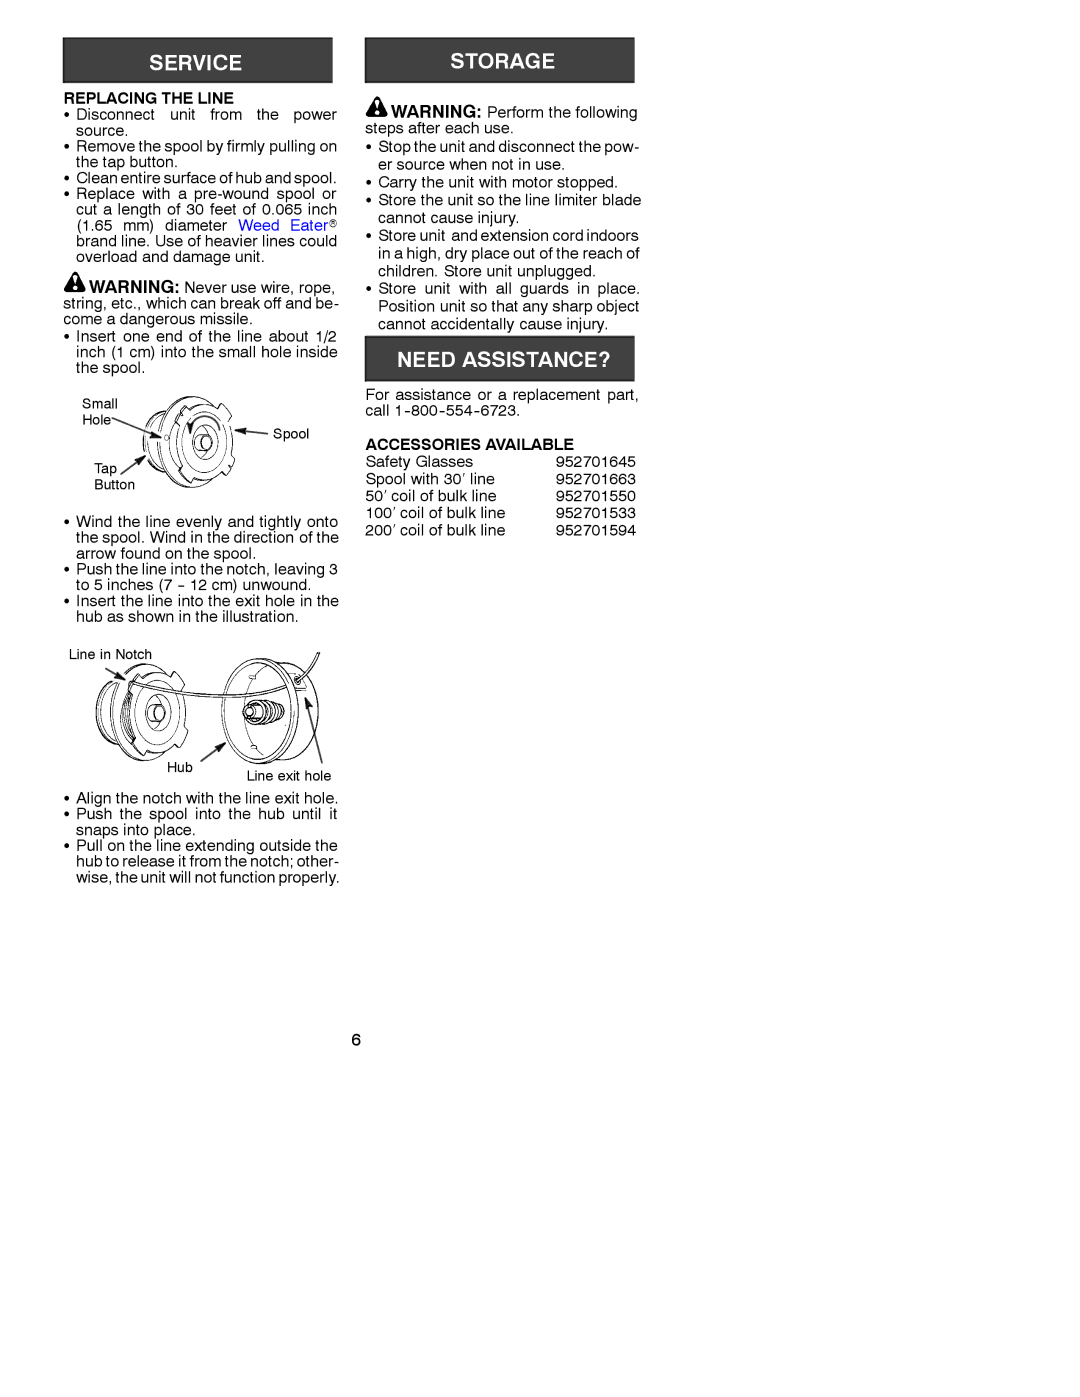
This model uses a dual-line cutting system, which significantly improves its cutting efficiency. The twin lines work in conjunction to provide a clean and precise cut, ensuring a well-maintained lawn. Moreover, the easy-to-reload spool system simplifies line replacement, keeping interruptions to a minimum.
For enhanced safety, the Weed Eater RT10 is designed with several features, including a protective shield that directs debris away from the user. This thoughtful design minimizes the risks associated with flying debris, allowing users to work with confidence.
In summary, the Weed Eater RT10,530086306 is a well-rounded trimmer that combines power, comfort, and safety. Its lightweight build, efficient gas engine, adjustable cutting width, and dual-line system make it an essential tool for anyone looking to maintain their garden effortlessly. Whether you are dealing with thick overgrowth or simply tidying up your lawn edges, the RT10 is built to handle a variety of trimming tasks effectively.