STEP-BY-STEP CONSOLE OPERATION
Before operating the console, make sure that the power cord is properly plugged in (see page 9).
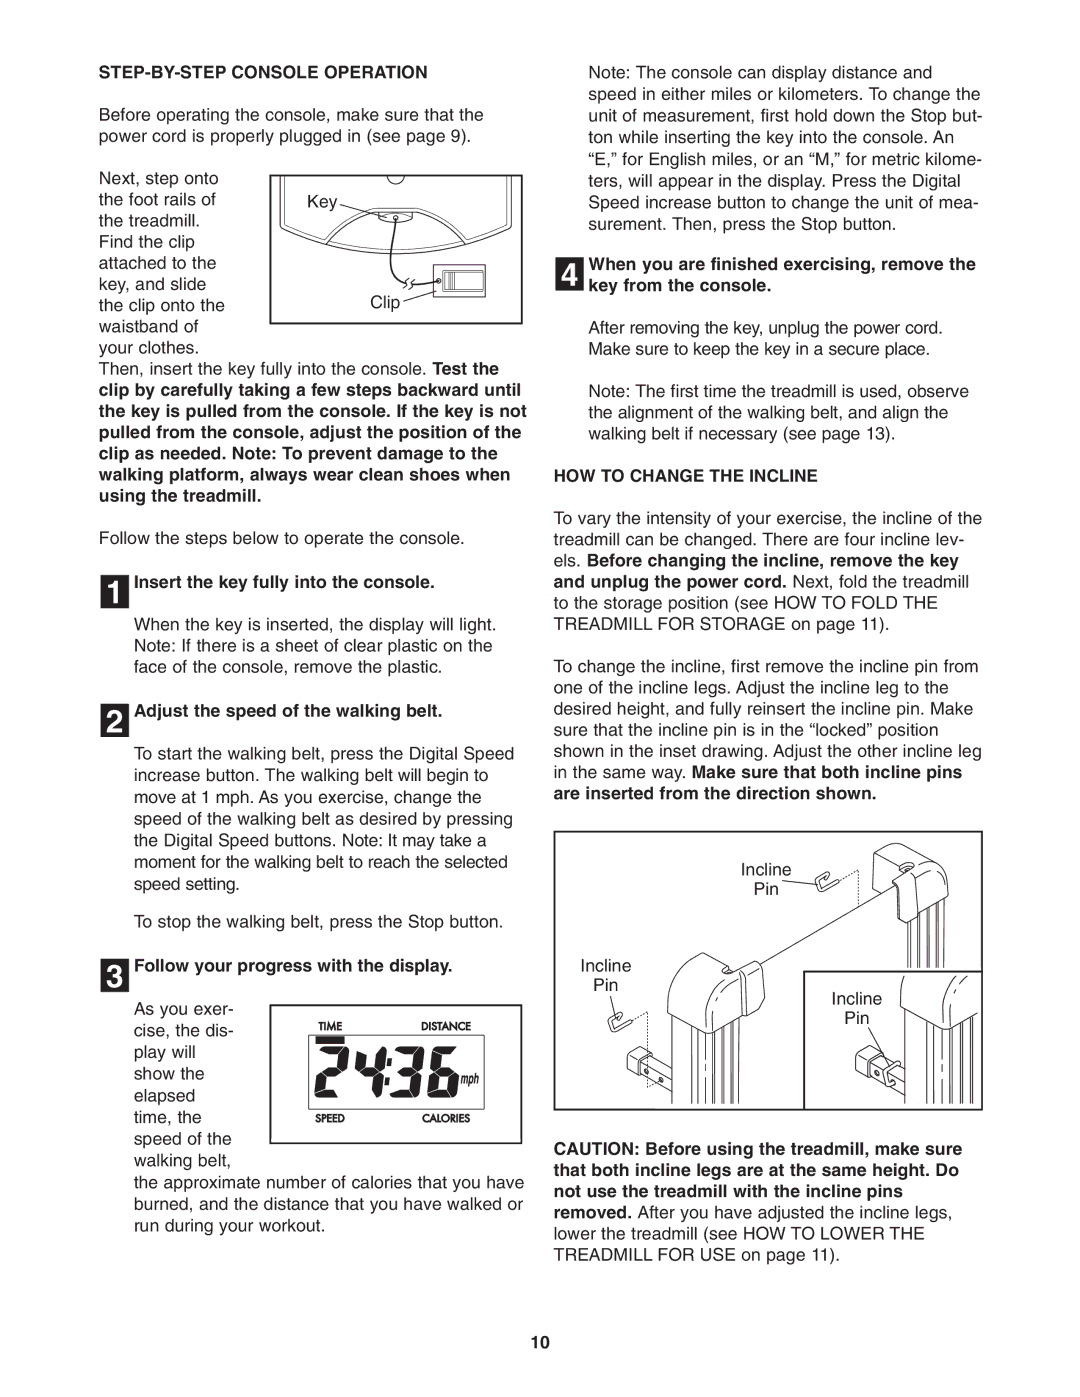
Next, step onto |
|
|
|
|
|
|
|
|
|
|
|
|
|
|
|
|
|
| |
the foot rails of |
|
|
|
|
|
|
| ||
| Key | ||||||||
the treadmill. |
|
|
|
|
|
|
|
|
|
|
|
|
|
|
|
|
|
| |
Find the clip |
|
|
|
|
|
|
|
|
|
attached to the |
|
|
|
|
|
|
|
|
|
|
|
|
|
|
|
|
|
| |
key, and slide |
|
|
|
|
|
|
|
|
|
|
|
|
|
|
|
|
|
| |
the clip onto the |
|
|
| Clip |
|
|
|
|
|
|
|
|
|
|
|
|
| ||
waistband of |
|
|
|
|
|
|
|
|
|
|
|
|
|
|
|
|
|
| |
|
|
|
|
|
|
|
|
| |
your clothes. |
|
|
|
|
|
|
|
|
|
Then, insert the key fully into the console. Test the clip by carefully taking a few steps backward until the key is pulled from the console. If the key is not pulled from the console, adjust the position of the clip as needed. Note: To prevent damage to the walking platform, always wear clean shoes when using the treadmill.
Follow the steps below to operate the console.
1 Insert the key fully into the console.
When the key is inserted, the display will light. Note: If there is a sheet of clear plastic on the face of the console, remove the plastic.
2 Adjust the speed of the walking belt.
To start the walking belt, press the Digital Speed increase button. The walking belt will begin to move at 1 mph. As you exercise, change the speed of the walking belt as desired by pressing the Digital Speed buttons. Note: It may take a moment for the walking belt to reach the selected speed setting.
To stop the walking belt, press the Stop button.
3 Follow your progress with the display.
As you exer- cise, the dis- play will show the elapsed time, the speed of the walking belt,
the approximate number of calories that you have burned, and the distance that you have walked or run during your workout.
Note: The console can display distance and speed in either miles or kilometers. To change the unit of measurement, first hold down the Stop but- ton while inserting the key into the console. An “E,” for English miles, or an “M,” for metric kilome- ters, will appear in the display. Press the Digital Speed increase button to change the unit of mea- surement. Then, press the Stop button.
When you are finished exercising, remove the
4 key from the console.
After removing the key, unplug the power cord. Make sure to keep the key in a secure place.
Note: The first time the treadmill is used, observe the alignment of the walking belt, and align the walking belt if necessary (see page 13).
HOW TO CHANGE THE INCLINE
To vary the intensity of your exercise, the incline of the treadmill can be changed. There are four incline lev- els. Before changing the incline, remove the key and unplug the power cord. Next, fold the treadmill to the storage position (see HOW TO FOLD THE TREADMILL FOR STORAGE on page 11).
To change the incline, first remove the incline pin from one of the incline legs. Adjust the incline leg to the desired height, and fully reinsert the incline pin. Make sure that the incline pin is in the “locked” position shown in the inset drawing. Adjust the other incline leg in the same way. Make sure that both incline pins are inserted from the direction shown.
Incline |
Pin |
Incline |
Pin |
Incline |
Pin |
CAUTION: Before using the treadmill, make sure that both incline legs are at the same height. Do not use the treadmill with the incline pins removed. After you have adjusted the incline legs, lower the treadmill (see HOW TO LOWER THE TREADMILL FOR USE on page 11).
10