Blender specifications
The West Bend Blender emerges as an outstanding kitchen appliance designed to cater to the needs of both amateur cooks and culinary enthusiasts. Renowned for its versatility and robust performance, this blender boasts an array of features that set it apart in the crowded kitchen appliance market.One of the key characteristics of the West Bend Blender is its powerful motor, typically offering around 600 to 900 watts of blending power. This substantial wattage allows the blender to effortlessly crush ice, blend tough ingredients like frozen fruits, and create smooth purees. The combination of power and speed ensures quick meal prep and creative culinary endeavors, making it an essential tool in any kitchen.
The West Bend Blender often features multiple speed settings and a pulse function, providing users with the control needed to achieve the desired texture for various recipes. Whether making a silky smoothie, a chunky salsa, or a velvety soup, the adjustable speeds offer flexibility, catering to personal preferences and differing ingredient consistencies.
In terms of design, the West Bend Blender is user-friendly, often equipped with intuitive controls and a clear LED display. Many models come with a durable glass pitcher that not only enhances aesthetics but also provides excellent durability compared to plastic alternatives. Glass pitchers resist staining and retain heat effectively, making them ideal for blending hot soups or sauces.
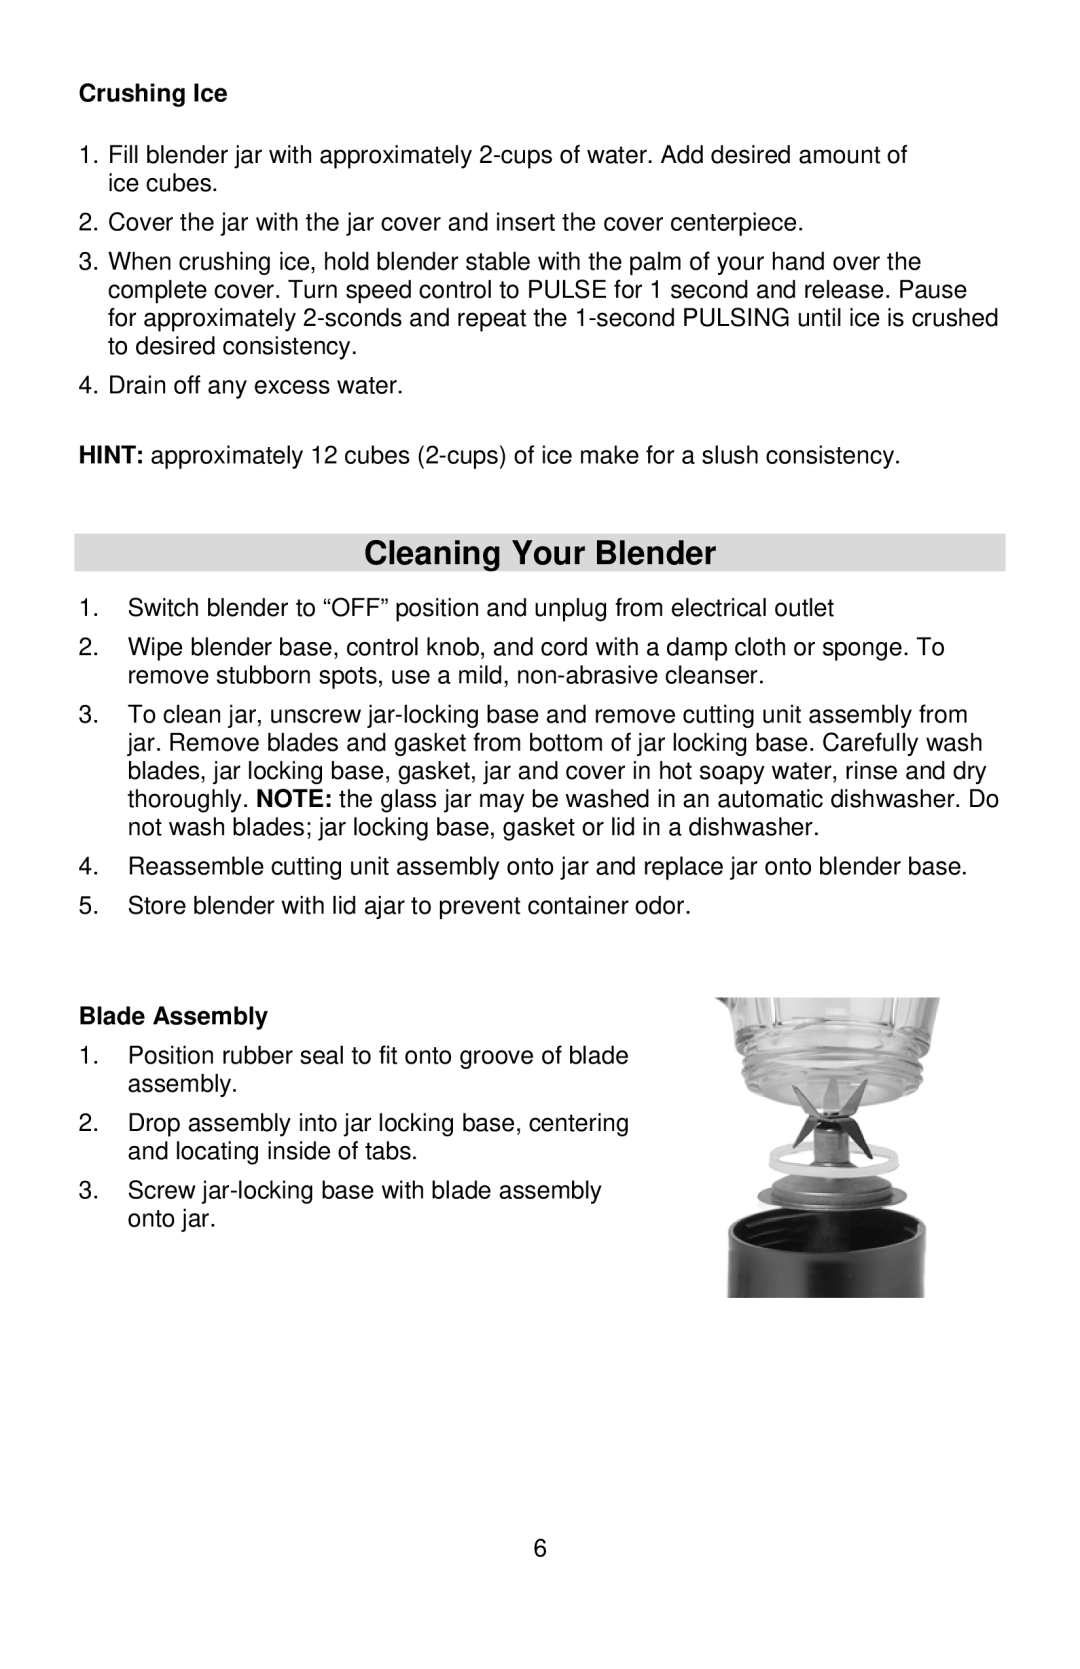
Another notable feature is the blender’s easy-clean design. Many West Bend Blenders have dishwasher-safe components, allowing for a hassle-free clean-up process. The removable blades make it particularly easy to reach all areas of the pitcher, ensuring hygiene and longevity of the blender.
Incorporating advanced technology is a hallmark of West Bend products. Many blenders come with features such as a smoothie setting or pre-programmed cycles, which optimize blending time and speed for specific tasks. This innovation helps simplify cooking processes and enhances the overall user experience.
Safety is also a priority in the design of West Bend Blenders. These units commonly include secure locking mechanisms that prevent the blender from operating unless the pitcher is properly in place. This feature minimizes the risk of accidents and spills, ensuring a safer kitchen environment.
In summary, the West Bend Blender stands out for its powerful performance, user-friendly design, advanced technology, and reliable safety features. These aspects make it a favored choice for a diverse array of culinary tasks, solidifying its reputation as a versatile and essential kitchen appliance.