UL-ES-VerandahBreezeII-WH09 specifications
The Westinghouse UL-ES-VerandahBreezeII-WH09 is a sophisticated ceiling fan designed to enhance the comfort and aesthetic appeal of both indoor and outdoor spaces. This fan combines traditional design elements with modern technology, making it an ideal choice for versatile applications in porches, patios, and large rooms.One of the standout features of the VerandahBreezeII-WH09 is its robust motor, which ensures powerful airflow while operating quietly. With a three-speed reversible motor, users can easily adjust the fan's direction and speed to suit seasonal needs. In the summer, the fan can create a refreshing breeze by rotating counterclockwise, while in the winter, it can circulate warm air by rotating clockwise, providing all-season comfort.
The fan boasts a stylish white finish with matching white blades that seamlessly integrate into various decor styles. Its 52-inch blade span makes it suitable for spacious areas, ensuring effective air circulation in larger rooms without overwhelming visuals. The fan is equipped with an integrated light fixture, allowing for ambient lighting to be added wherever it is installed. The lighting allows for the use of energy-efficient LED bulbs, adding to its eco-friendly credentials.
Durability is a key characteristic of the Westinghouse UL-ES-VerandahBreezeII-WH09. It features weather-resistant components, including weatherproof blades, making it suitable for outdoor use. The fan is designed to withstand the elements, ensuring longevity and reliable performance over time.
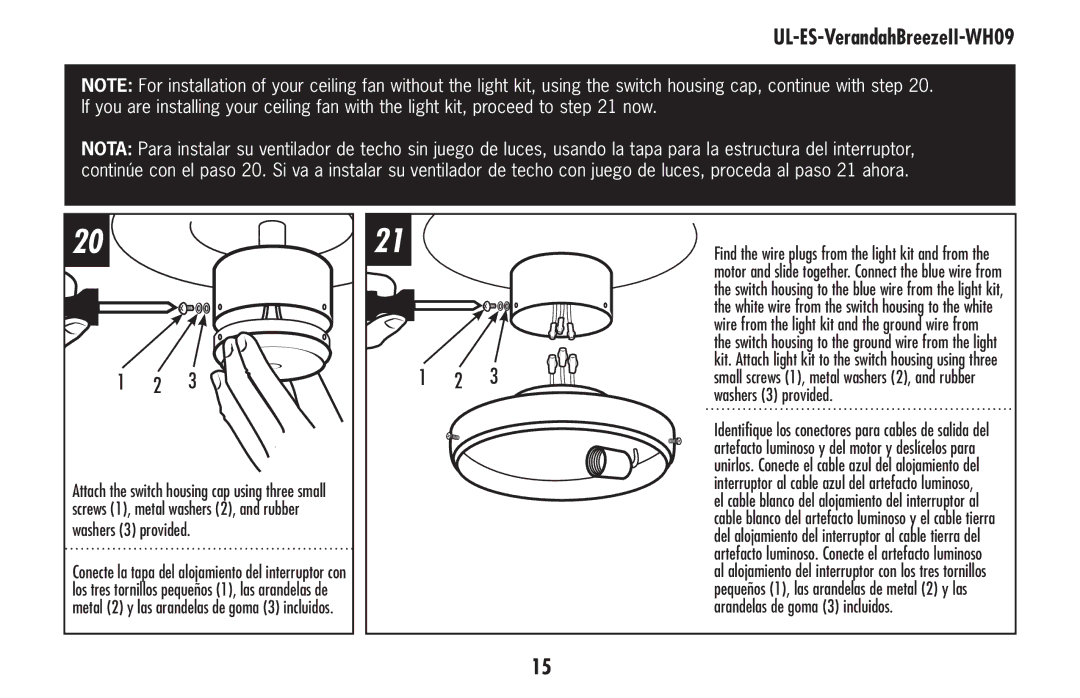
Installation is simplified thanks to the included installation hardware and step-by-step instructions, making it accessible for both professionals and DIY enthusiasts. The fan is compatible with various control options, including pull chains, wall switches, and remote controls, providing flexibility in user experience.
In summary, the Westinghouse UL-ES-VerandahBreezeII-WH09 combines powerful performance, elegant design, and advanced features to create a ceiling fan that is perfect for enhancing comfort in any space. Its robust motor, reversible functionality, and weather-resistant components make it a standout choice for those looking to optimize their indoor and outdoor environments. With the ability to blend aesthetics and functionality, this ceiling fan is an excellent addition to any home or patio.


