6.Fasten the shutoff valve to the cold water pipe with the pipe clamp. Be sure the outlet end is solidly in the ¹⁄₄" drilled hole in the water pipe and that the washer is under the pipe clamp. Tighten the packing nut. Tighten the pipe clamp screws slowly and evenly so washer makes a watertight seal. Do not overtighten or you may crush the copper tubing.

7.Slip the compression sleeve and compression nut on the copper tubing as shown. Insert the end of the tubing into the outlet end squarely as far as it will go. Screw compression nut onto outlet end with adjustable wrench. Do not overtighten.

8.Place the free end of the tubing in a container or sink, and turn ON the main water supply. Flush the tubing until water is clear. Turn OFF the shutoff valve on the water pipe. Coil the copper tubing.

Connect to Refrigerator

1.Unplug refrigerator or disconnect power.

2.Attach the copper tube to the valve inlet using a compression nut and sleeve as shown. Tighten the compression nut. Do not overtighten.

3.Use the tube clamp on the back of the refrigerator to secure the tubing to the refrigerator as shown. This will help prevent damage to the tubing when the refrigerator is pushed back against the wall.

4.Turn shutoff valve ON.

5.Check for leaks. Tighten any connections (including connections at the valve) or nuts that leak.

A

B

C

D

A. Tube clamp

C. Compression nut

B. Copper tubing

D. Valve inlet

6.The ice maker is equipped with a built-in water strainer. If your water conditions require a second water strainer, install it in the ¹⁄₄" (6.35 mm) water line at either tube connection. Obtain a water strainer from your nearest appliance dealer.

Complete the Installation

WARNING

Electrical Shock Hazard

Plug into a grounded 3 prong outlet.

Do not remove ground prong.

Do not use an adapter.

Do not use an extension cord.

Failure to follow these instructions can result in death, fire, or electrical shock.

1.Plug into a grounded 3 prong outlet.

NOTE: Allow 24 hours to produce the first batch of ice. Discard the first three batches of ice produced. Allow 3 days to completely fill ice container.

Refrigerator Doors

TOOLS NEEDED: ⁵⁄₁₆" hex-head socket wrench, #2 Phillips screwdriver, flat-blade screwdriver, ⁵⁄₁₆" open-end wrench, flat 2" putty knife.

IMPORTANT:

Remove food and adjustable door or utility bins from doors.

If you only want to remove and replace the doors, see “Remove Doors and Hinges” and “Replace Doors and Hinges.”

Remove Doors and Hinges

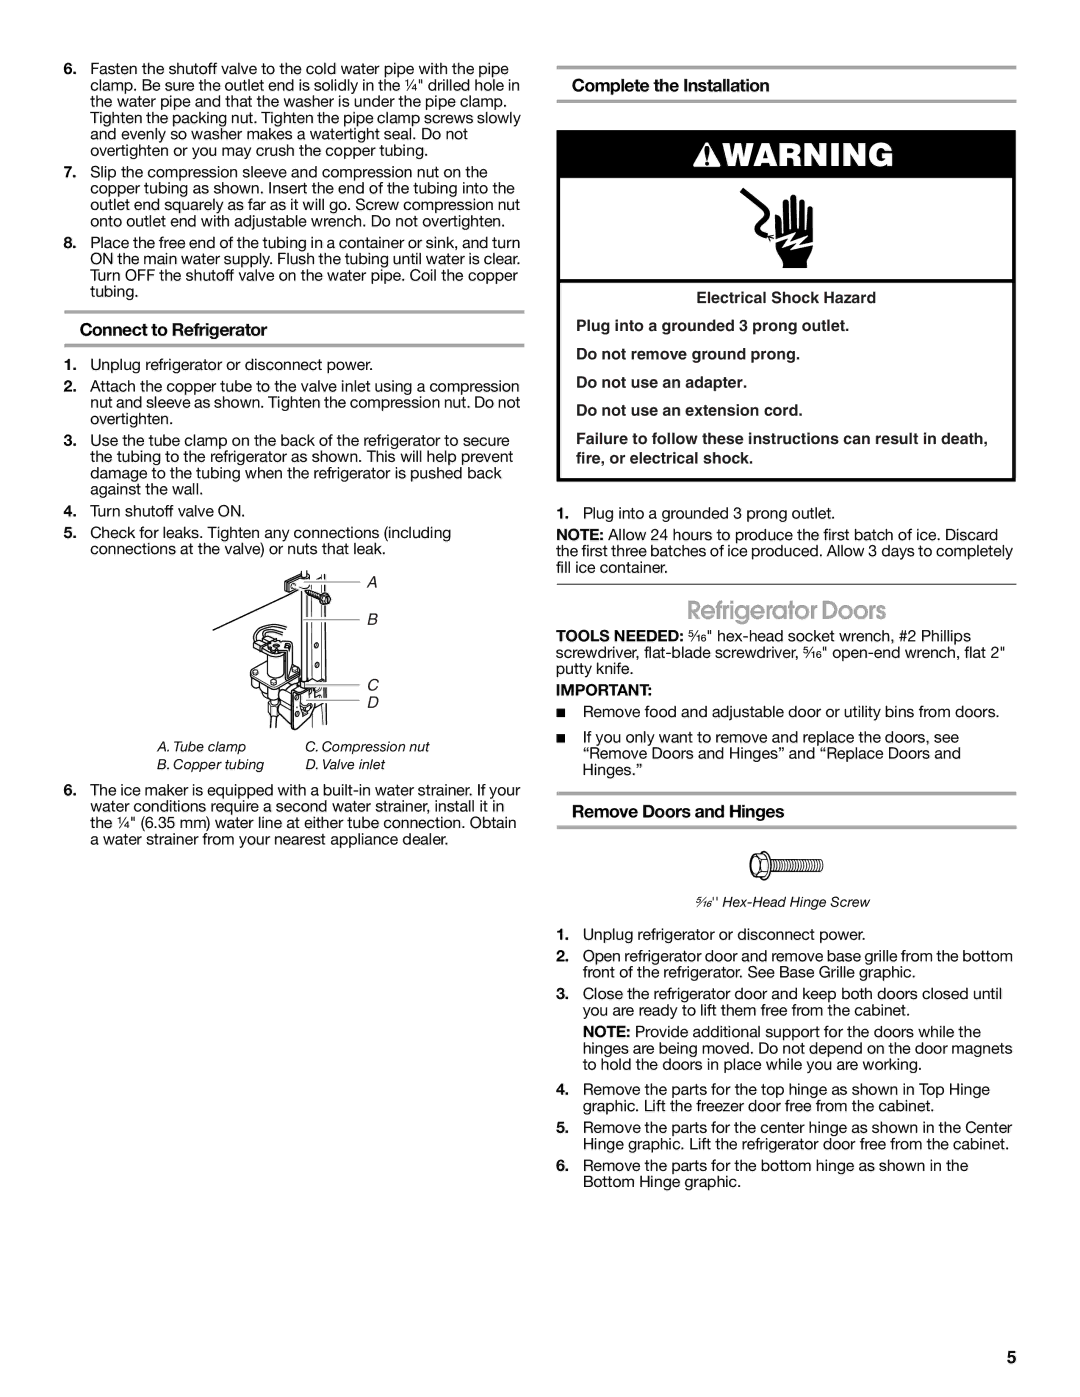
⁵⁄₁₆'' Hex-Head Hinge Screw

1.Unplug refrigerator or disconnect power.

2.Open refrigerator door and remove base grille from the bottom front of the refrigerator. See Base Grille graphic.

3.Close the refrigerator door and keep both doors closed until you are ready to lift them free from the cabinet.

NOTE: Provide additional support for the doors while the hinges are being moved. Do not depend on the door magnets to hold the doors in place while you are working.

4.Remove the parts for the top hinge as shown in Top Hinge graphic. Lift the freezer door free from the cabinet.

5.Remove the parts for the center hinge as shown in the Center Hinge graphic. Lift the refrigerator door free from the cabinet.

6.Remove the parts for the bottom hinge as shown in the Bottom Hinge graphic.

5

Page 5
Image 5
Whirlpool 2314463 warranty Refrigerator Doors, Connect to Refrigerator, Complete the Installation, Remove Doors and Hinges

2314463 specifications

The Whirlpool 2314463 is a high-quality refrigerator water filter designed to provide clean and fresh water while ensuring that your ice and drinking water tastes great. As a genuine OEM replacement part, it is compatible with various Whirlpool refrigerator models, making it a reliable choice for many households.

One of the chief features of the Whirlpool 2314463 is its advanced filtration technology. The filter employs a carbon-based filtration system that effectively removes impurities, such as chlorine, heavy metals, sediment, and other contaminants commonly found in tap water. This ensures that the water you consume is not only safe but also free from unpleasant tastes and odors.

The installation of the Whirlpool 2314463 is straightforward, making it user-friendly for consumers who want to replace their water filter without the need for professional assistance. Typically, the filter slides into place easily within the refrigerator's filter compartment, allowing for quick and hassle-free replacements. This is especially beneficial for busy households where time is of the essence.

The filter's lifespan is another significant characteristic. The Whirlpool 2314463 is designed to last up to six months, depending on the water quality and usage frequency. This longevity not only provides convenience but also ensures that households do not have to frequently purchase replacements, making it an economical choice over time.

Moreover, the Whirlpool 2314463 is compliant with various industry standards, ensuring that it meets safety and performance guidelines for water filters. This means consumers can have peace of mind knowing that the filter they are using adheres to stringent quality controls.

In terms of packaging and availability, the Whirlpool 2314463 is widely available through various retailers, both online and in physical stores specializing in home appliances and parts. This accessibility ensures that homeowners can easily find and purchase the filter when they need a replacement.

In summary, the Whirlpool 2314463 water filter stands out due to its advanced carbon filtration technology, ease of installation, long lifespan, and compliance with safety standards. These features collectively enhance the quality of water in your home, providing families with reliable access to clean drinking water. Whether you're making beverages or cooking, the Whirlpool 2314463 ensures that every sip counts.