REFRIGERATOR USE
UsingtheControls
For your convenience, your refrigerator controls are preset at the factory. When you first install your refrigerator, make sure that the controls are still preset. The Refrigerator Control and the Freezer Control should both be set to the
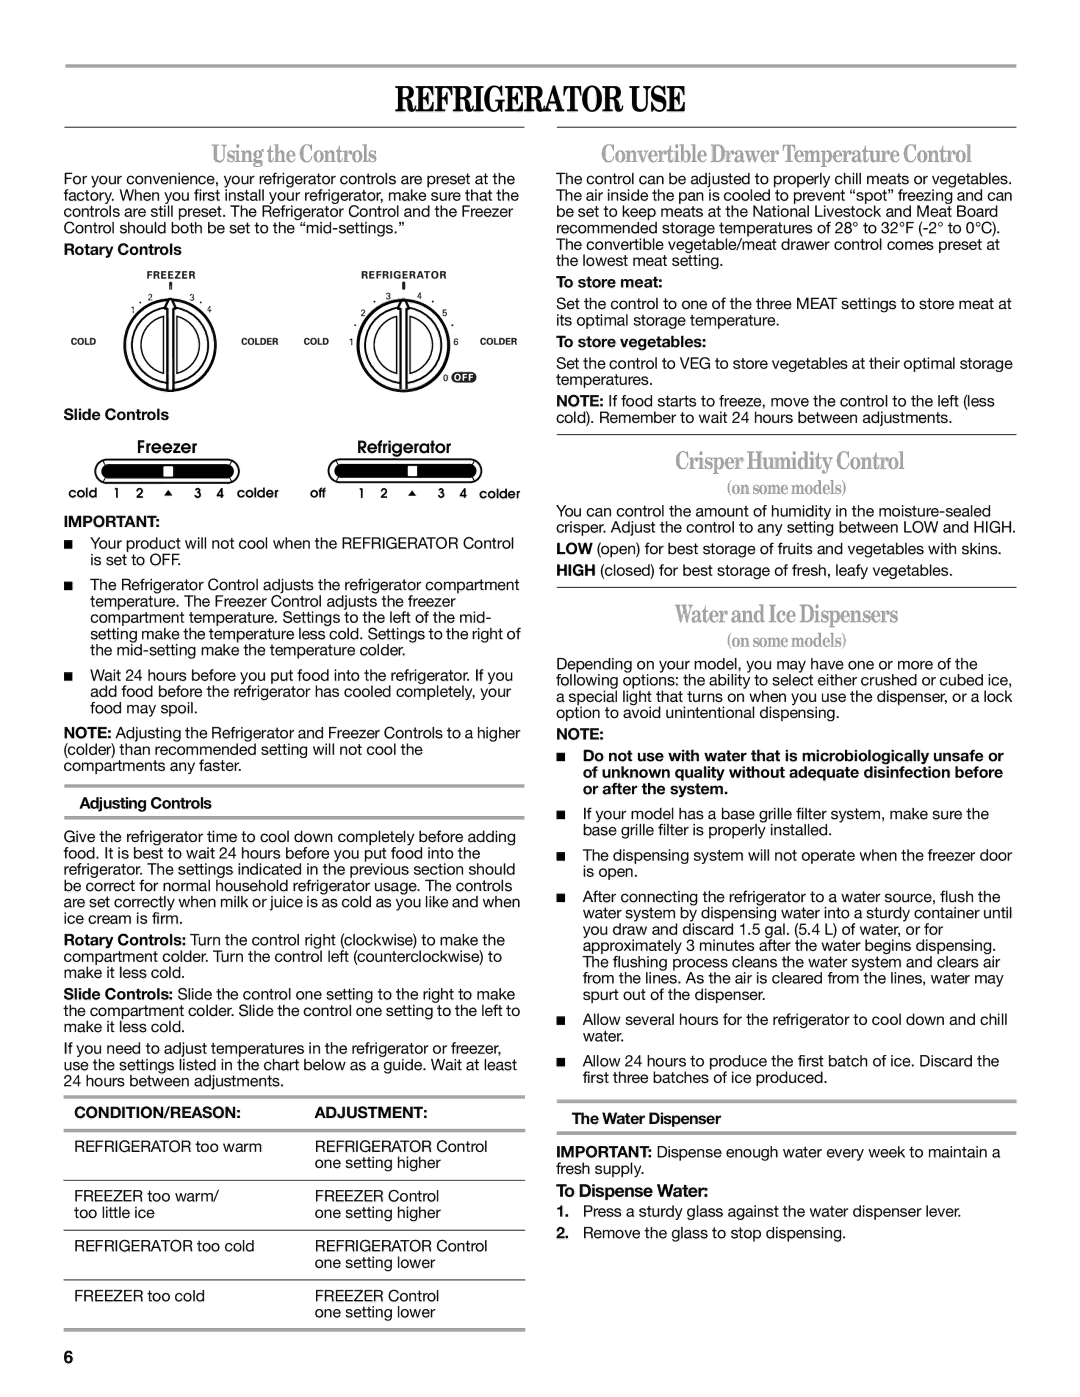
Rotary Controls
Slide Controls
FreezerRefrigerator
cold 1 2 | 3 4 colder | off | 1 2 | 3 4 colder |
IMPORTANT:
■Your product will not cool when the REFRIGERATOR Control is set to OFF.
■The Refrigerator Control adjusts the refrigerator compartment temperature. The Freezer Control adjusts the freezer compartment temperature. Settings to the left of the mid- setting make the temperature less cold. Settings to the right of the
■Wait 24 hours before you put food into the refrigerator. If you add food before the refrigerator has cooled completely, your food may spoil.
NOTE: Adjusting the Refrigerator and Freezer Controls to a higher (colder) than recommended setting will not cool the compartments any faster.
Adjusting Controls
Give the refrigerator time to cool down completely before adding food. It is best to wait 24 hours before you put food into the refrigerator. The settings indicated in the previous section should be correct for normal household refrigerator usage. The controls are set correctly when milk or juice is as cold as you like and when ice cream is firm.
Rotary Controls: Turn the control right (clockwise) to make the compartment colder. Turn the control left (counterclockwise) to make it less cold.
Slide Controls: Slide the control one setting to the right to make the compartment colder. Slide the control one setting to the left to make it less cold.
If you need to adjust temperatures in the refrigerator or freezer, use the settings listed in the chart below as a guide. Wait at least 24 hours between adjustments.
CONDITION/REASON: | ADJUSTMENT: |
|
|
REFRIGERATOR too warm | REFRIGERATOR Control |
| one setting higher |
|
|
FREEZER too warm/ | FREEZER Control |
too little ice | one setting higher |
|
|
REFRIGERATOR too cold | REFRIGERATOR Control |
| one setting lower |
|
|
FREEZER too cold | FREEZER Control |
| one setting lower |
|
|
ConvertibleDrawerTemperatureControl
The control can be adjusted to properly chill meats or vegetables. The air inside the pan is cooled to prevent “spot” freezing and can be set to keep meats at the National Livestock and Meat Board recommended storage temperatures of 28° to 32°F
To store meat:
Set the control to one of the three MEAT settings to store meat at its optimal storage temperature.
To store vegetables:
Set the control to VEG to store vegetables at their optimal storage temperatures.
NOTE: If food starts to freeze, move the control to the left (less cold). Remember to wait 24 hours between adjustments.
Crisper HumidityControl
(onsomemodels)
You can control the amount of humidity in the
LOW (open) for best storage of fruits and vegetables with skins. HIGH (closed) for best storage of fresh, leafy vegetables.
WaterandIceDispensers
(onsomemodels)
Depending on your model, you may have one or more of the following options: the ability to select either crushed or cubed ice, a special light that turns on when you use the dispenser, or a lock option to avoid unintentional dispensing.
NOTE:
■Do not use with water that is microbiologically unsafe or of unknown quality without adequate disinfection before or after the system.
■If your model has a base grille filter system, make sure the base grille filter is properly installed.
■The dispensing system will not operate when the freezer door is open.
■After connecting the refrigerator to a water source, flush the water system by dispensing water into a sturdy container until you draw and discard 1.5 gal. (5.4 L) of water, or for approximately 3 minutes after the water begins dispensing. The flushing process cleans the water system and clears air from the lines. As the air is cleared from the lines, water may spurt out of the dispenser.
■Allow several hours for the refrigerator to cool down and chill water.
■Allow 24 hours to produce the first batch of ice. Discard the first three batches of ice produced.
The Water Dispenser
IMPORTANT: Dispense enough water every week to maintain a fresh supply.
To Dispense Water:
1.Press a sturdy glass against the water dispenser lever.
2.Remove the glass to stop dispensing.
6